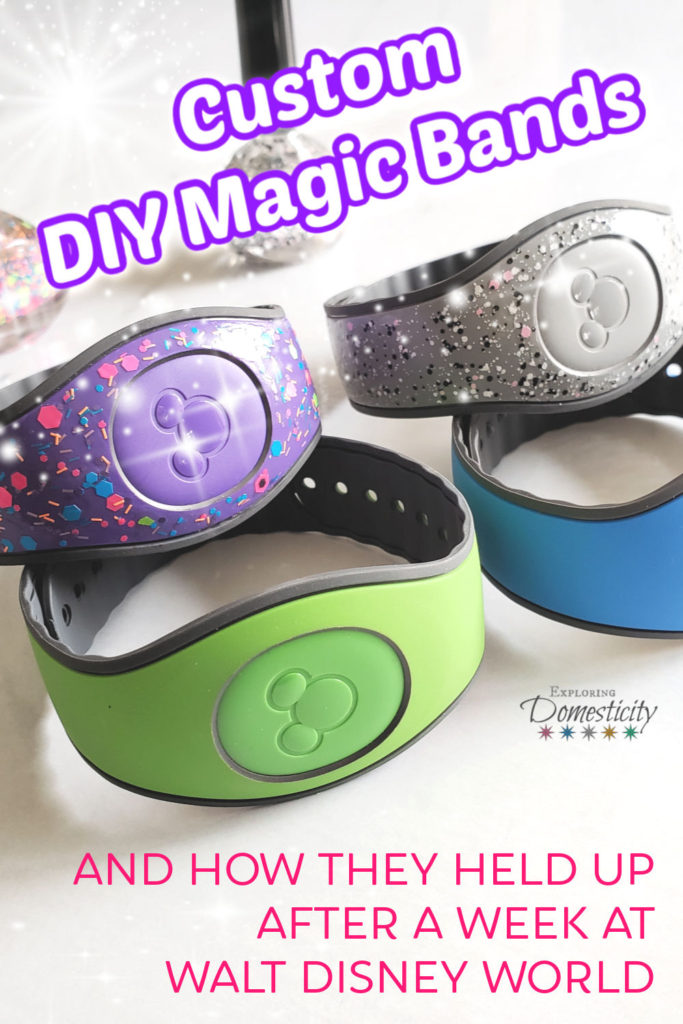
Disney Magic Bands are so much fun to receive. Creating your own DIY Custom Magic Bands is even more fun! It’s also very simple with nail polish and temporary tattoos.
See how we decorated our Magic Bands and – most importantly – how they held up after our Walt Disney World vacation!
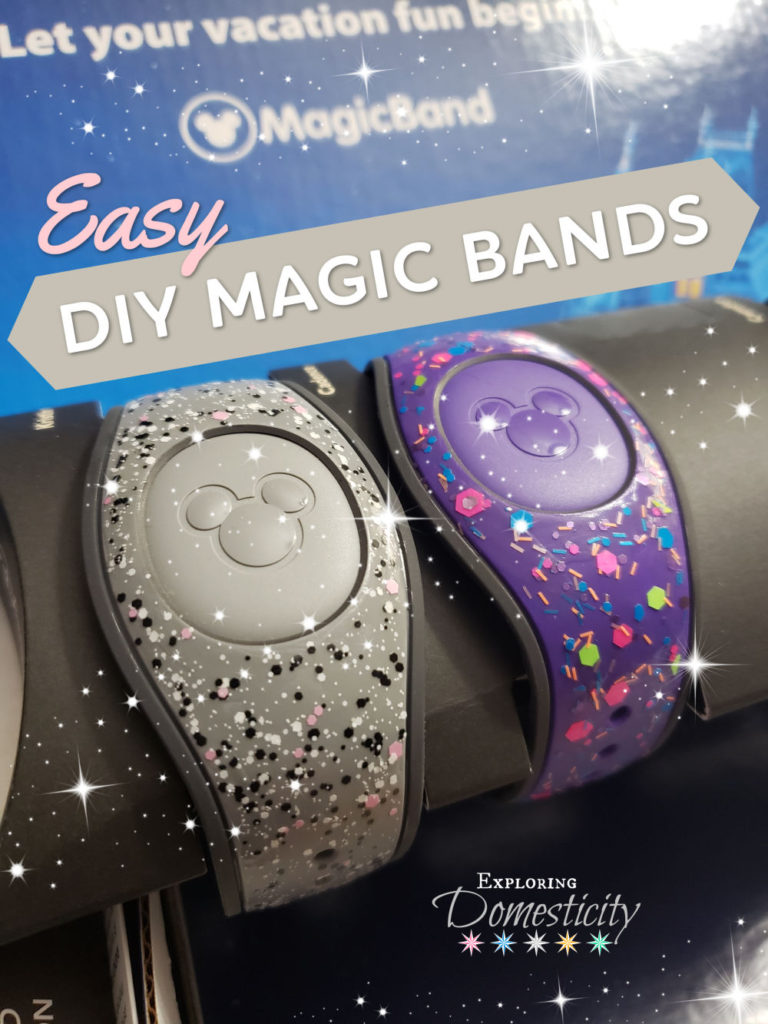
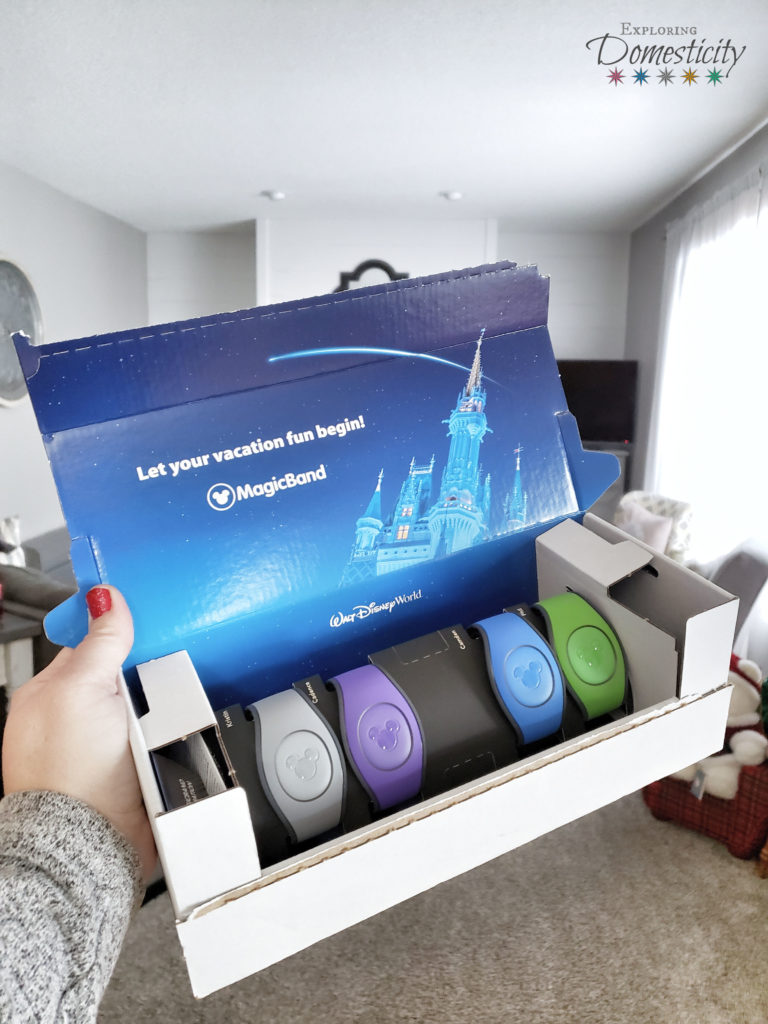
When we surprised the kiddos with a Walt Disney World vacation, I spent some time thinking about doing some DIY custom magic bands.
I would have loved to have them created and ready to show them with the surprise. Unfortunately, our bands weren’t scheduled to arrive in time. I even called to see if they could be sent early, but was told they couldn’t do that. In the end, our Magic Bands only arrived a day after Christmas.
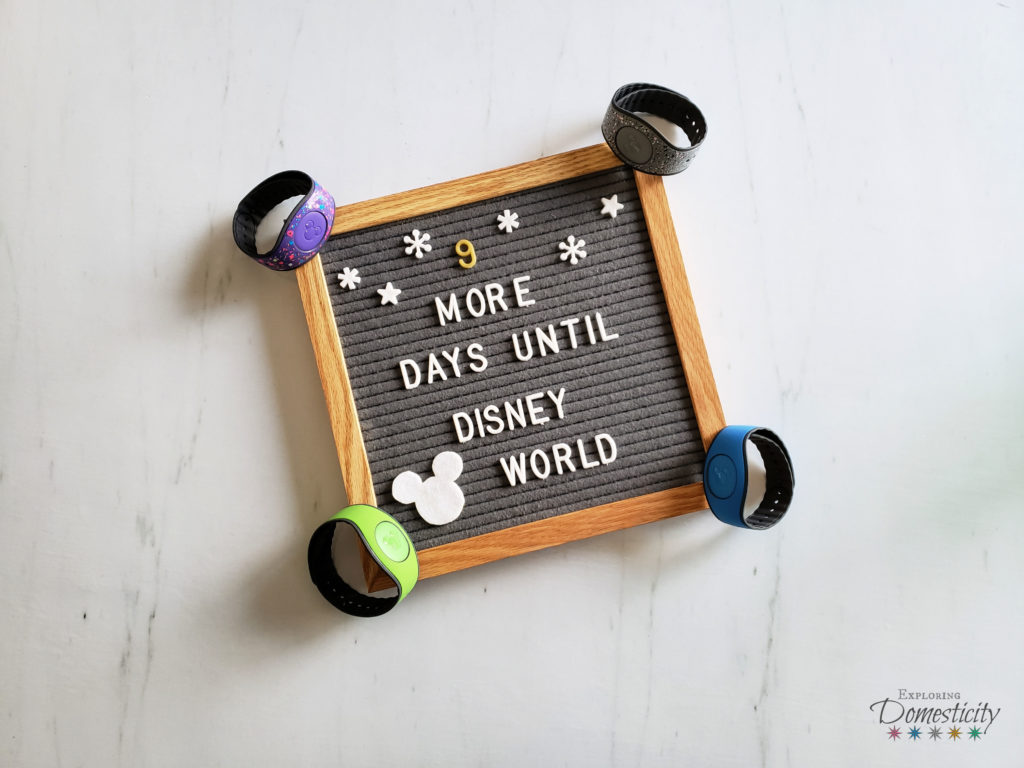
Fore more information on what you should know about MagicBands, my friend Keri has you covered.
Now, I know you can buy a custom MagicBand or wraps from Disney, Amazon, or small shops, but I can’t help trying to find a DIY option!
Also read: 7 Overlooked things you’ll want in your Disney Bag!
DIY Custom Magic Bands with nail polish
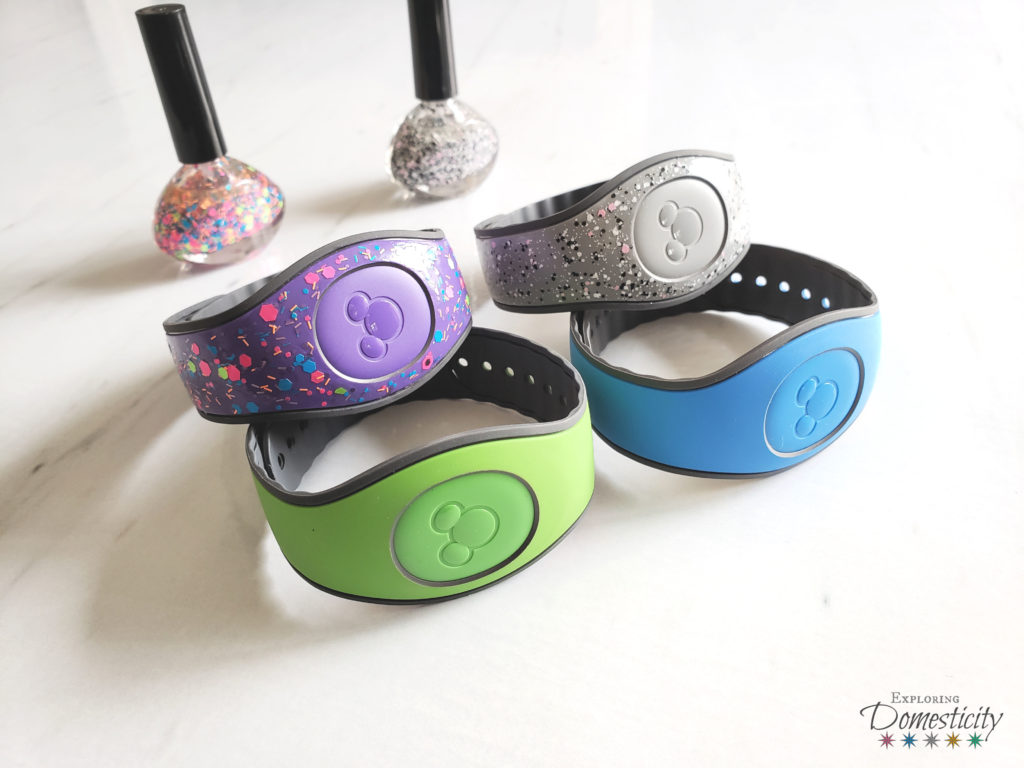
The easiest option is just to add some nail polish. I have some favorite polishes that are more like a confetti than a glitter, so I wanted to try those.
My MagicBand
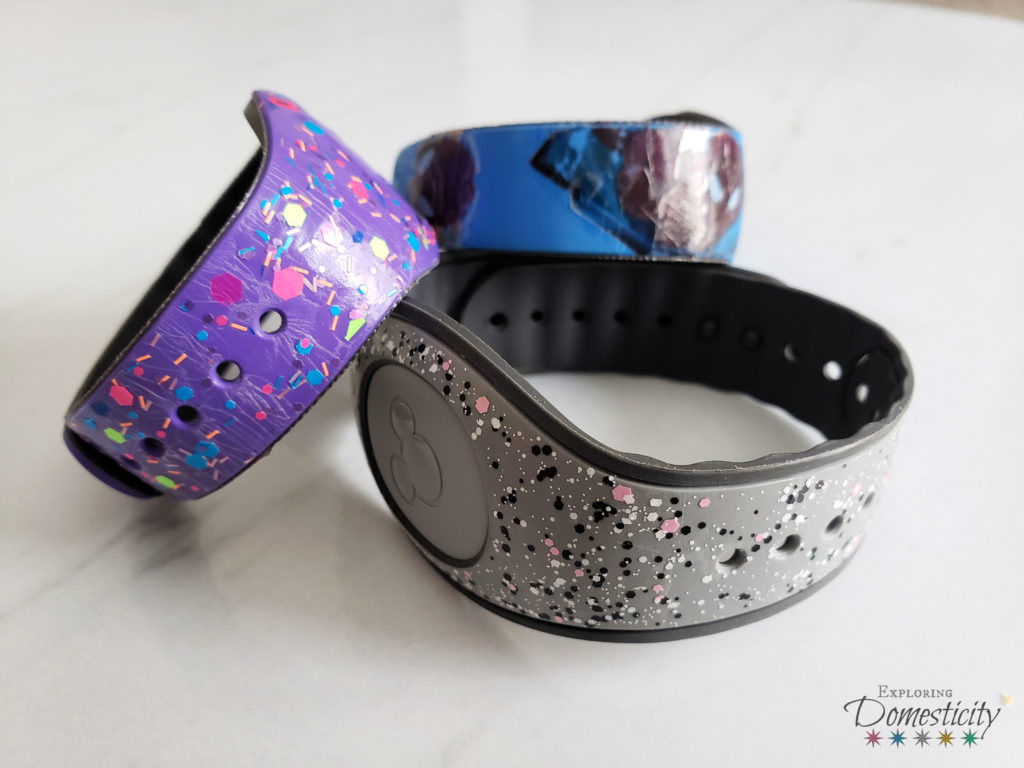
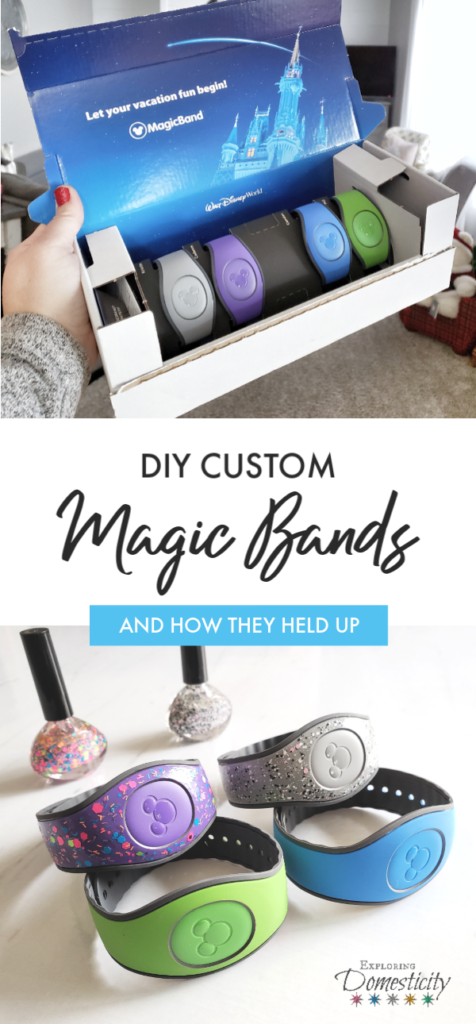
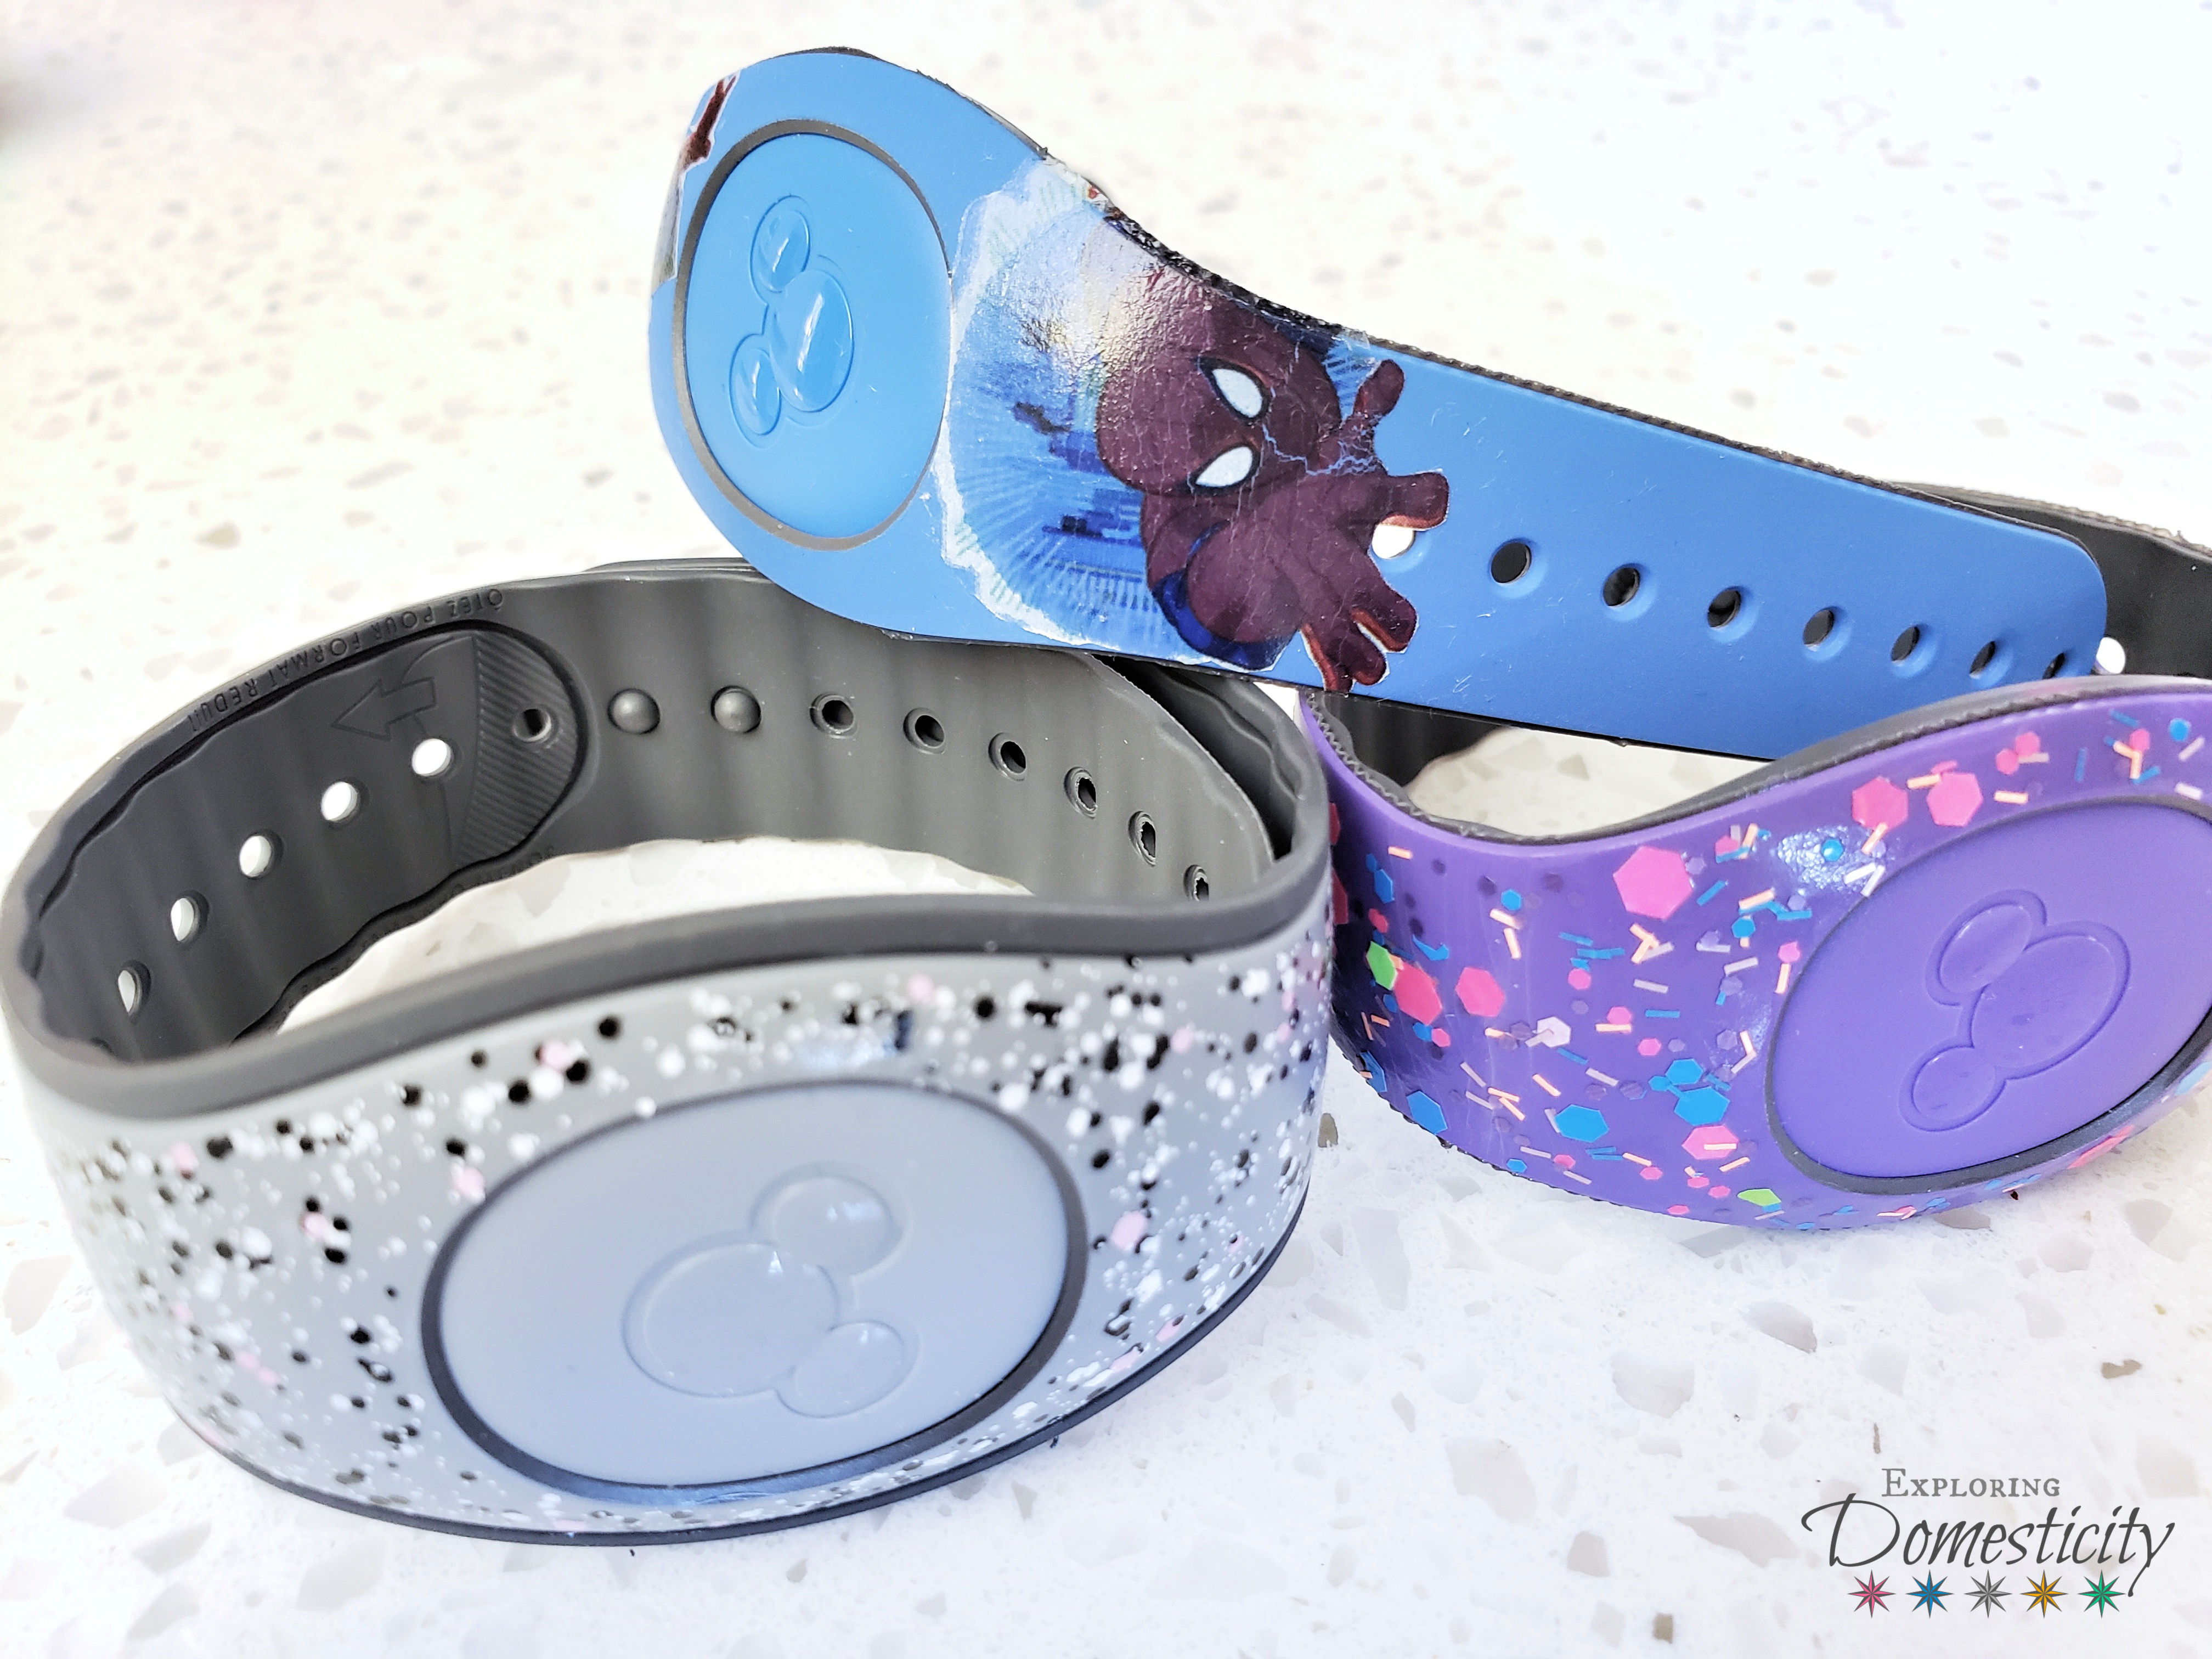
I ordered a gray MagicBand. Those of you who are familiar, know that this is the default color if you don’t choose a color for your band. I didn’t want it to look like I had just gone for the boring default. So, I took to my favorite confetti nail polish that I usually apply over gray polish.
I love how it worked out! This is a polish I use a lot. A ton of the ‘confetti’ comes out without having to lay the clear coat on too thick. That’s the key – but more on that later…
Little Lady’s Band
Since my band went so well, I opened a brand new bottle of confetti polish and started in on Little Lady’s band.
For both of these DIY custom Magic Bands, I attached them around a small water bottle, which help me get all the way around.
I was a little nervous about Little Lady’s magic band right away. The polish I used did not come out as nicely as mine. I ended up sweeping on a lot of clear polish without much confetti coming out. So, I was a bit worried about that because I didn’t want the polish to crack.
I have seen nail polish tips before where the polish is painted onto a foam wedge and then place it on to get more of the confetti. I wonder if that would have worked… I just kept trying to bring it to the front of the brush and get as much on as I could without applying the polish to thickly.
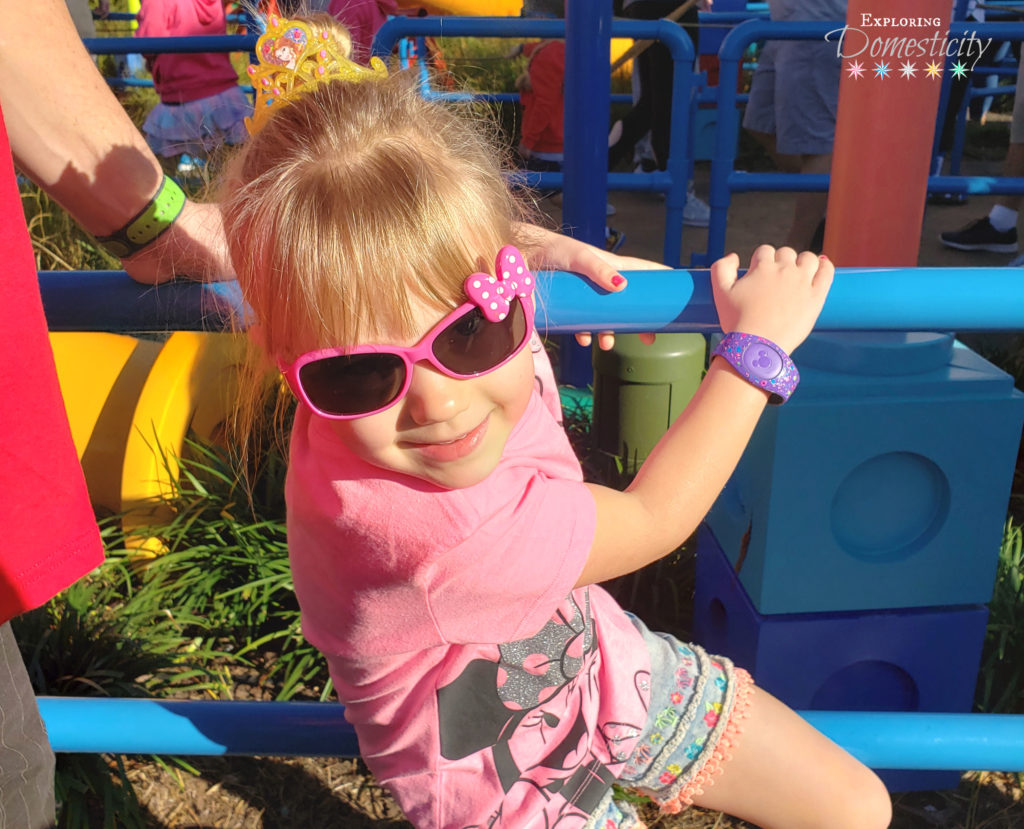
In the end, it looked very fun! Kind of like Mickey and Minnie’s new outfits for the 90 years celebration. However, up close the polish felt a bit thick…
Also read: Disney with Grandparents: How to have a great multi-generation vacation everyone will love!
Nail polish is great for me and Little Lady, but I was a little stumped for Little Guy’s band. He threw out suggestions like drawing Stitch, creating a Captain America shield, making almost any Marvel character… Yeah, my skills would never make that look good!
DIY Custom Magic Bands with tattoos
It was probably a couple weeks after the other bands were finished when I finally got to Little Guy’s band and had the nerve to give it a go.
We had found some Spider Man temporary tattoos in the house and picked out a couple that would fit on the band. I’ve never been good at placing tattoos on the kids, so even this made me nervous!
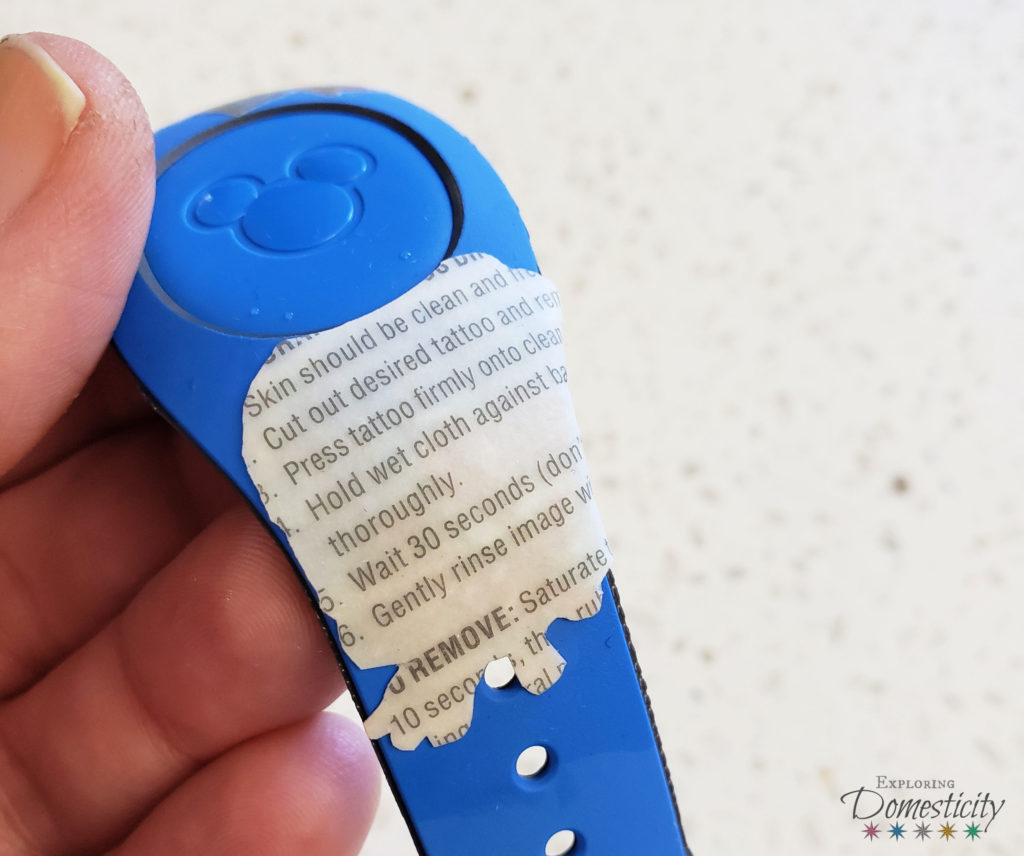
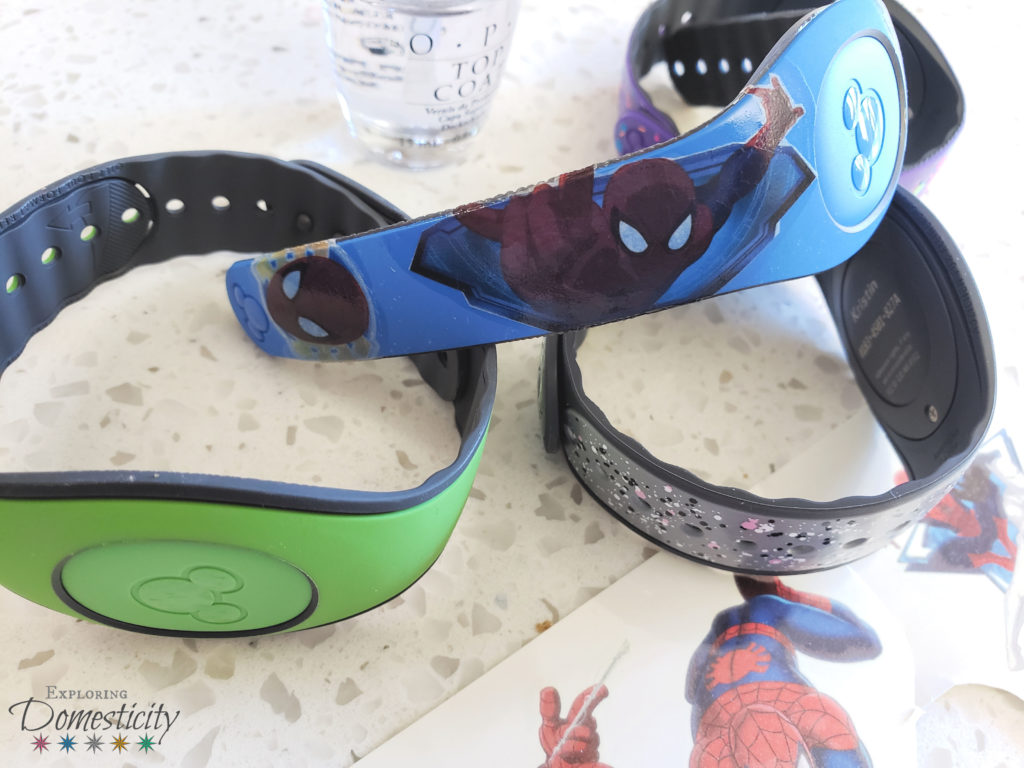
The good news is that the tattoos stick really well to the bands. The second it touches the band it sticks. I went down the tattoo and it didn’t take long before it removed itself from the paper backing. I had some spots where I wanted to wrap the tattoo around the band. I found that it’s best to wet the tattoo until it releases completely and gently fold it over. When I tried to wrap it around with the paper, the tattoo started to tear.
To seal the tattoos, but not make the band too shiny or prone to cracking, I applied a light clear top coat of nail polish just over the tattoo.
From reading some tips about other DIY custom Magic Bands, I learned that a clear base coat polish is better than a top coat. The base coat is more flexible than the hard top coat. However, if you’re a low-maintenance Momma, sometimes you have to go with what you have!
How the DIY Custom Magic Bands held up
So, the most important part about this post – because anyone can paint some nail polish on their bands – is how the Magic Bands held up to a week-long Disney vacation.
I’m happy to report they all looked great during our trip. We wore those bands for 6 days, two parks, and 4 dips in the pool. That’s a lot to put them through!
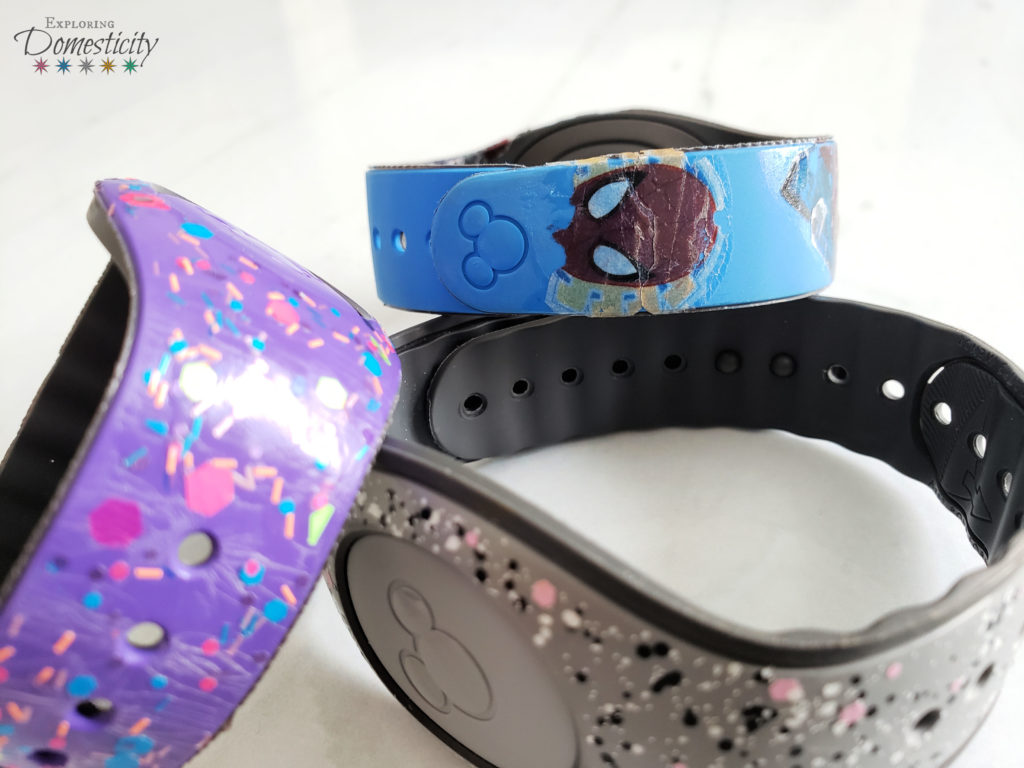
As expected, the kids’ bands started to crack a bit as the trip went on.
Little Lady’s polish has a lot of cracks, but it never was very noticable from afar while she wore it on the trip. Little Guy’s tattoos held in there, but as the polish cracked it got more and more noticeable. I actually resealed it with polish after one of the tattoos started to lift at the corner after a day in the pool.
Also read: How to have a stress-free Disney vacation!
DIY Custom Magic Bands last thoughts…
My MagicBand
My band definitely held up the best. The polish was just perfect for it! It went on thin but left a lot of the confetti. If I look very close there are some minor cracks, but I’m talking VERY close. This band was definitely the winner if there was a contest.
Little Lady’s MagicBand
This other nail polish band also made it home looking great from afar. She definitely had a lot of cracking up close, but I don’t think anyone would have noticed unless inspecting the band. I think her band also had more cracking just because more of it had to bend around her little wrist. My band just didn’t have to bend as much to wrap around my wrist.
Little Guy’s MagicBand
Little Guy’s band might have been the most impressive because the Spider Man tattoos looked really fun. However, I could have done better. Instead of a clear top coat, I should have tried the clear base coat as others have said. Also, I wonder how something like Modge Podge would have held up… I think it may have looked a little better than the very shiny clear polish.
Overall, this was very fun. I’m sure you’ll see DIY custom Magic Bands from me again as we take other vacations. It was too fun not to try again, and I loved the way they looked during the trip.
Of course, maybe I should just finally get a Cricut or Silhouette and really get fancy with it! Someday…
Do you have a Disney vacation coming up?
Have you ever done custom bands?
See our daily posts and highlights from our Walt Disney World vacation on Instagram!
Pin It!




Only registered users can comment.