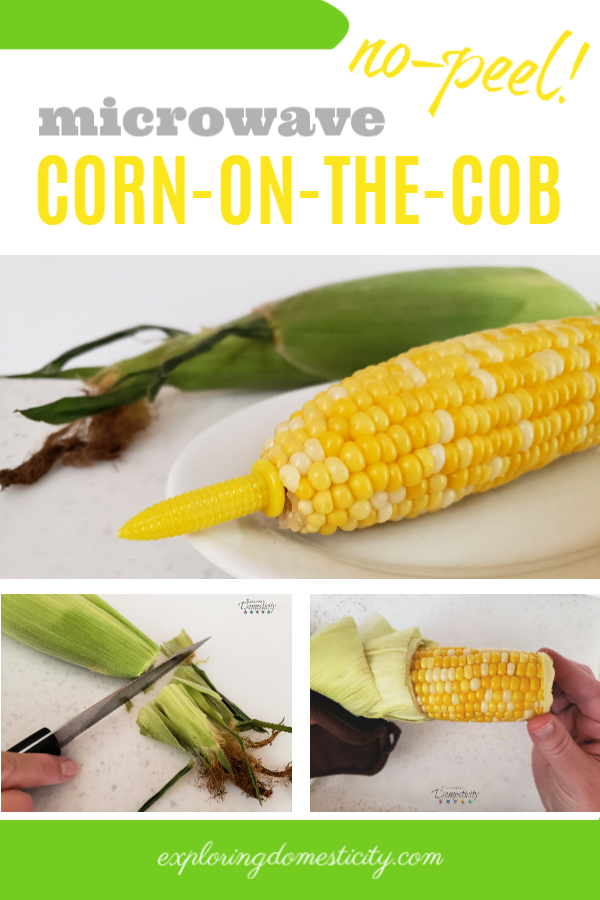
There is no easier way to make corn on the cob! Eight minutes in the microwave means no boiling water and no peeling! This No-Peel Microwave Corn on the Cob is the best trick EVER!
This is a sponsored post in partnership with UrbanFarmhouseTampa. We also participate in affiliate programs, including the Amazon Services LLC Associates Program, an affiliate advertising program designed to provide a means for us to earn fees by linking to Amazon.com and affiliated sites. If you don’t have Prime, you can try it 30 days for free here!
Summer is here!
For me that means corn on the cob! I have the best trick and the easiest way EVER to make some delicious corn on the cob!
We’ve been using this no-peel microwave corn on the cob method for nearly ten years.
Also Read: Summer Drinks on the Go
The thing I dread the most about delicious, corn on the cob is shucking the corn. I hate the mess of peeling back all those layers and how tedious it is to get all those little bits of silk off the cob. Not to mention the mess as you break the ends and the little strands of silk stick to your fingers…
Luckily, there is a way to skip all that!
!!Wait just a minute!!
We have been doing no-peel microwave corn-on-the-cob for so many years now that we’ve found a better way!
This method works perfectly fine and it wasn’t until 6 years after this post was first published that I found an easier way. Scroll to the bottom to see what made a major difference in doing our easy no-peel microwave corn-on-the-cob!
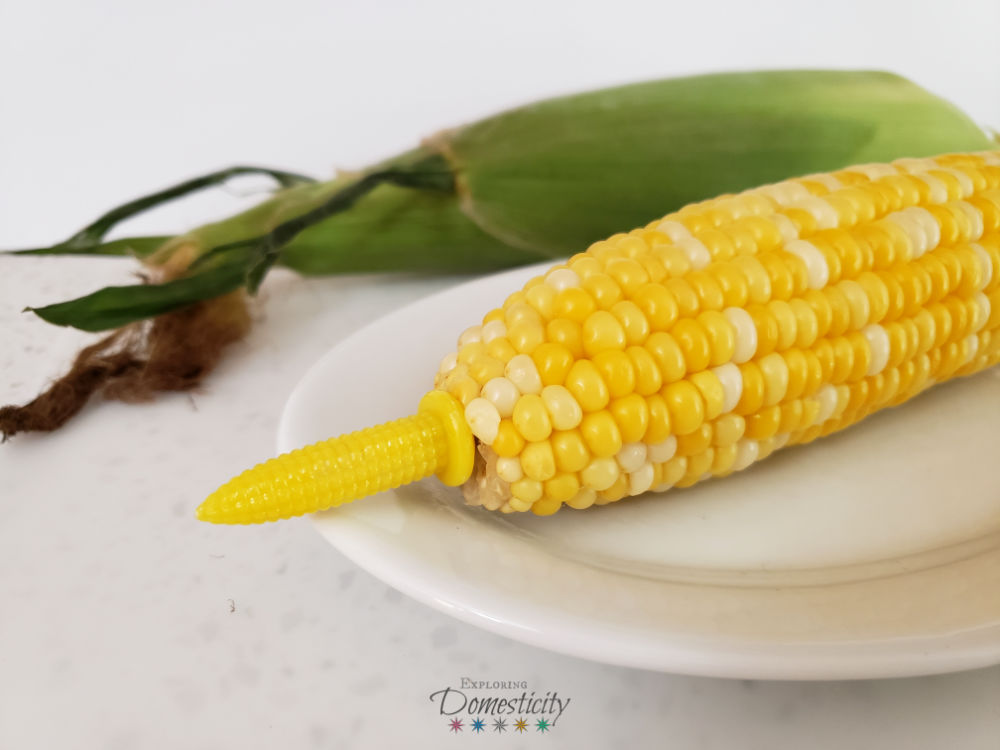
No-Peel Microwave Corn on the Cob
Three Easy Steps
- Microwave 8 minutes (for two ears of corn) – seriously no peeling! Husk, silk, and all!
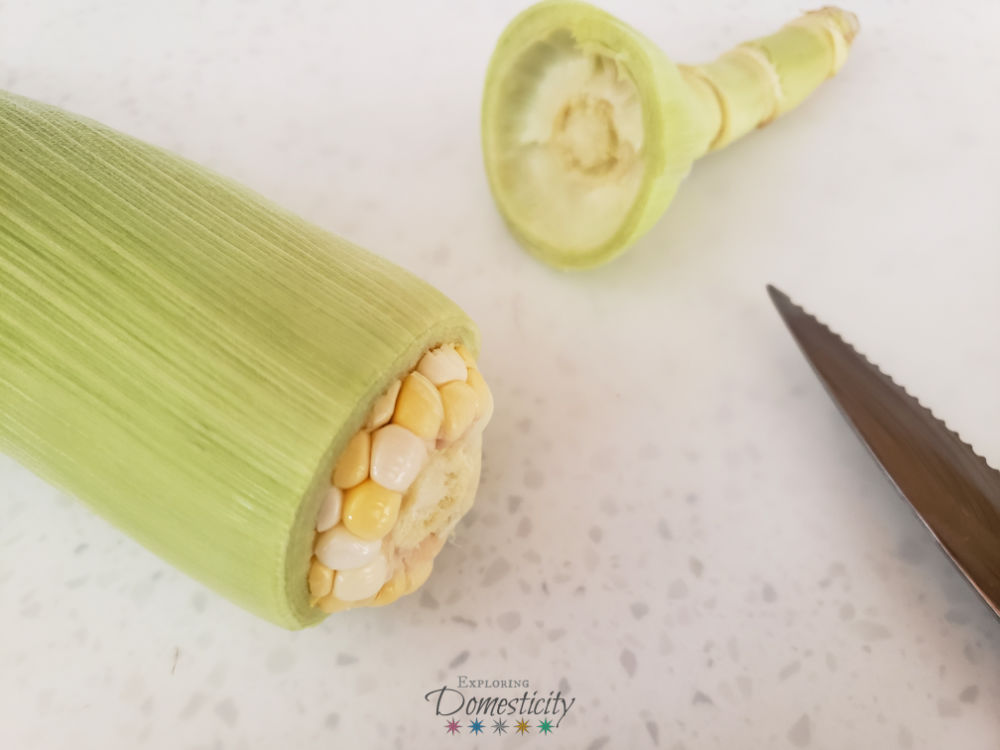
- Cut off the end at the widest point – usually about 1/2 an inch from the bottom
- Squeeze the corn out of the husk. If you cut enough off this should be a piece of cake!
How to make no-peel microwave corn on the cob…
Take two ears of corn, without peeling, and pull of any excess silk from the top. Not a required step, but I like to clean them up a bit.
Place both ears in the microwave for 8 minutes.
Skip to the bottom recipe card for an even better way to do this!! After 6 years of this cooking method, we changed it up and found it much easier!
Hold on to the ear of corn with an oven mit or towel. It will be hot! I typically use this style shown, but I also have these and they would work fine.
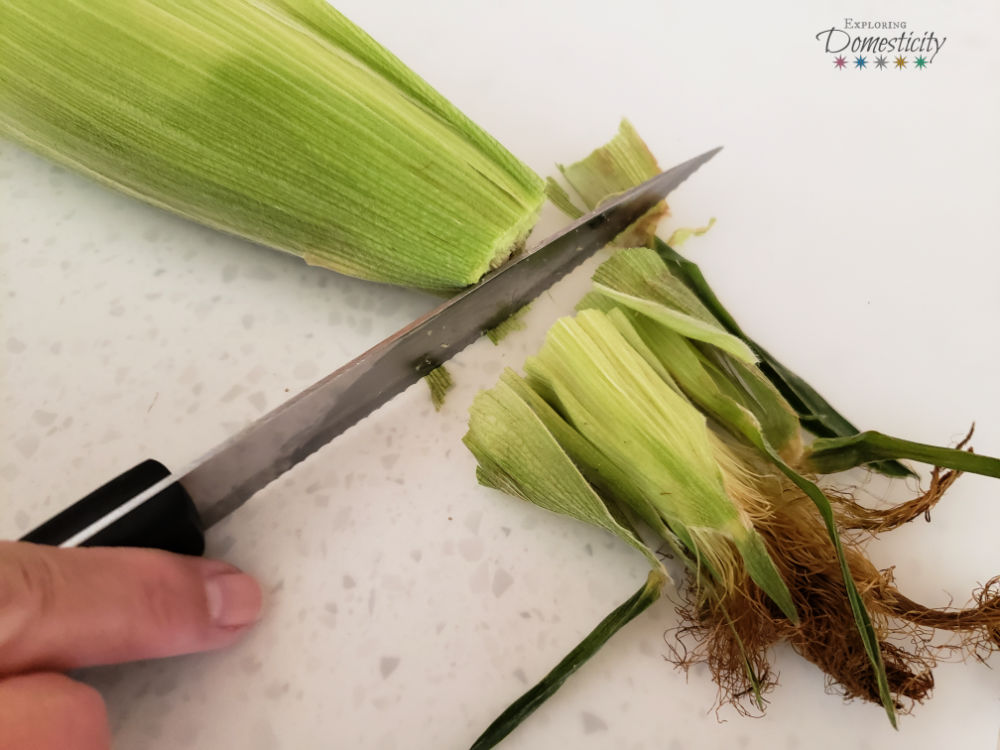
Cut the end at least 1 inch from the bottom. Make sure to make your cut at the widest point, so it will come out easily.
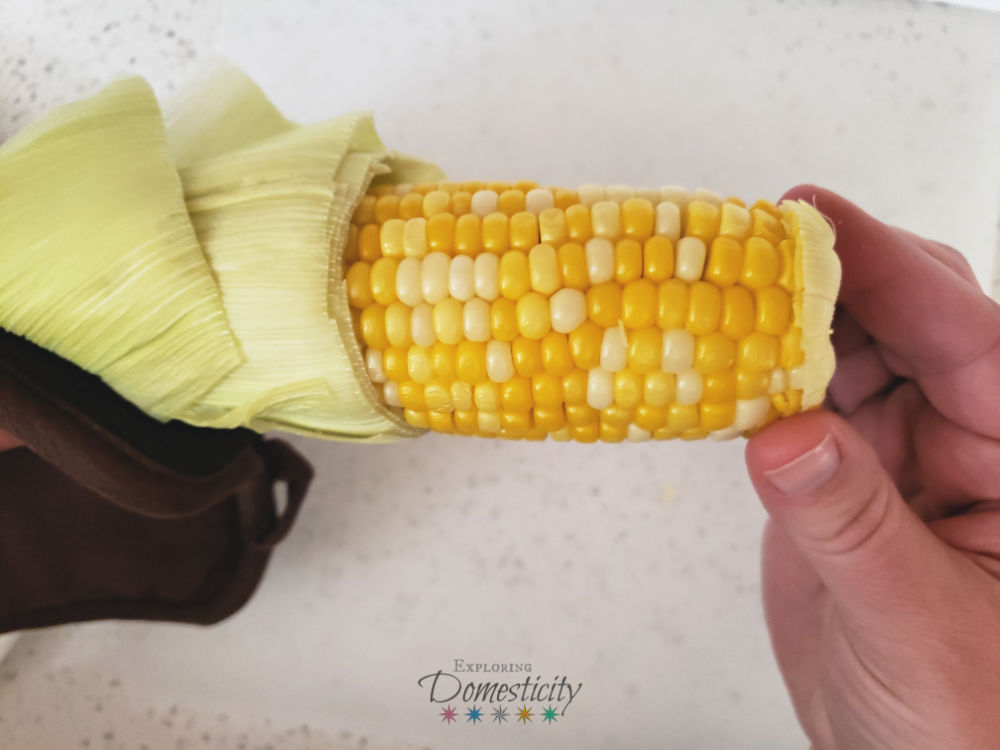
Squeeze from the tapered end of the cob and the corn will begin to come out silk free!
It will be a little tough to squeeze, but that will help remove all those bits of silk. If it’s too hard, you’ll most likely need to cut a little more off the end.
The corn comes right out and is cooked beautifully. No cleaning required!
No silk at all – It’s crazy!
The no-peel microwave corn on the cob is the best method ever for cooking corn!
We love to eat our corn-on-the-cob with these adorable holders and even cute little individual plates.
I stick to doing two cobs at a time at 8 minutes, but it would be a lot quicker to do a few cobs at once, I just haven’t tested the cooking time fully. If I remember correctly, I do think I had success with four cobs at around 12 minutes… Don’t quote me on it! I’ll have to try it again to be sure, and I’ll report back!
Also Read: Chicken and Veggies Sheet Pan Meal
Even easier way to do no-peel microwave corn-on-the-cob!
As promised, six years later I have an even easier way to do no-peel microwave corn-on-the-cob! It’s just one small switch, but it makes a lot of difference.
The corn comes out of the microwave steaming hot! The less you have to handle it the better. This small change helps.
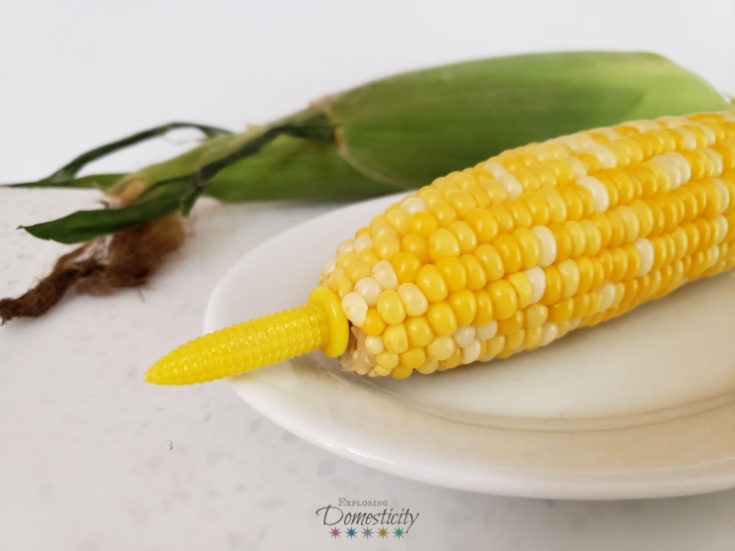
No-Peel Microwave Corn-on-the-Cob
Ingredients
- 2 Unshucked Ears of Corn
- Butter, salt, and pepper to taste
Instructions
- With a knife or scissors, cut off the silk sticking out of the top of the ear of corn.
- Cut the bottom end of the corn cob off at the widest point. Typically, about an inch or so up.
- Place the 2 ears of corn on a microwave safe plate.
- Optional: Cover with a microwave plate cover to keep the steam in close.
- Microwave for 8 minutes.
- Remove from microwave and let sit for a minute or so.
- With two hot pads, one in each hand, - it's SO hot! - begin to squeeze from the top of the husks and pull the corn out the bottom with the other hand.
- Add butter, salt, pepper, or other seasonings to taste.



Love Love Love it!! I dislike removing all that silk and the mess it makes in my kitchen. Can’t wait to try this.
Thanks!
Great! Let me know how it works for you! I’ve never had anything but perfect results and it is SO much less messy!
no waaaaaay! i’m going to try this!
Wow! I can’t wait to try this! I totally Pinned your post.
http://www.domesticblisssquared@gmail.com
Thank you! My parents introduced me to this trick last summer and I’m so excited to share!
I read this idea on a friend’s blog about a year ago, and it is truly amazing! We get wonderful fresh corn locally here and this easy method keeps me going back to roadside stand to buy more!
I’m definitely going to have to try this trick.
xoxo,
Melissa
Love this! A new Linking Party begins THIS Saturday over at Thet2women.com and we would love if you would link this up there on Sat! Thanks! Here’s the link:
http://thet2women.com/welcome-to-one-sharendipity-place/
What a cool trick! I will be trying this out! I am a new follower from southern charm! I would love for you to check out my blog and follow me back! Nicole
Thank you so much for linking up to my party! Hope to see you again Tuesday. HickoryTrail
I tried this out it didn’t work as well as it says partly because we didn’t cut high enough on the stalk end and when we were cutting it the husk started to fall away so we weren’t able to push it through. While not silk free the corn was mostly clean and it was still easier even with the one that wasn’t as clean to make them that way than the other way we’d done them.
Great point – it is so important to cut at the widest point. I just made corn this way last night and I used the excess from the cut portions to feed my 8-month-old, but cutting the kernels off the bottom pieces. The biggest two tips are: when in doubt cut higher, used a hot pad to squeeze the end tightly all the way down and it should take off the silk. I’ve never had more than one or two pieces of silk hang on. Try again!
When I do this, I just cook the corn at 4 minutes per ear. i.e., 3 ears, 12 min., 4 ears, 16 min., etc. Works great!!
I’m ALL about no peeling!!! Thanks for sharing this great tip at the Pinworthy Project Party, I’m pinning now!
I cut the end off before I cook it in the microwave, when it isn’t hot or slippery! Works the same!!
good to know! That is much easier and I’m excited to try it!
Soooooooo, I’m 58 years old and this is the first I heard of this??? GENIUS!!! Works like a dream.
Worked just like you said!! Love it 🙂
AMAzing TRick!
It is so much easier!! I hate all the silk and work!
Thanks for the simple directions for the best corn ever. I believe that! The corn even tastes better without all the boiled water. You really only want filtered water for cooking, and that is a lot of water you don’t need to waste, right???
Exacactly, Roberta! Glad you like it!