
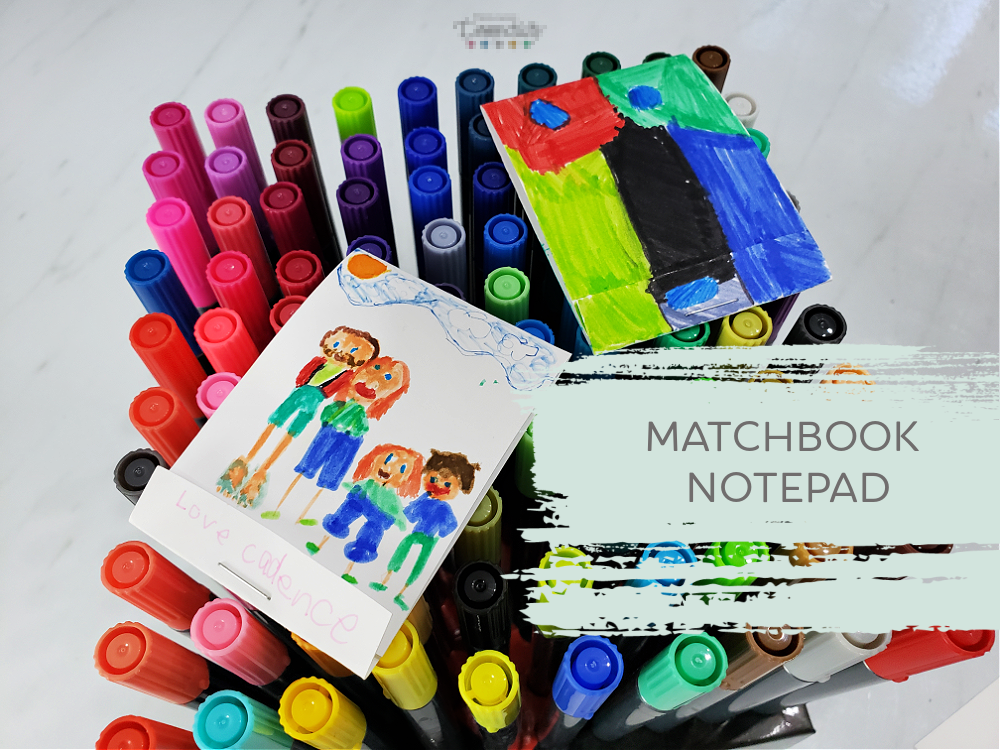
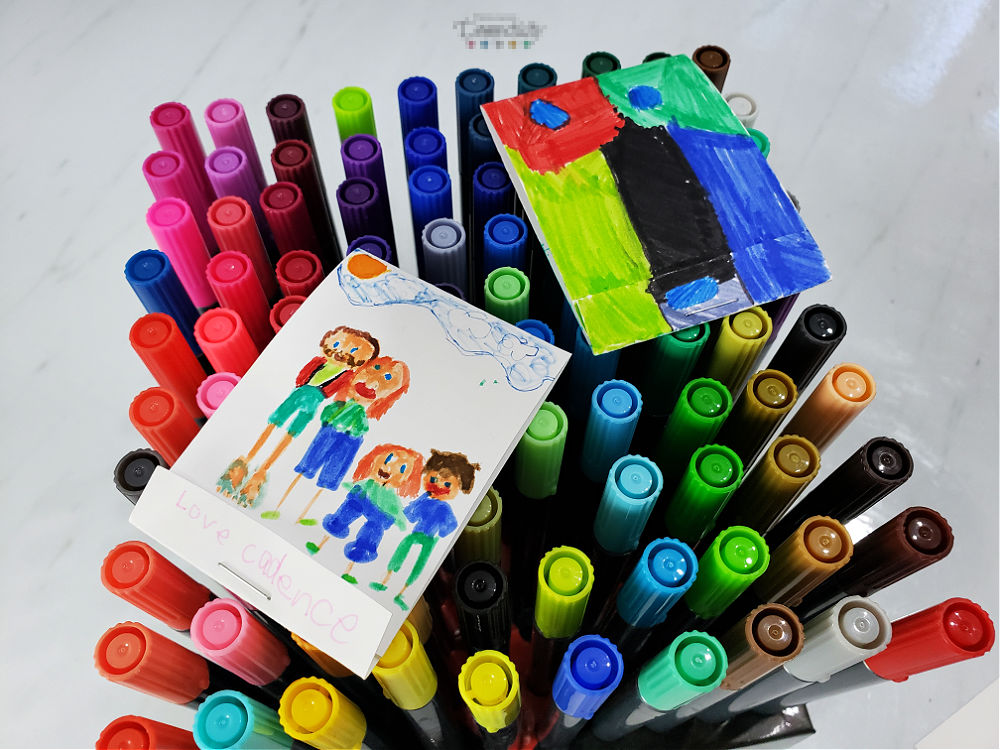
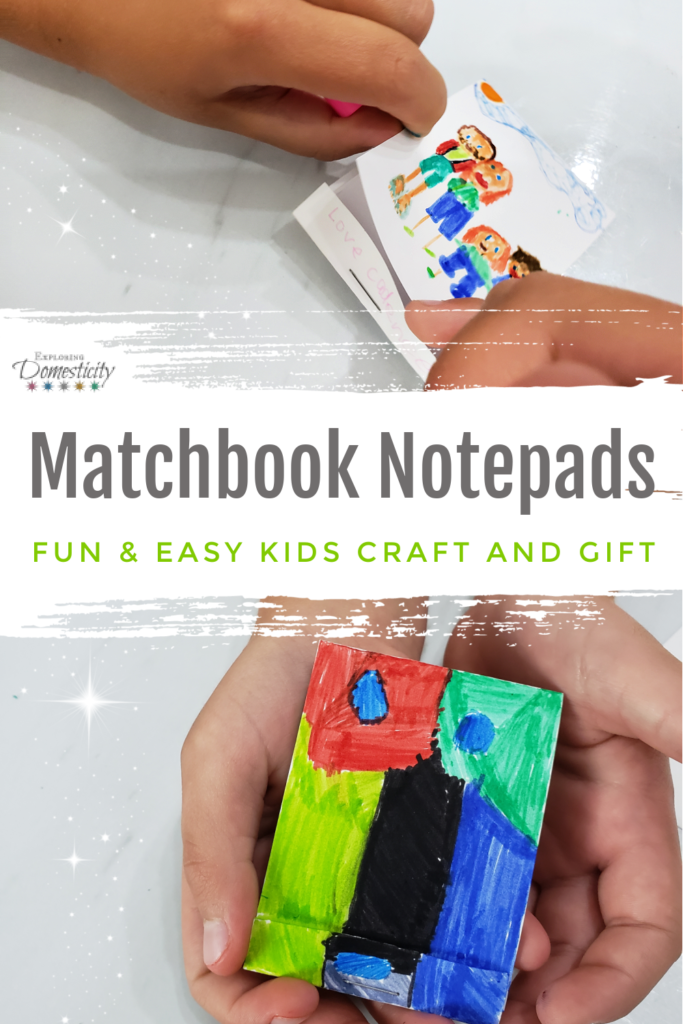
So easy to make yourself and perfect for little notes on the go, gifts for grandparents, or a travel activity for kids. These DIY Matchbook Notepad are a very easy craft, but so cute and handy to have!
Make your own matchbook notepad in no time! Just some simple folding and cutting, but this notepad will simplify your life, make a great gift, or keep the kiddos busy! Win-win-win.
This is a sponsored post in partnership with UrbanFarmhouseTampa. We also participate in affiliate programs, including the Amazon Services LLC Associates Program, an affiliate advertising program designed to provide a means for us to earn fees by linking to Amazon.com and affiliated sites. If you don’t have Prime, you can try it 30 days for free here!
In our family, my dad is the one we go anytime we need something made. You may have seen his work with the double bunk beds, mudroom cubbies, shiplap fireplace, and so many more.
It seems we’re always asking him to help with home improvement projects, make us some custom furniture, or create one thing or another. That means, when he comes over, we are usually making plans of some sort.
Also Read: Carriage House Double Bunk Beds
Even with all the notes and measurements we can take on our phones, sometimes you can just use some old-fashioned pen and paper. Before phones, my dad always had a scrap of paper in his wallet for taking notes like this. Or, he’s asking me for pen and paper.
Last year, the kiddos and I decided to solve his problem with a thoughtful gift the kids could make themselves.
Also Read: Easy picture frame DIY
Matchbook Notepad
It’s so easy to make your own little notepad in a matchbook style. All you need is some computer paper, card stock, stapler, and scissors or a paper cutter.
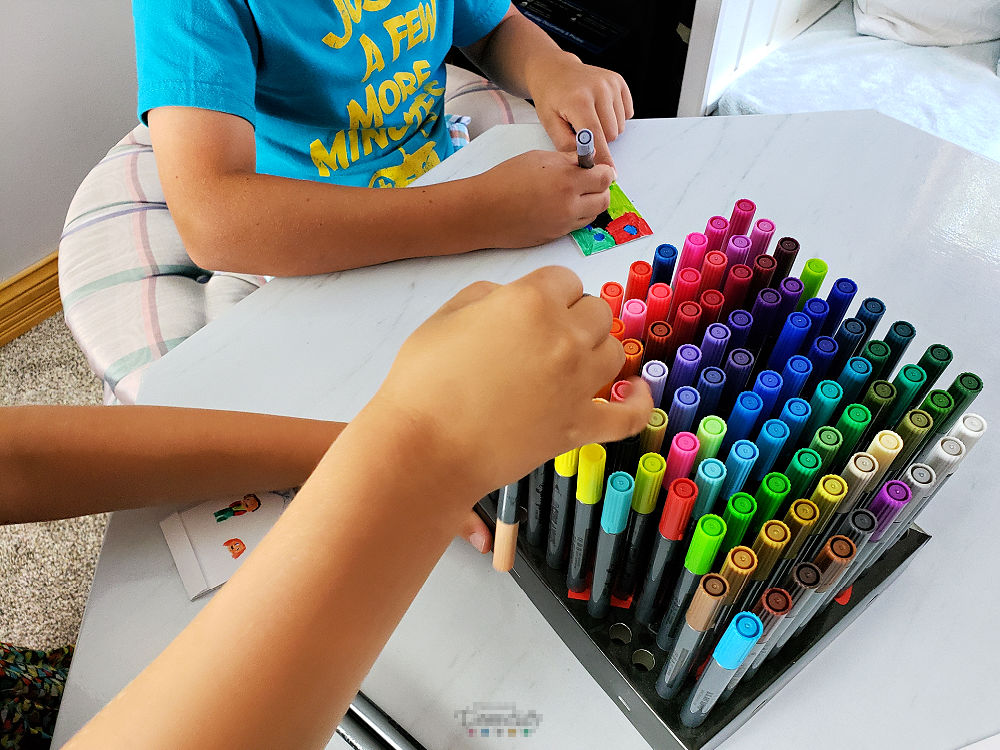
With kids, this is a very simple project that they can color and decorate themselves.
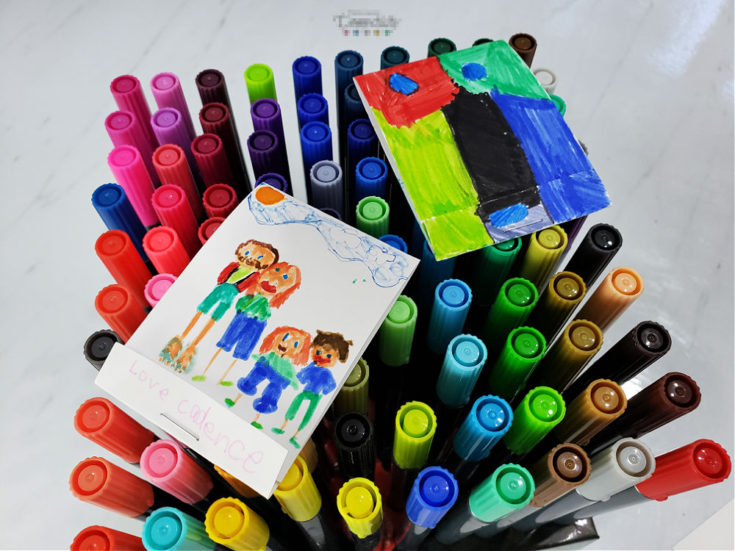
So, the kids colored the card stock and we packed it full of small pieces of paper. Best of all, they are nice and small. So small that Grandpa keeps them right in the center of his wallet and uses them quite often.
Since, he recently has been pulling out his little notepad for a lot of different projects, the kiddos wanted to make some more for his birthday this week.
Make DIY Matchbook Notepads for…
Grandparent gift
Teacher gift
Kids car / travel activity book
School flashcards
Party favors
Clever way to reuse paper
… and the list goes on and on
Also Read: DIY Room Spray Teacher Gift
Make your own Matchbook Notepad
These are so simple, but they look so cute! They’re also super practical.
This is a great craft for kids because they can decorate the white card stock. It’s also simple enough for them to put together.
However, white card stock isn’t the only option! There are so many different colored card stocks out there and even fantastic patterns to choose from. Using one of these makes for an even more professional look. They would be great for party favors!
Also Read: Basketball Cup and Ball Craft and Activity
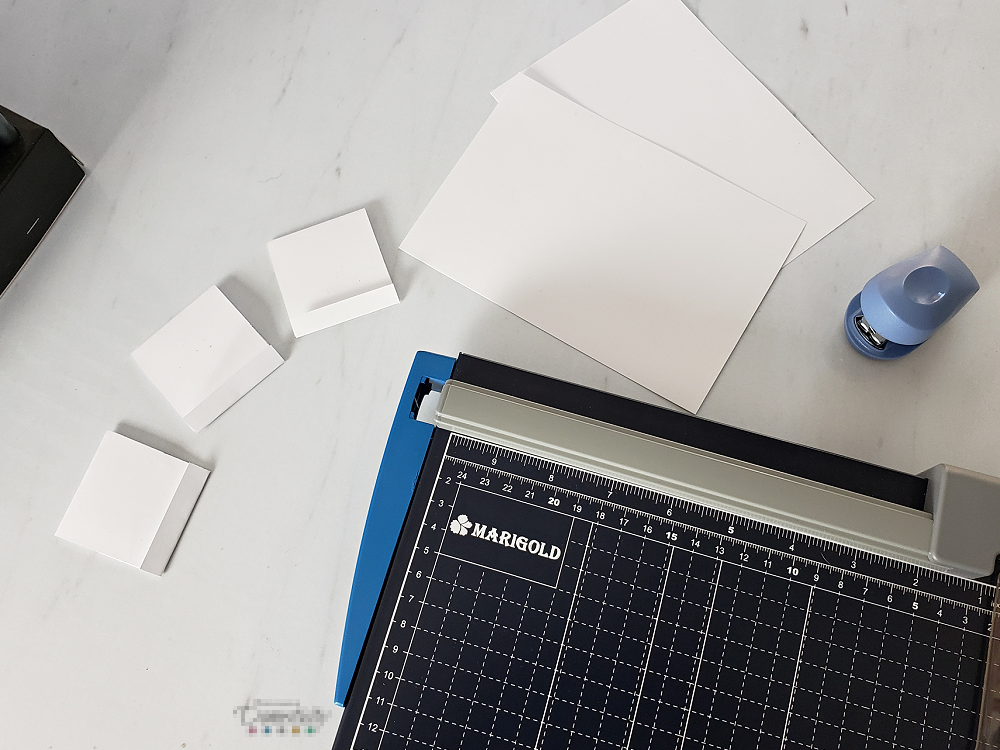
For our project, we use 4.5 x 6.5 white card stock. This size makes it very easy to get the size we like, which is pretty much 2 x 3. It’s a perfect fit for sliding into a wallet. That’s what we were looking for.
Tip: The exact dimensions don’t really matter too much. Just remember that the top flap doesn’t fold all the way to the bottom. Only to the point where the staple will hold the paper, bottom flap, and back of the card stock together.
Matchbook cover
For the sake of relaying what we did, I’ll refer to the 4.5 x 6.5 card stock, but feel free to do what works for your card stock and looks proportional.
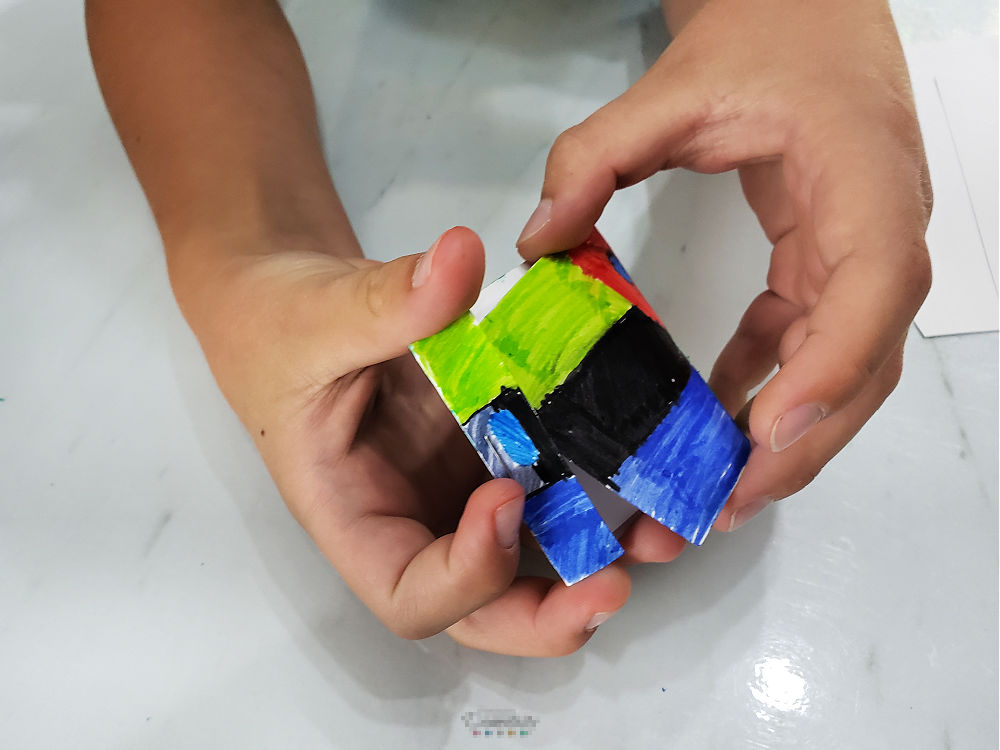
Taking your sheet of card stock in portrait orientation, fold up the bottom half inch of the paper. Then, fold the top down to just overlap the bottom flap. You will be putting a staple in the center of the bottom flap and tucking the upper flap behind to hold. Therefore, you want the top flap to just reach the point of the staple.
Once you have your card stock folded, you can use a paper cutter or scissors to cut it into two equal books. This will leave you with something around the size of 2 x 3 inch matchbook notepads.
Notebook pages
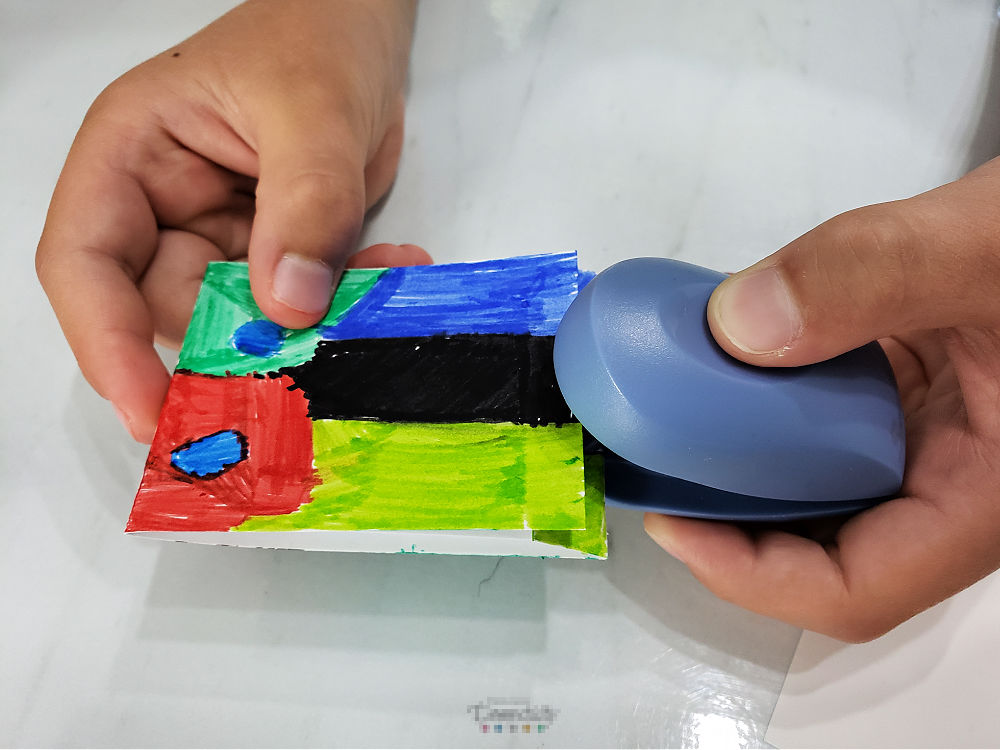
At this point you can decorate the card stock or give it to the kids to decorate. Then, take some normal computer paper (or colored paper) and cut it into equal rectangles. The book looks nicer and functions better when the paper inside is a little smaller. I ended up with 12 2 x 3 pieces and split them between the books of the two kiddos.
If you’re doing small matchbook notepads with anywhere from 6-10 sheets of paper, the way we folded will work just fine.
If you prefer to have a larger number of paper sheets, I suggest an extra step. Because of the thickness of the stack of paper, it will help to add an extra fold just 1/8 of an inch from the two previous folds we made. This will allow your book to be thicker and still close nicely.
Staple together
The last step is to center your stack of pages snug into the bottom fold. Then, place a single staple in the center holding the pages inside the front fold and back of the card stock.
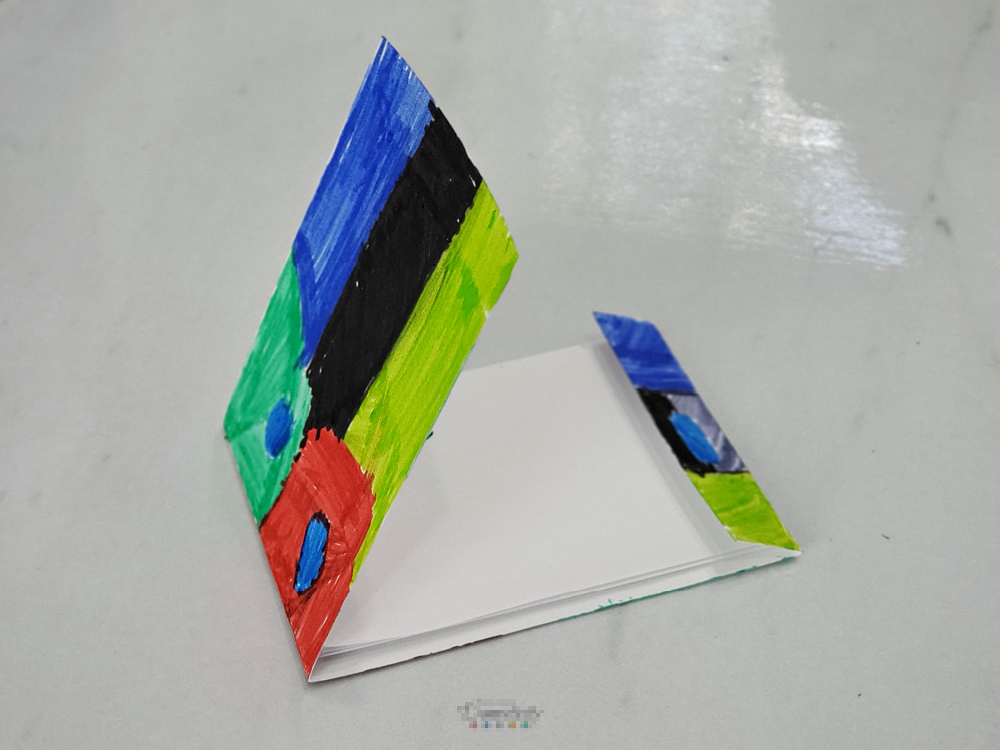
That’s all there is to it! So easy, but these little matchbook notepads are so handy to have! The pages are the perfect little size and you can easily rip them out as needed from the single staple.
You can really make them any size you want. This size is great for travel, flashcards, or party favors. However, I absolutely love the idea of using up one-sided worksheets, junk mail, newsletter, etc and simply cutting them in half to make a larger book of scratch paper! Such a great way to reuse paper before it heads to the recycling bin!
Also Read: Cactus Gift for Social Distancing
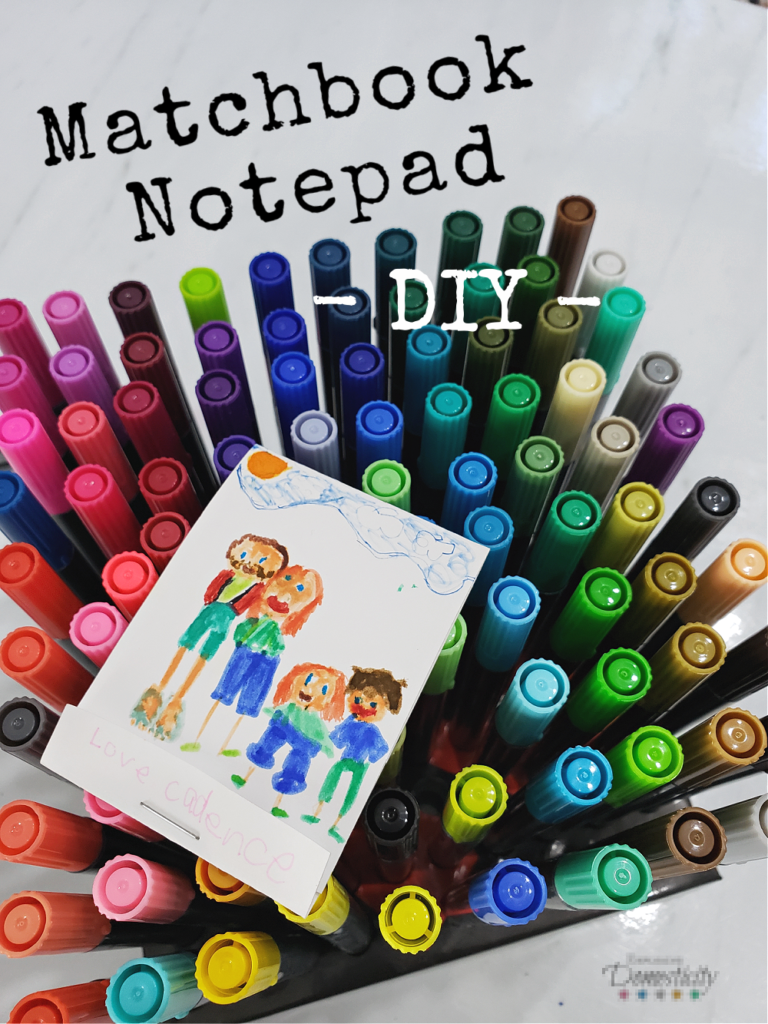
DIY Matchbook Notepad
Matchbook Notepads
So easy to make yourself and perfect for little notes on the go, gifts for grandparents, or a travel activity for kids. These DIY Matchbook Notepad are a very easy craft, but so cute and handy to have!
Materials
- Cardstock
- Computer Paper
- Markers, paint, or crayons for decorating
Tools
Instructions
- Starting with a piece of 6.5 x 4.5 inch card stock in portrait orientation, fold the bottom .5 inch up toward the top.
- Fold the top down, stopping halfway through the previously folded portion.
- Cut in the center to easily create two matchbook notepads.
- Using a paper cutter, cut your computer paper just a bit smaller than the inside of your matchbook. In this case, you should have 12 2x3 pages.
- Line up the pages and tuck them tightly down into the bottom fold with equal space on the left and right. (You should have a little space on the top to allow for better closing)
- Place one staple in the center through the bottom fold, pages, and the back of the matchbook.
- Fold the top cover of the matchbook down to meet the staple and tuck behind the bottom fold. (If the top doesn't tuck in tightly, you may need to trim so that it fits securely above the staple.
- Decorate your matchbook notepad.
Notes
We like this 2 x 3 size notepad, but feel free to use whatever size works best for your needs! This size is perfect for 4.5 x 6.5 inch cardstock and you can easily make two at a time with only one cut between them.


Pin It!

