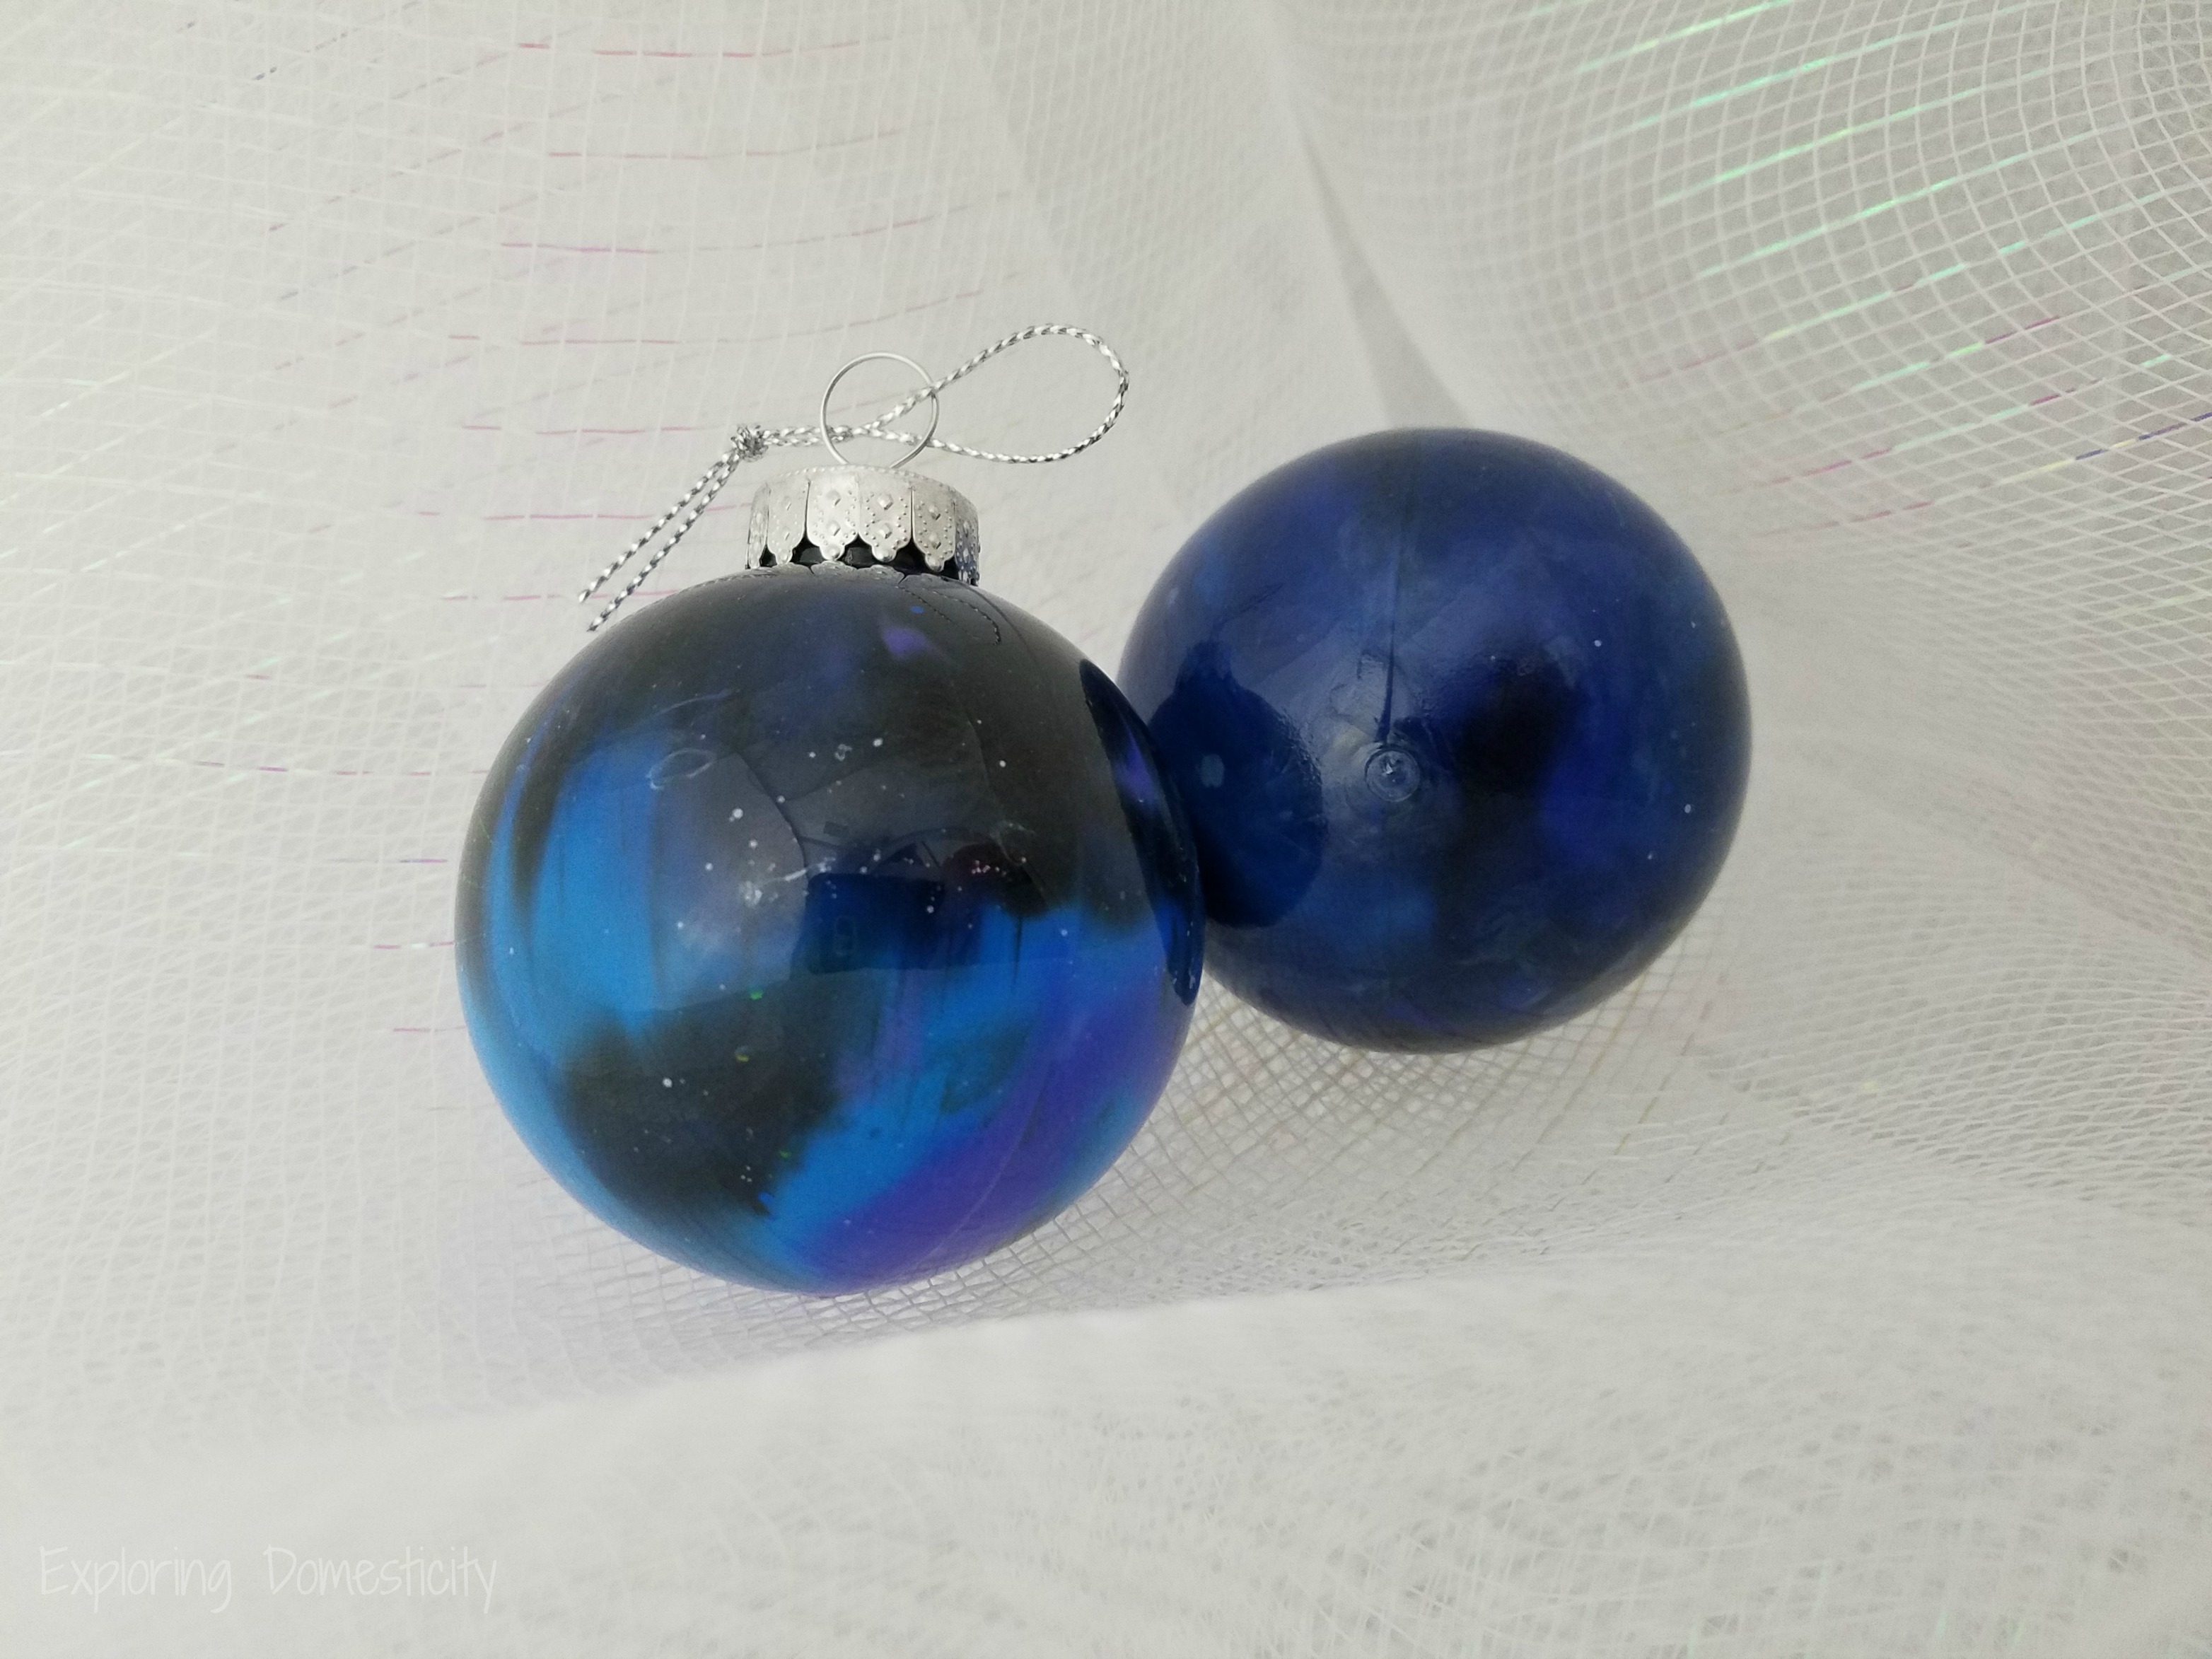
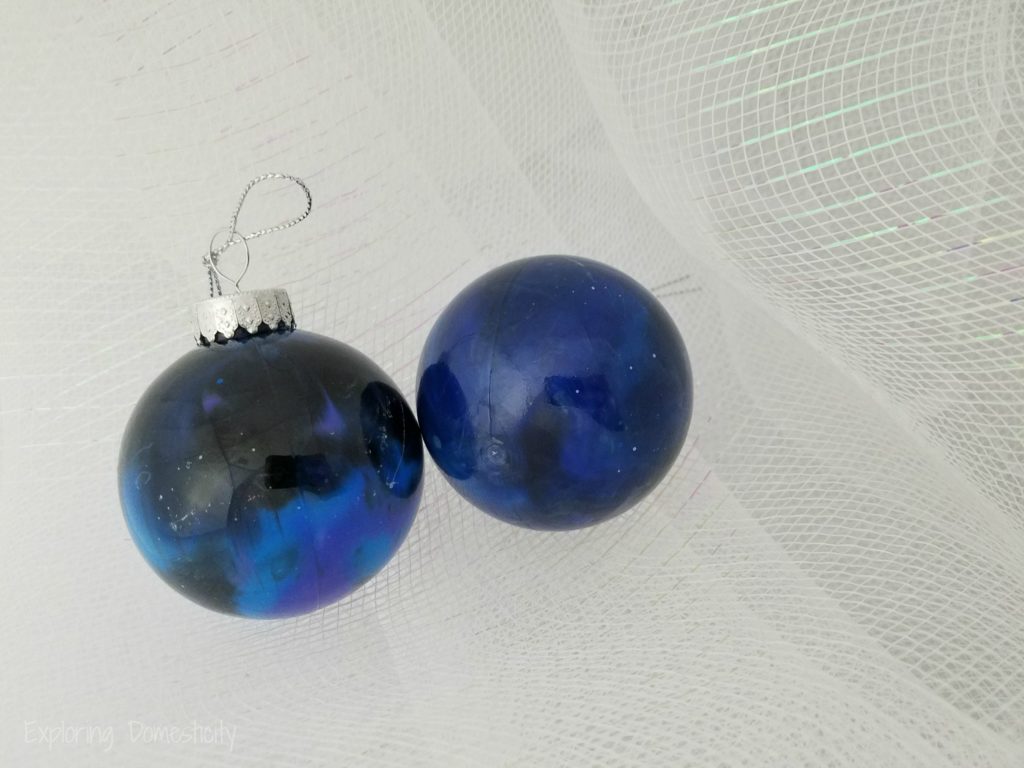
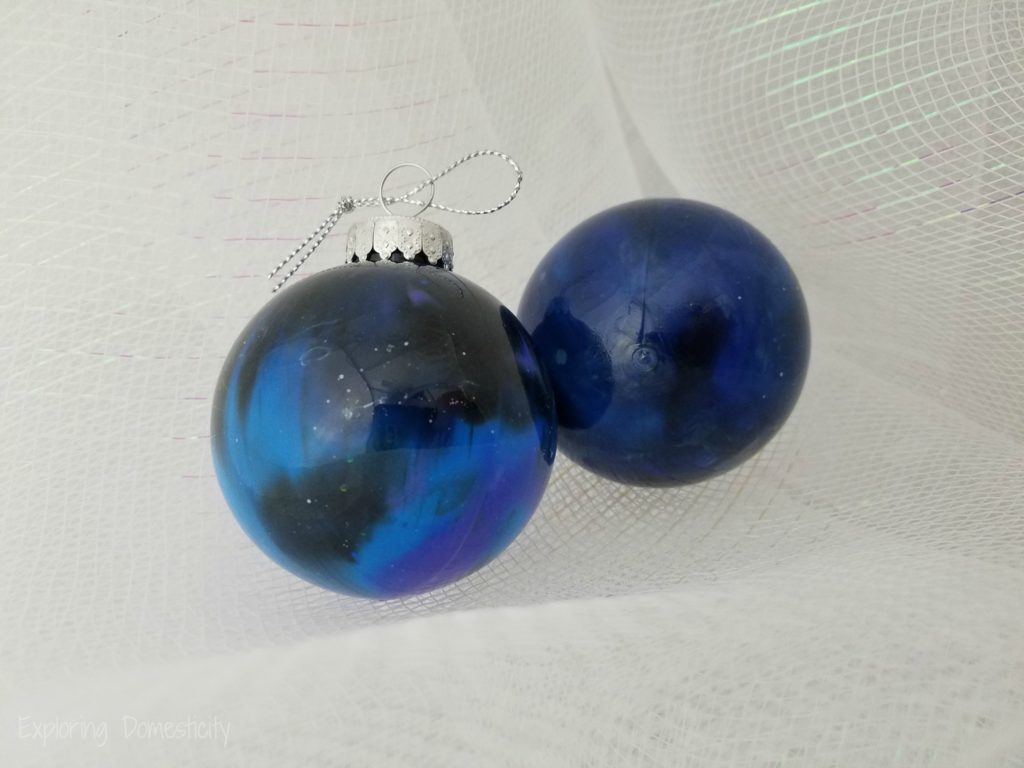
These DIY Galaxy Ornaments are so much fun! The possibilities with DIY poured paint Christmas ornaments are endless.
You can use any combination of colors you can think of for your own personal decor. With some inexpensive ornaments and acrylic paints, anyone can do this project!
This is a sponsored post and may contain affiliate links. We hope you will find the links helpful to make your own poured paint DIY Galaxy Ornaments!
Does anyone else have the little Christmas tree you used to decorate your dorm room in college?
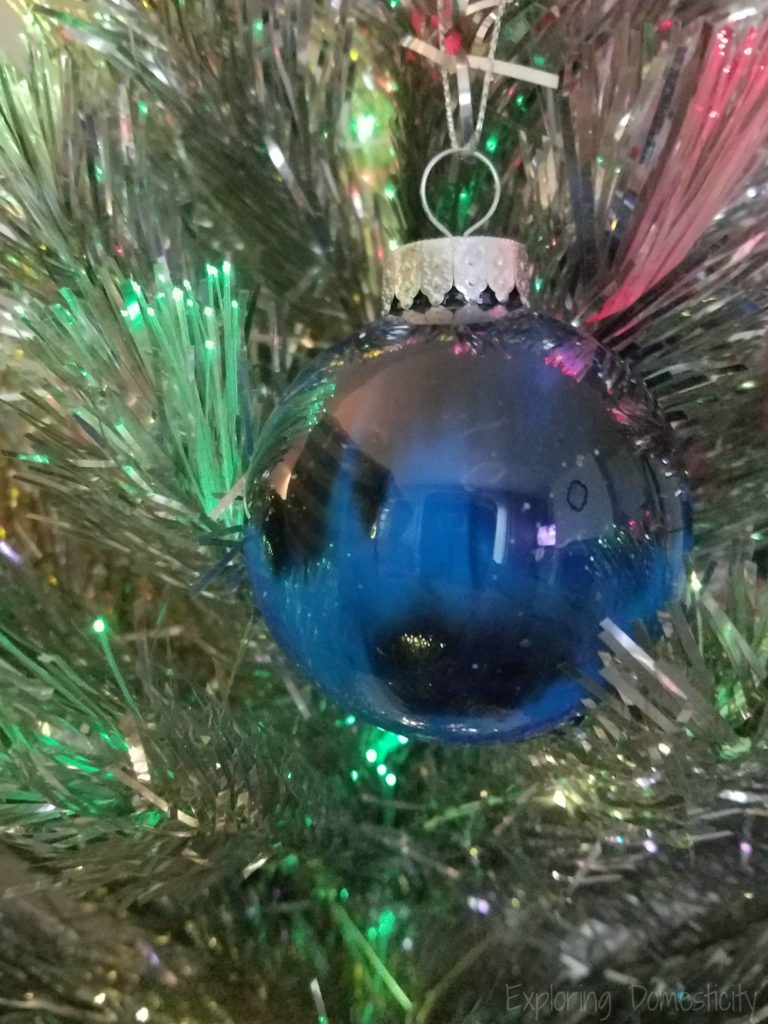
We still decorate with my little silver, fiber-optic Christmas tree. The kids love it, and I can’t get myself to let go of it.
So, what goes better with a silver Christmas tree? Cosmic DIY Galaxy Ornaments, of course.
Also Read: Santa Bear Hot Chocolate Melts
Poured Paint
Have you seen any of these poured paint techniques?
They look so fun, I had to try it!
I love the look of the colors as the marble and mix together.
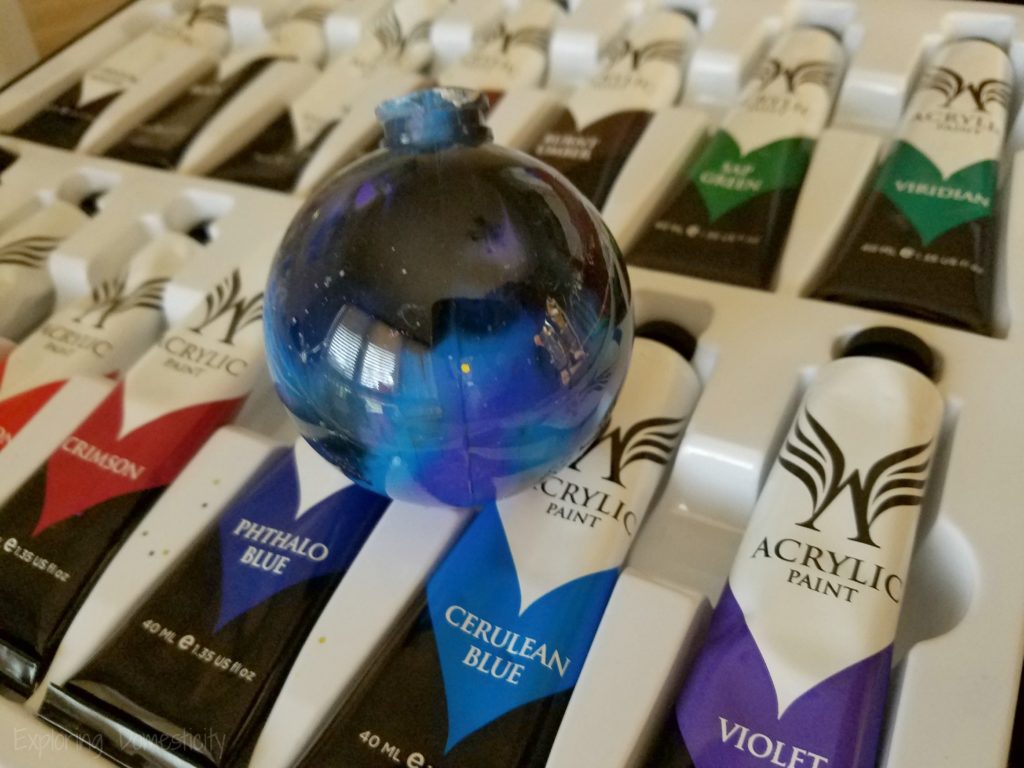
We also just got these amazing acrylic paints and couldn’t wait to use them. They have all your favorite Bob Ross colors: yellow ochre, crimson red, burnt sienna, etc. They even include two tubes of titanium white.
So, the deal with poured paint as an art form is that the paint is poured onto a canvas or object in layers. The colors mix together as the paint pours off the object or the artist swipes across the paint, blending them together.
Poured Paint Ornament
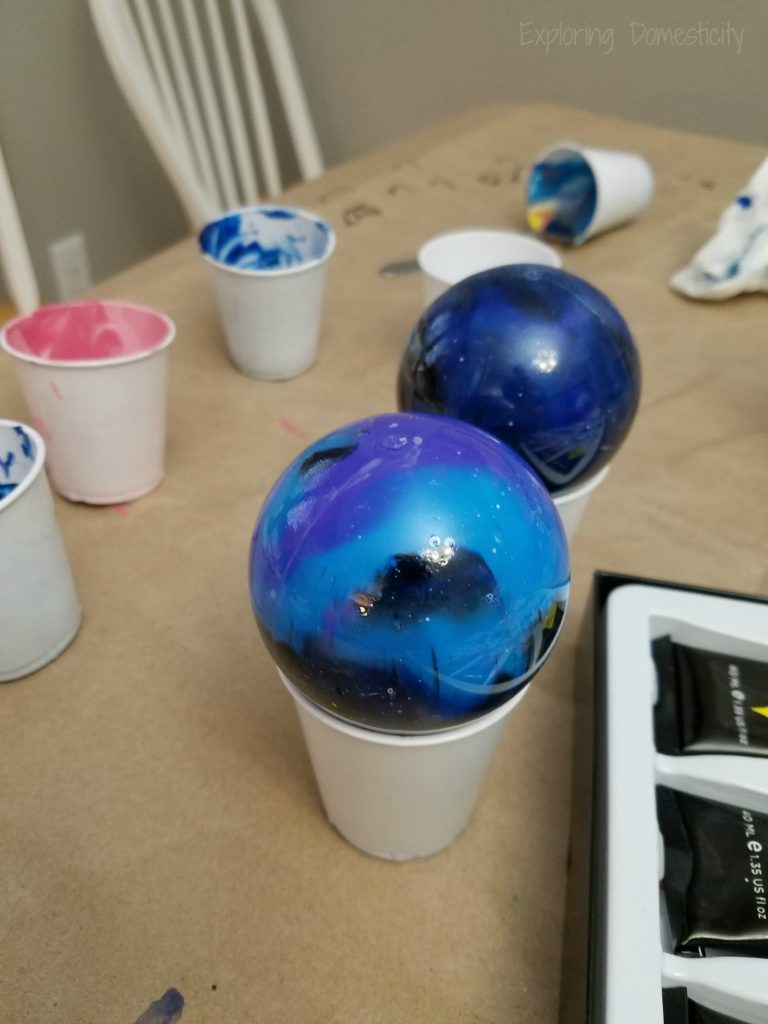
In this case, we decided to pour our acrylic paint into an ornament and let the colors blend together before pouring out the access.
There is no wrong way to do this.
Any color combination you can imagine. Anyway you want to pour the paint and cover the ornament is up to you.
The great thing about this is that you can customize your Christmas decor in no time. It’s so easy! If you have a very specific color scheme, you can make it happen. If you found some amazing ribbon, but can’t find the perfect ornaments – you can make your own.
You can find customization ornaments at any craft store, Walmart, Target, or even the Dollar Tree. We picked up some of plastic ornaments from the Dollar Tree for $1 for a set of two. If you go this route, I will say to feel each ornament. Some are very thin in places and not very strong. I felt for the hardest ornaments with no weak spots.
You can also order these right from Dollar Tree and have them delivered to your closest store for free!

Also Read: Advent Calendar Ideas for kids
DIY Galaxy Ornaments
We had no idea what we were doing when we started with our DIY Galaxy Ornaments. It’s definitely a learn-as-you-go project.
My first question was, do I need to thin the paint? This is where the trial-and-error came into play. The paint definitely pours better with a little thinning with water. However, it takes very little.
I thinned the paint too much the first time I tried. I then realized I needed more paint and very little water. My advice… use a tiny bit of water and a good squeeze of paint. We use small plastic cups to thin and pour the paint.
The cheapskate in me hates to waste paint, but you really have a much easier time if you just let this go. Luckily, this paint set has larger tubes than regular sets.
If you have no problem wasting paint, this project will take you no time at all because it will pour so nicely. If you’re like me, you’ll take a little longer to scrape out every last bit of paint, turn the ornaments around to spread the paint, and reuse the paint that dripped out. Haha!
Also Read: DIY Felt Earrings
After making 4 ornaments, this is the way I would recommend…
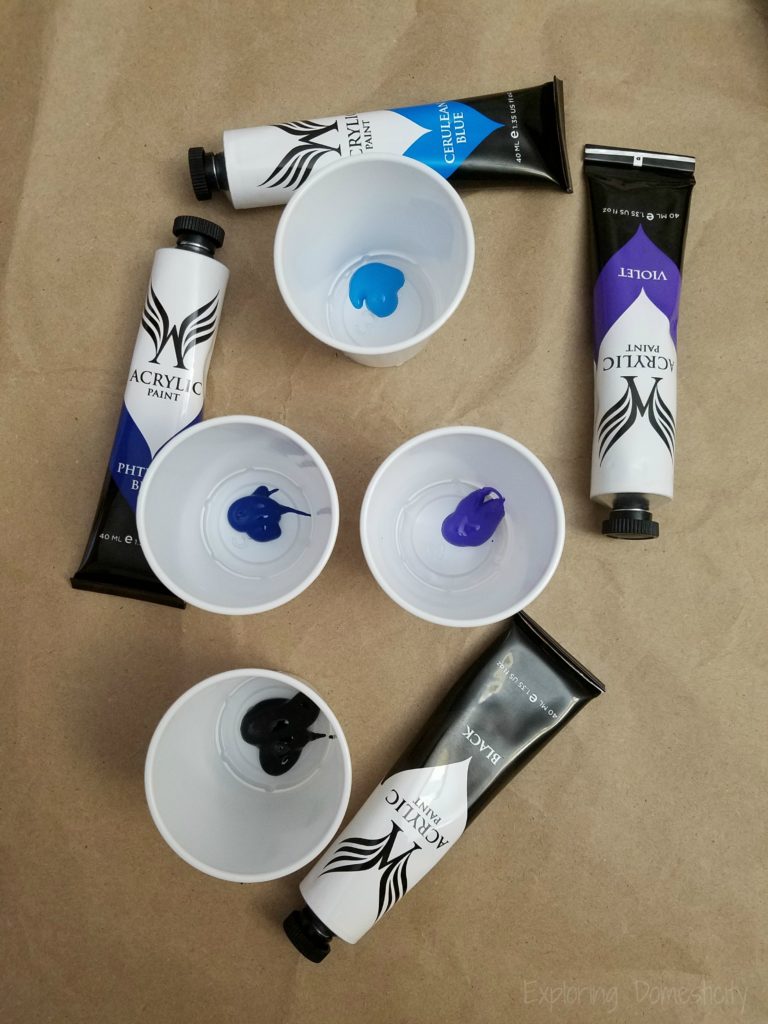
- Place each color of acrylic paint in a small cup and mix with a tiny bit of water.
- Combine all colors in one cup. Place them one on top of the other without mixing together.
- Remove the hook and lid from the ornament and place the ornament in clean plastic cup with the hole facing up.
- Pour the paint into the ornament.
- Move the ornament to mix the paint around. If you used a lot of paint, flip the ornament over in the cup and let the paint drip out.

Colors used for the DIY Galaxy Ornaments
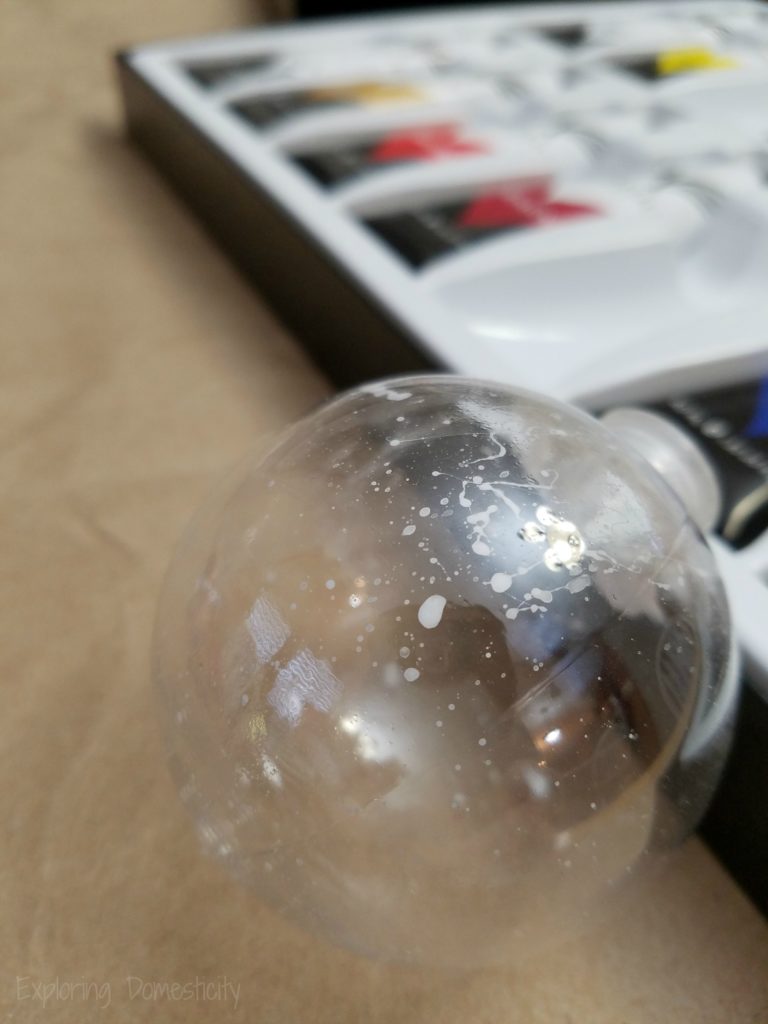
Titanium White. To make the galaxy ornaments, it looks great to add some stars to your galaxy before pouring the paint. We did this with a small child’s toothbrush and white paint. It wasn’t as easy as I would have liked, but it worked out. A bit of silver or white glitter would look nice at this point too.
Cerulean Blue and Violet. These are the first colors we use for our galaxy. Pour them together and swirl them around the ornament, but don’t cover all the space. This leaves room for the darker colors to make these stand out. It would look great to add some glitter at this point. Of course, I found my glitter after we finished…
Phthalo Blue and Black. The final colors to add are the darkest colors. This makes your previous swirls of color really stand out and gives it that galaxy look. Swirl these colors around last and let the excess drip out into a cup.
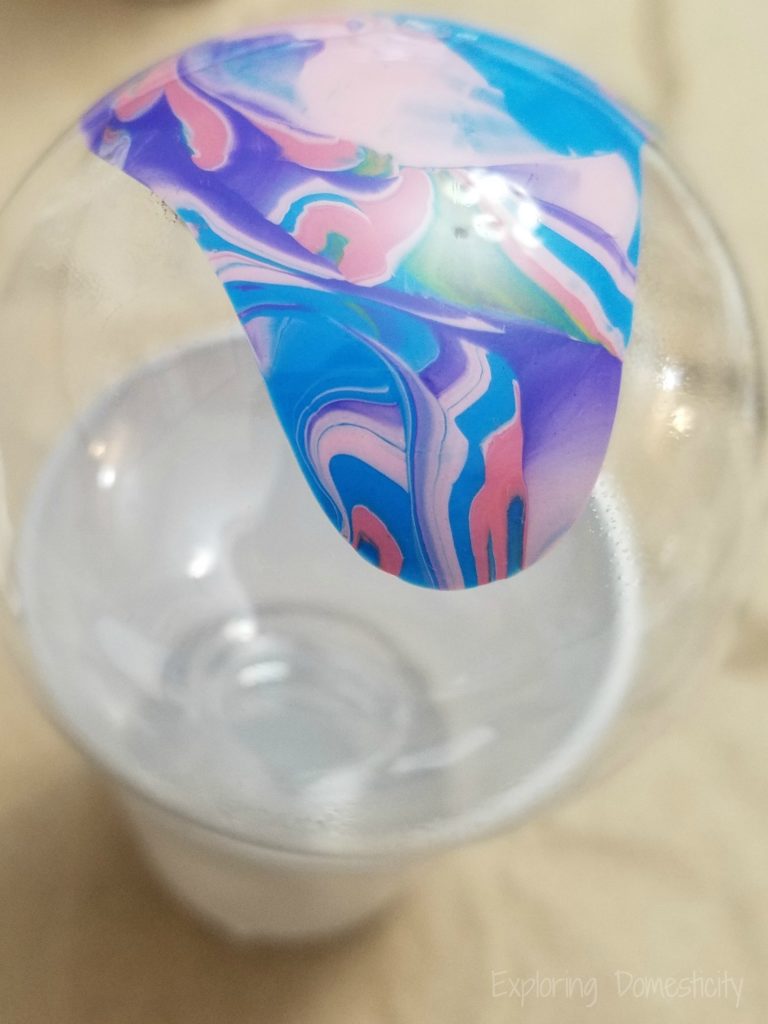
Sneak Peek of the other ornaments we’re playing with…
Our DIY Galaxy Ornaments aren’t the only one’s we’re experimenting with. I don’t want to give away too much yet… Partially because they didn’t work out quite right just yet.
But… I do have to show you the mix of colors we got. I love them!!
Also Read: Setting the Holiday Mood
This makes me want to try every color combo under the sun. I’m thinking red and white peppermint ornaments… Snowy white ornaments with Christmas trees – if I can manage it! Really, I just want to mix all sorts of colors together to see how they turn out.
Luckily, this acrylic paint set we got has a lot of tubes of paint and they are a much larger size than the ones we’ve gotten in the past. I’m thinking I should start buying the ornaments in bulk…
I do have to tell you. I was looking for these ornaments on Amazon, because I love Amazon, but I can’t find a better price that getting them at the Dollar Tree for 2 for a dollar.
Also Read: Warm Caprese Christmas Tree: Easy holiday appetizer
The Little Lady and I had so much fun with this project! It’s perfect for kids and a very fun craft for Christmas.
When do you decorate for Christmas?
Do you use a specific color combo on your tree? Or do you cover it in all your favorite ornaments?
More Like This






Only registered users can comment.