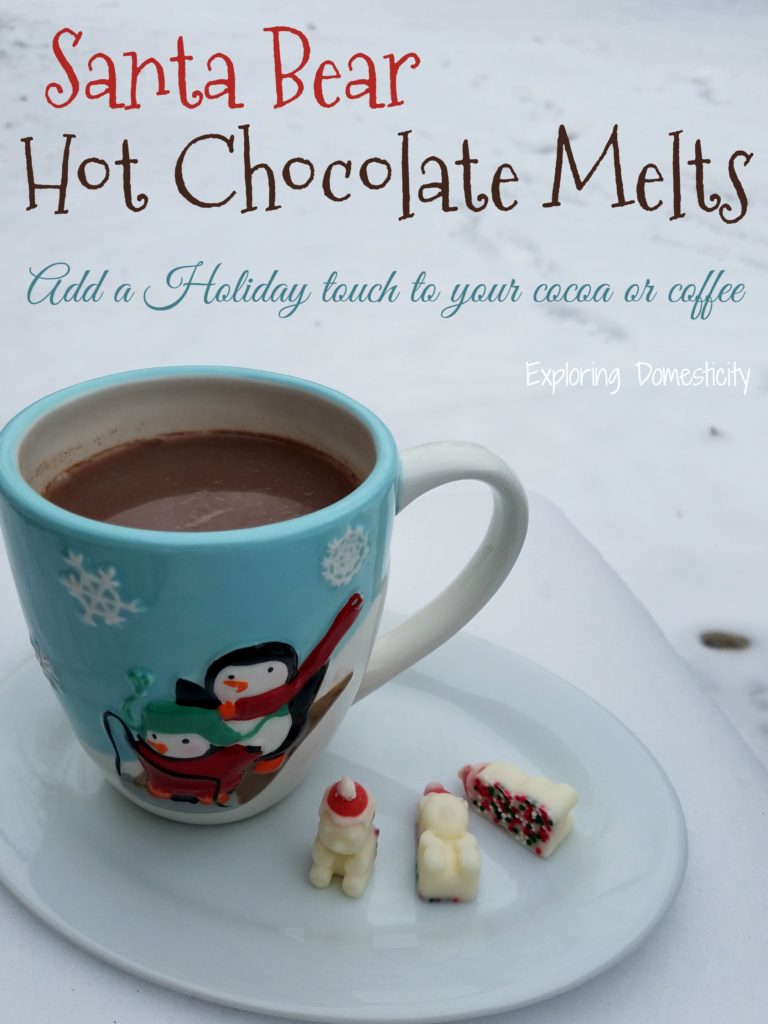
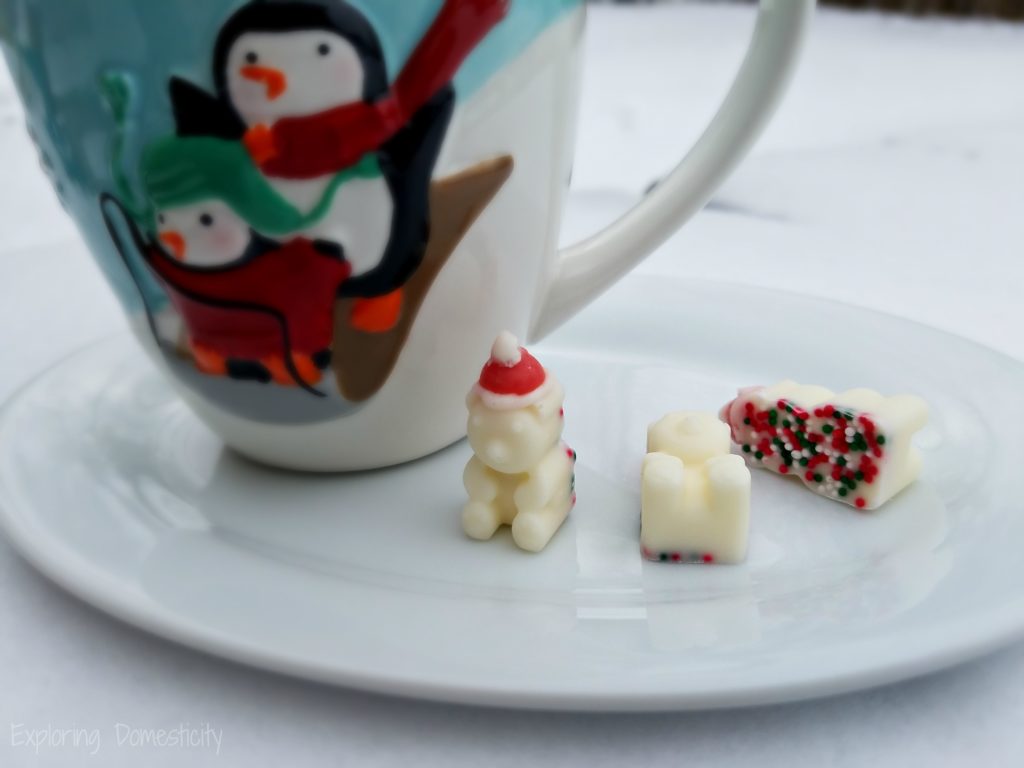
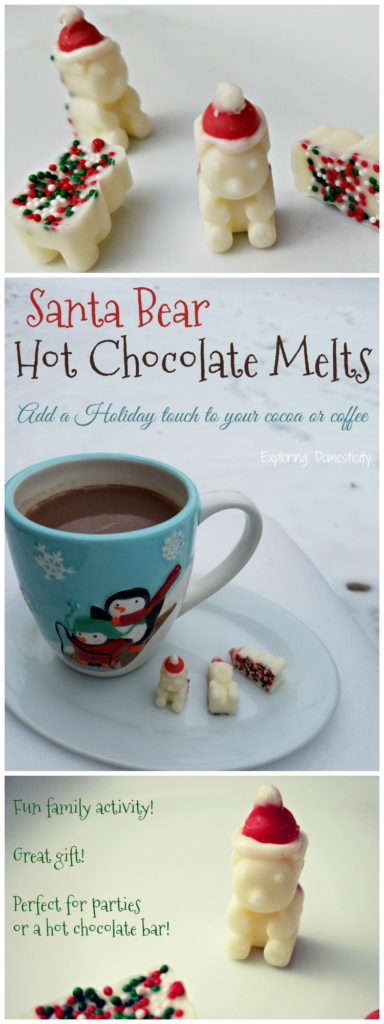
A quick, easy, and completely adorable holiday treat! Santa Bear Hot Chocolate Melts are the perfect family activity. They are also great as gifts, add-ins for a hot chocolate bar, or just a fun holiday treat for your cocoa or coffee!
This is a sponsored post and contains affiliate links. We only try to share things we know you’ll love and hope you find the links to the product helpful!
You guys know how in love I am with my silicone bear molds! They’re so adorable! I can’t resist having a little fun with them during the holidays.
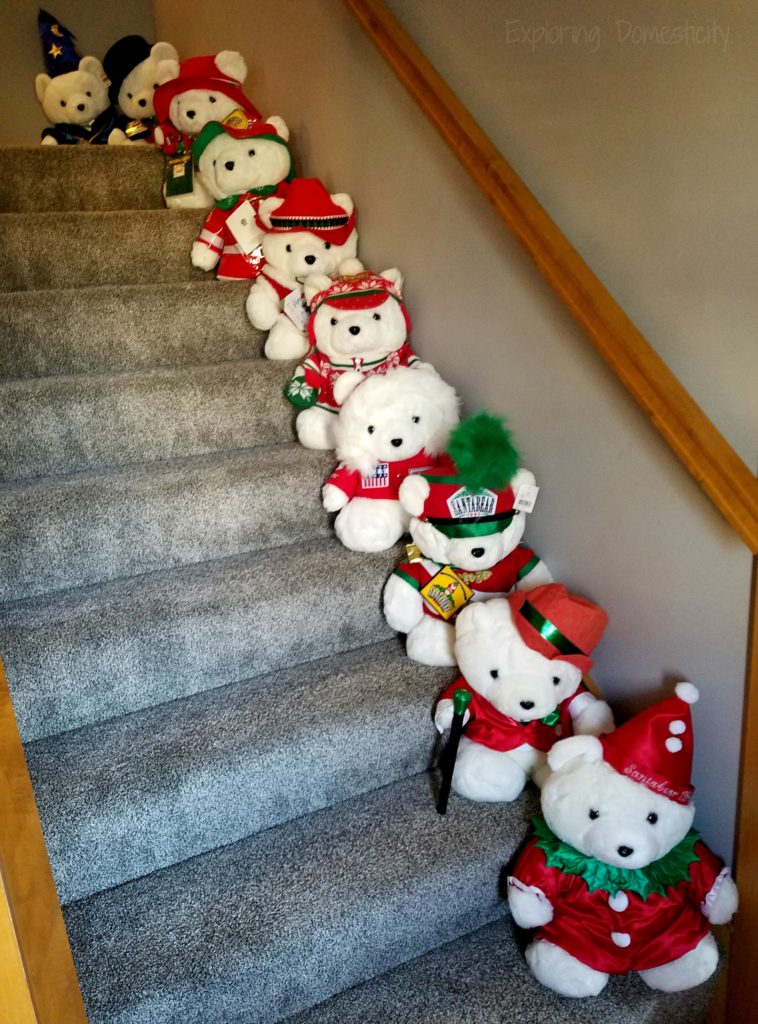
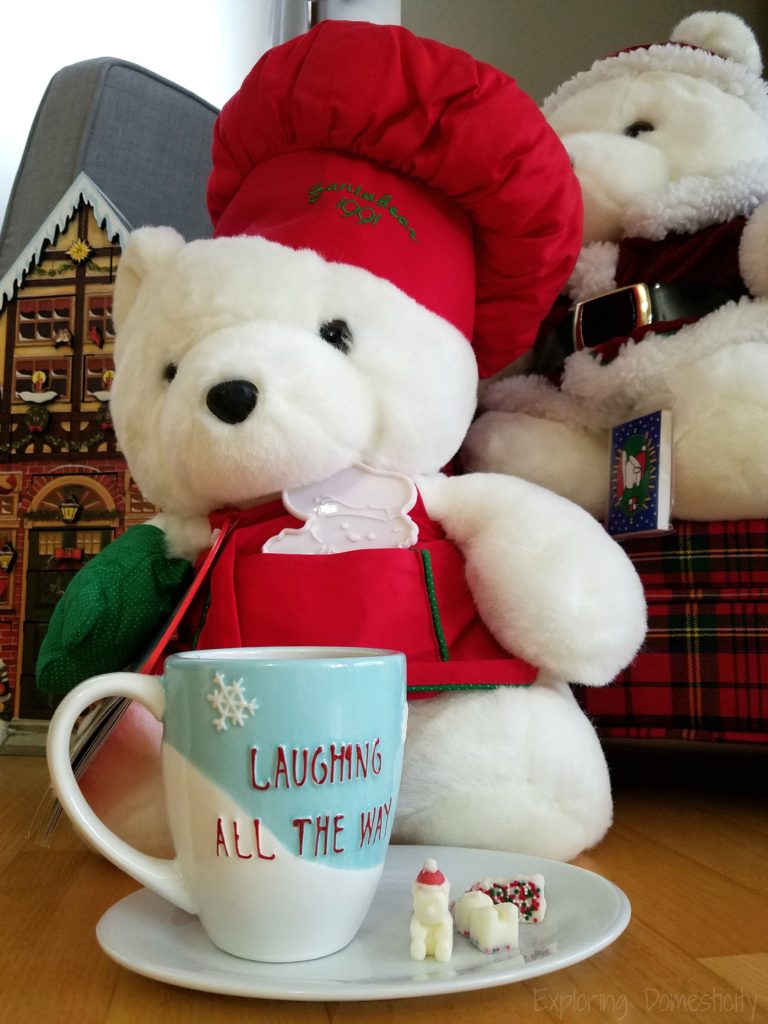
One of my favorite decorations from my childhood are our Santabears. We collected them each year for 14 years, I believe. We have had them in storage the entire time we lived in our smaller house…
Now that we’re in a new house, we have room for all 15 Santabears!
The kids love them. They are so much a part of my Christmas memories that I want to turn them into an adorable holiday treat. The perfect way to create more memorable holiday moments!
As you know, we aren’t fantastic bakers in our household. If it comes from a mix, we can make something delicious. But, we typically stick to “melting” instead of baking. For instance, we tend to use almond bark and make chocolate covered pretzels instead of baking Christmas cookies.
Since we do that each year, we think it’s the perfect idea to add some adorable almond bark Santa Bear Hot Chocolate Melts to this year’s holiday baking (or melting).
Santa Bear Hot Chocolate Melts
We tend to use almond bark for our pretzels, so that’s what we’re using for our Santa Bears. However, they will be even tastier with your favorite chocolate too. Even butterscotch would be amazing in your hot chocolate.
Your bears can be white, brown, black or even multi-colored, depending on what you use. We went with white because of our Santabears (but brown bears would have probably shown up better in the pictures…)
You can give some chocolate Santa Bears as a holiday treat for neighbors, teachers, or anyone as a Christmas surprise. Or, you can use them for your hot chocolate at home or even a hot chocolate bar at holiday parties.
Making Santa Bear Hot Chocolate Melts
These are so easy to make! They are the perfect holiday activity for the kids since they don’t involve a lot of waiting.
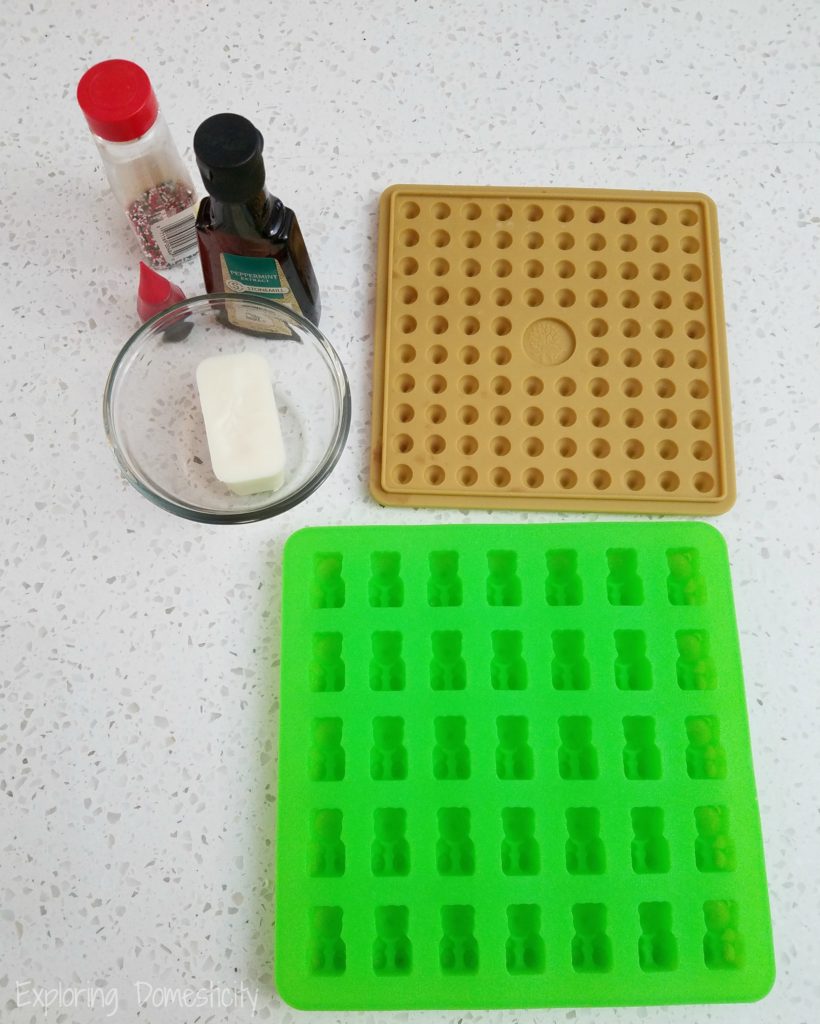
Depending on how many Santa Bear Hot Chocolate Melts you want to make, you will melt a different amount of chocolate or almond bark. We did a small batch the first round and broke off three blocks from our almond bark. We used two for our bear mold and one for our Santa hats in the chocolate chip mold.
These silicone bear molds and chocolate chip molds each come in a pack of three, so you can make a lot at once if you wish.
Melt your chocolate in the microwave or over a double boiler. We use the microwave and spin it 30 seconds at a time until we can stir it all together. If you go too long it will seize up on you.
Place 2/3 – 3/4 of your melted chocolate in one bowl and 1/3-1/4 in another bowl.
To the smaller bowl, add a few drops of red food coloring until you have a nice, red color for the hat.
Peppermint Santa Bear Hot Chocolate Melts
There is nothing better than adding a candy cane to your hot chocolate during the holidays…
Unless, of course, you add a mint chocolate to your cocoa!
We add just a splash of peppermint extract to our melted chocolate to give these – and our cocoa – a mint chocolate flavor. Perfect for Christmas!
Building Santa Bear Hot Chocolate Melts
Working rather quickly, spoon your melted chocolate into the silicone bear molds. They do supply really handy droppers – and we used them for our yogurt bears – but I used a spoon this time to move quickly.
If you do use the droppers – which give the perfect amount for the bears – melt your chocolate in a glass cup instead of a bowl. This will allow you to suck up the chocolate easier.
Fill your bears a bit short of the top. As you tap your mold to release the air bubbles, this will keep things neater.
The most important thing is to tap, tap, tap!
Keep tapping your mold on the counter until you no longer see tiny bubbles moving to the top. This is another reason to work quickly because you don’t want the chocolate to start to harder.
Once all the bubbles are out, you can add a bit of holiday sprinkles to the back of your bears.
Next, fill your chocolate chip mold with the red melted chocolate. With these, it can be easier to spoon the mixture right on top and spread it across the mold.
The more excess you remove from the top, the cleaner they will pop out. If you do have some excess at the top, you will need to break them apart and clean them up a little for the hat.
As with the bears, repeat the tapping until all the bubbles have come to the surface.
Place the molds in the fridge, freezer, or out in the snow to harden.
Assembling the Santa Bear Hot Chocolate Melts
This is the fun part!
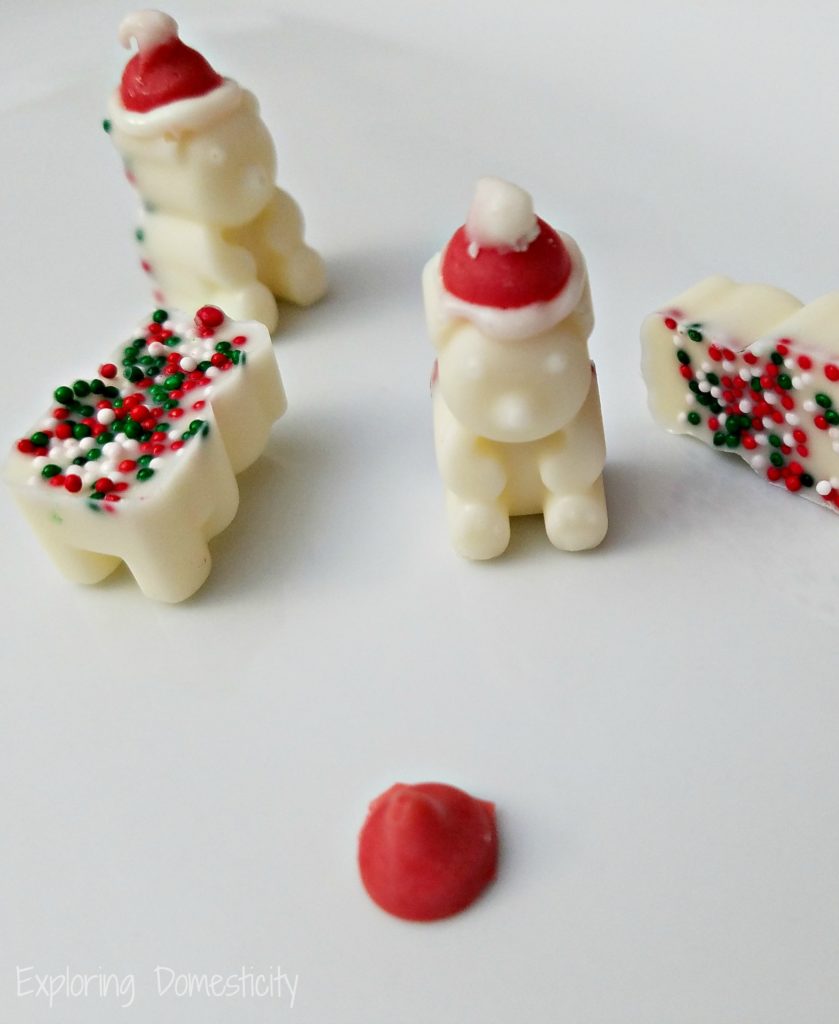
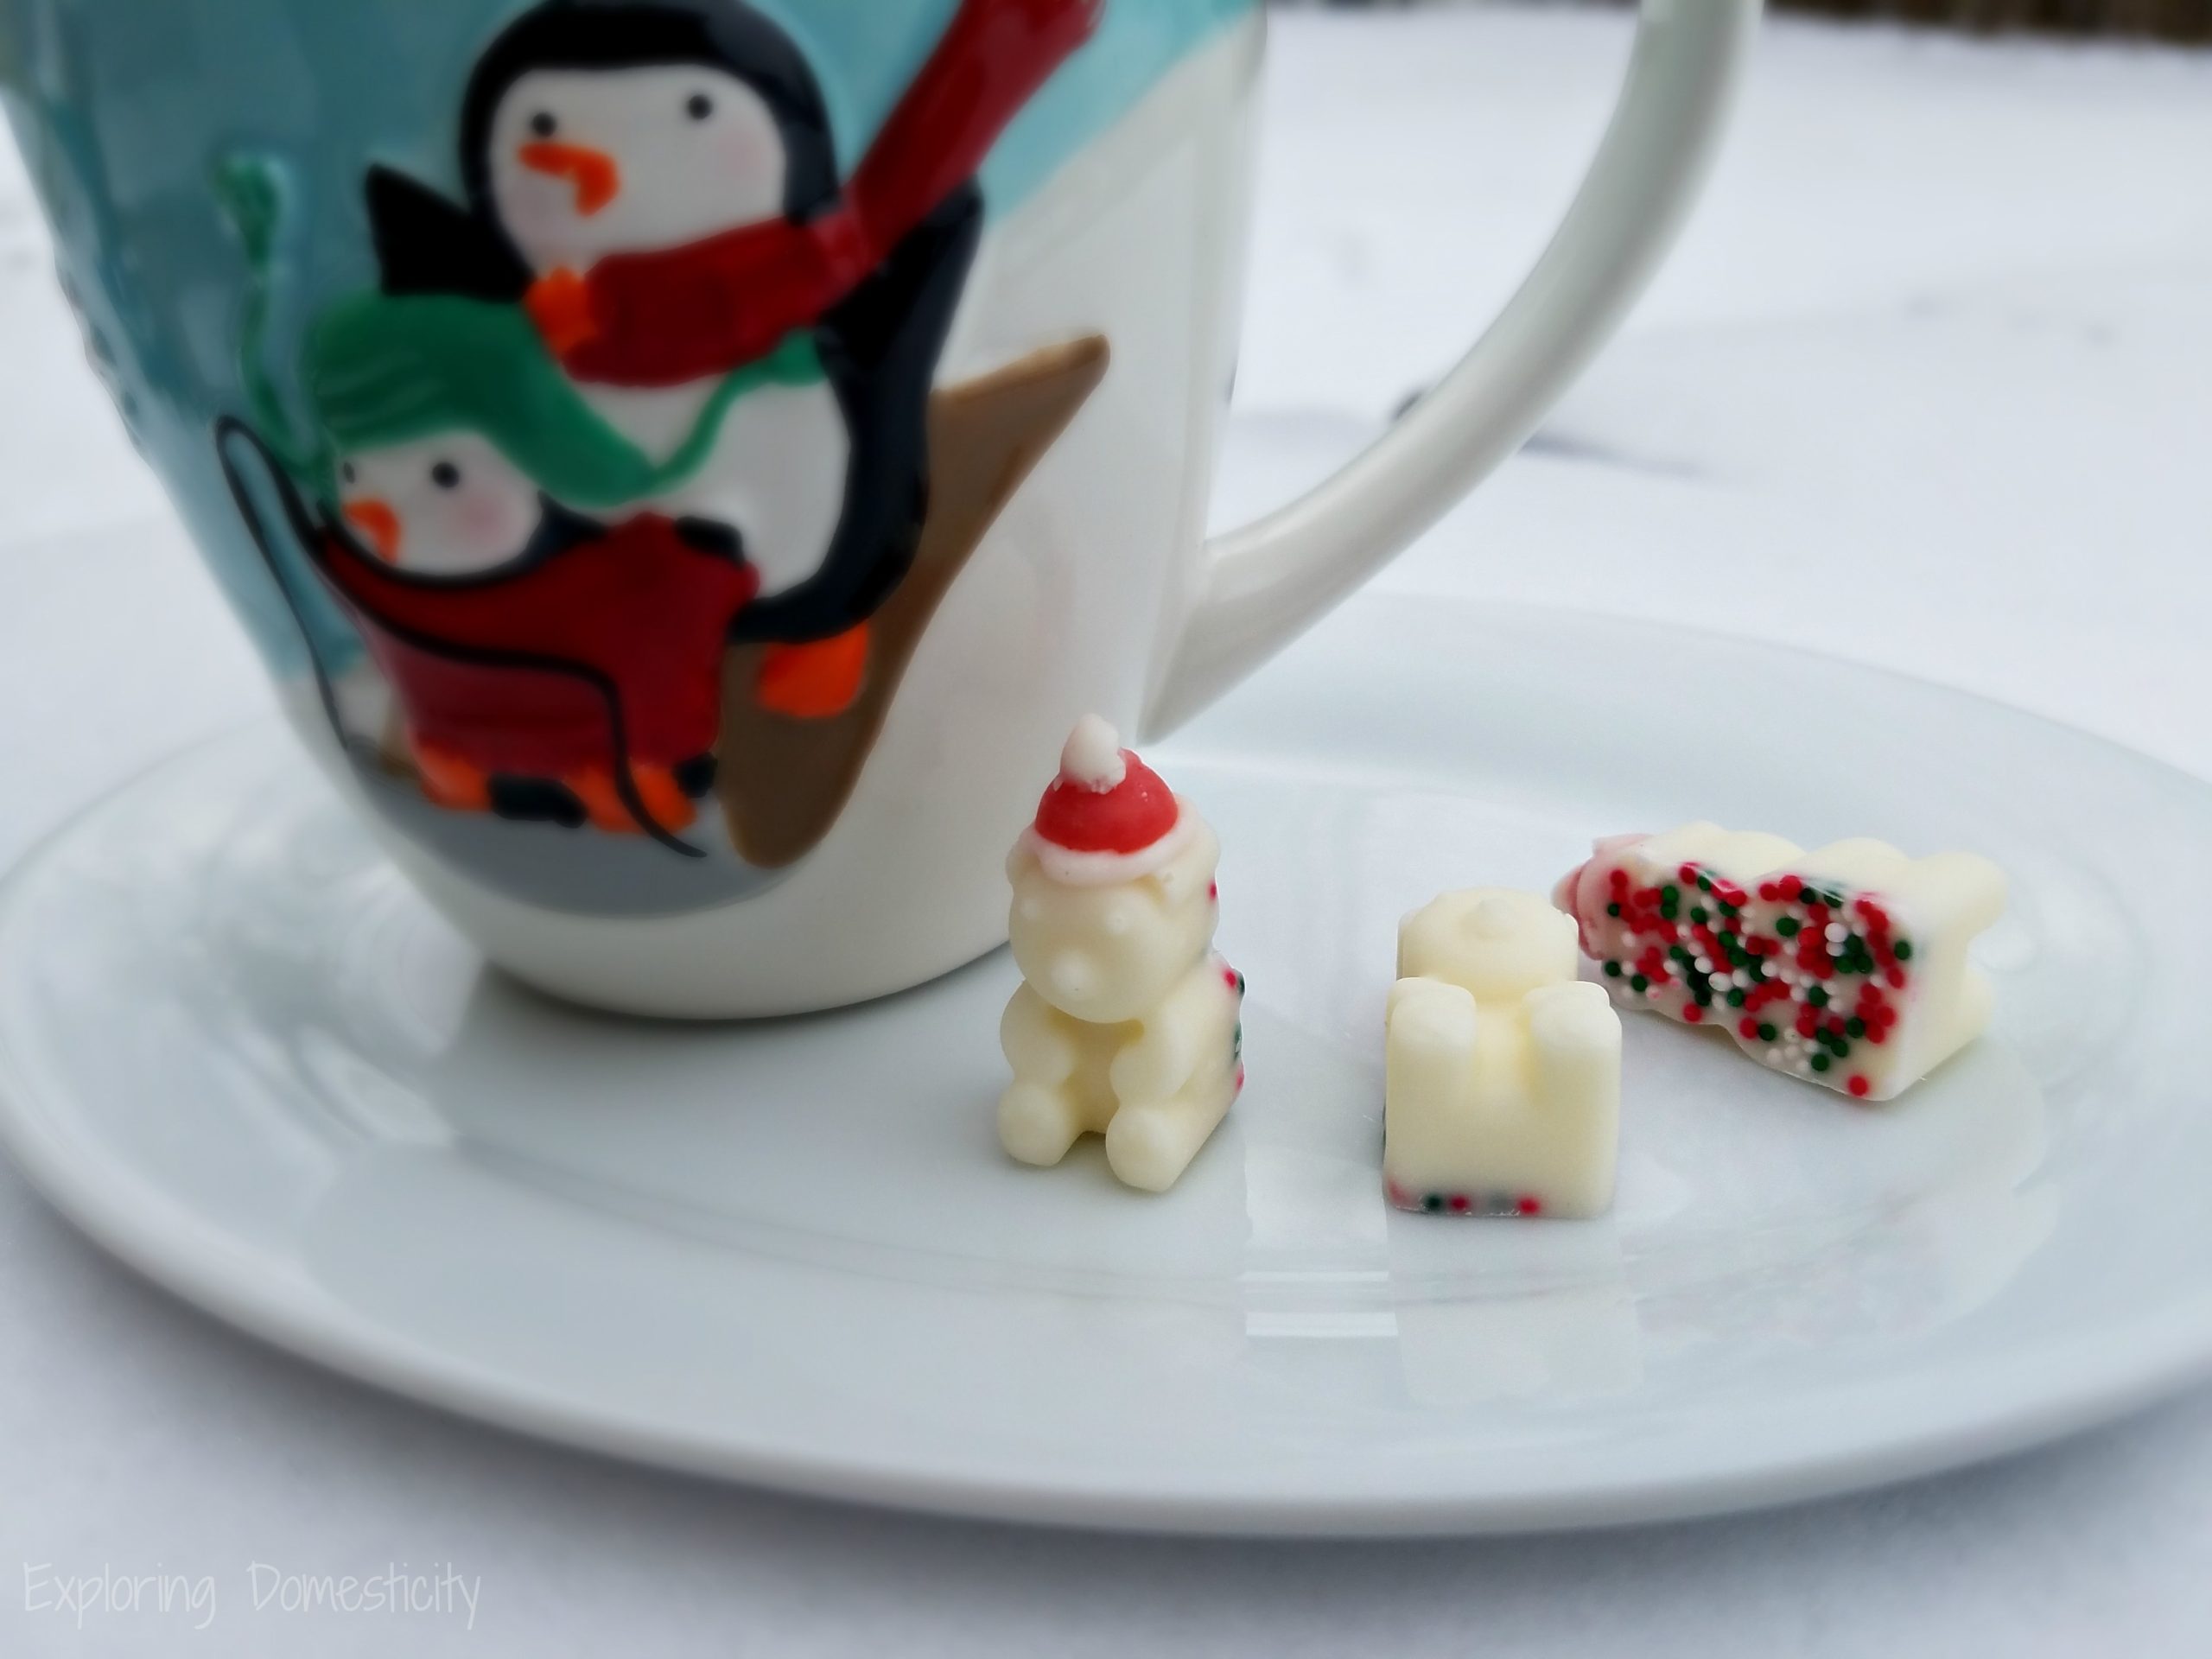
Remove your bears and chocolate chips from the silicone molds. The bears are so cute as-is, but they become completely adorable once you add the tiny hat!
Hold the red chocolate chip by the top and dip the bottom in some of the melted white chocolate. Place it on the bears head and let cool.
It doesn’t take long at all for the hat to stick. You can attach all the hats assembly line style before making the ball on the top of the hat and it will be plenty of time for them to adhere.
Then, turn the bear upside down and dip just the tip of the had in a little more white chocolate for the ball on the Santa Bear hat.
They are so cute! They will make the perfect give, addition to a hot chocolate bar, or just a fun treat to dip in your cocoa or coffee!
Tell me: Does anyone else remember Santa Bears?
What is your favorite way to drink your hot chocolate?
More Like This




Such a cute idea. Love how simple it is to make these festive bears.
Thank you! They are so easy and turn out so cute
This is such a great post I have never heard of Santa bear melts and I’m definitely going to try when my son is older.
They’re so fun to make and adorable too
These are adorable. I was trying to recall those stuffie I had one when I was a kid.
They are so cute – definitely bring back memories!
These are the coolest! What a neat idea 🙂 I’ll definitely try them out!
Thank you!! I can’t wait to hear how they turn out!
These are the coolest! Love this idea and I will be using it for sure 🙂
I’m so glad you like them!!