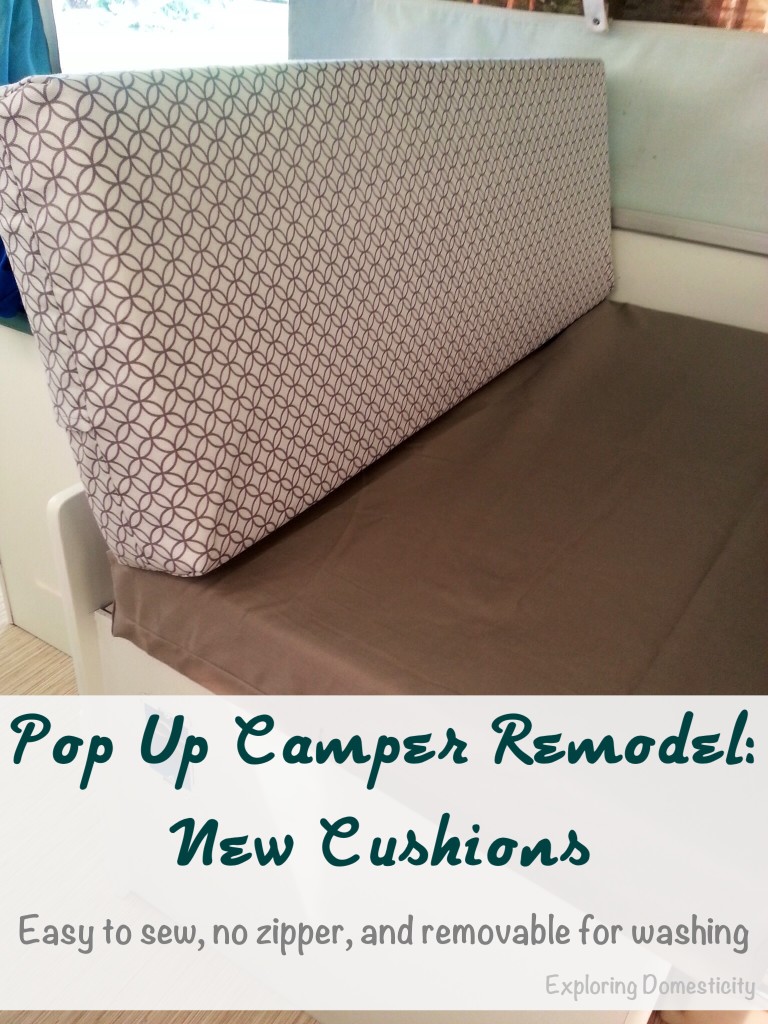
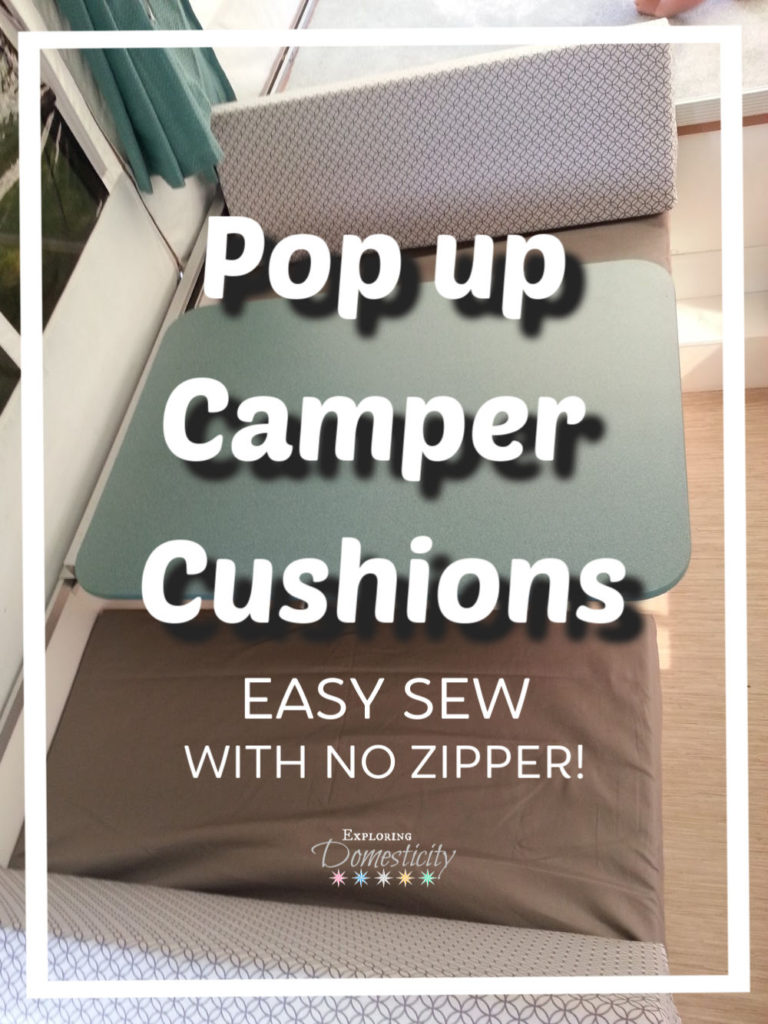
Pop Up Camper Remodel: New Cushions. It’s easier than you think to recover your camper cushions – or any cushions! Follow this tutorial and it will be a piece of cake!
Incredibly easy sew camper cushions with no zipper and removable for washing.
This is a sponsored post in partnership with UrbanFarmhouseTampa. We also participate in affiliate programs, including the Amazon Services LLC Associates Program, an affiliate advertising program designed to provide a means for us to earn fees by linking to Amazon.com and affiliated sites. If you don’t have Prime, you can try it 30 days for free here!
Check out our Pop Up Camper Remodel Slide Show!
Pop Up Camper Remodel: New Cushions
I can’t tell you how excited I am by these camper cushions! I had an idea in my head, I couldn’t find anyone who had done them the same way, and I knew they would be great!
I wanted to sew our cushions, I wanted them to be removable so they could be cleaned, and I didn’t want a zipper.
The end result was exactly what I wanted!
Do you need New foam?
Our cushions were in pretty good shape, minus the musty smell. However, we’ve seen plenty of campers where animals got to the cushions and they were not salvageable. Yuck!
You can actually find camper cushion foam on Amazon. There are a lot of upholstery foam or camper cushions available on Amazon
Pop Up Camper Remodel: New Cushions Fabric
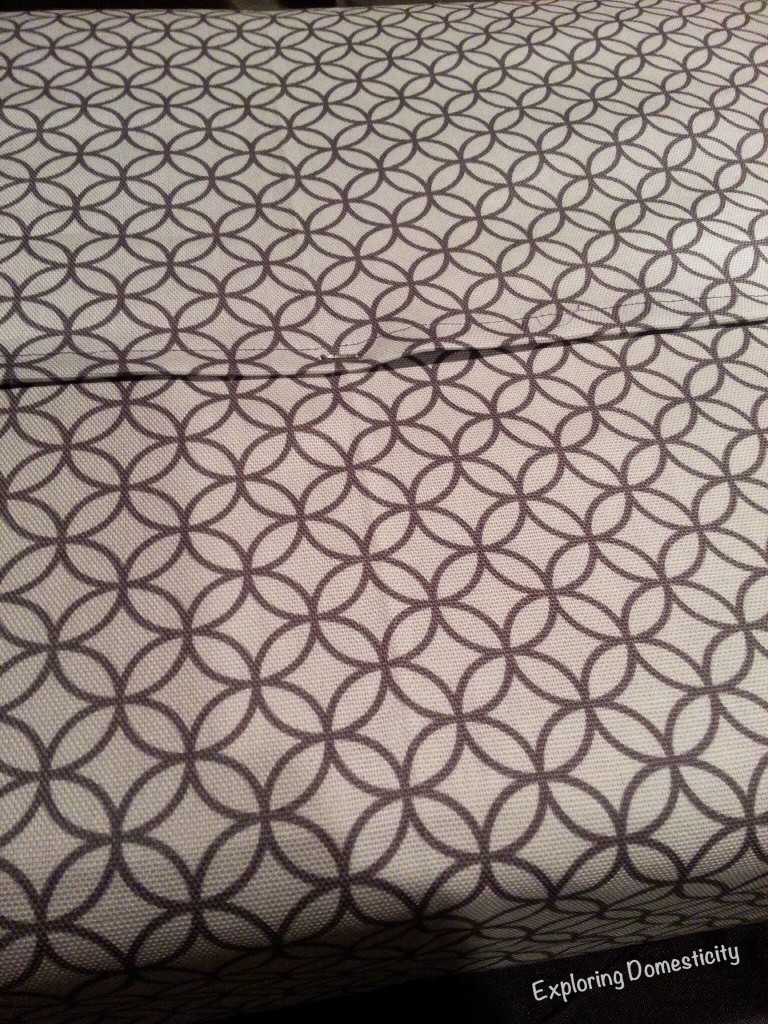
We didn’t know know exactly what we were doing when we bought our fabric, but I think we got something like 3 yards of the pattern and a yard and a half or so of the plain. (Roughly… it’s been so long now and we ended up taking whatever was left on the roll.)
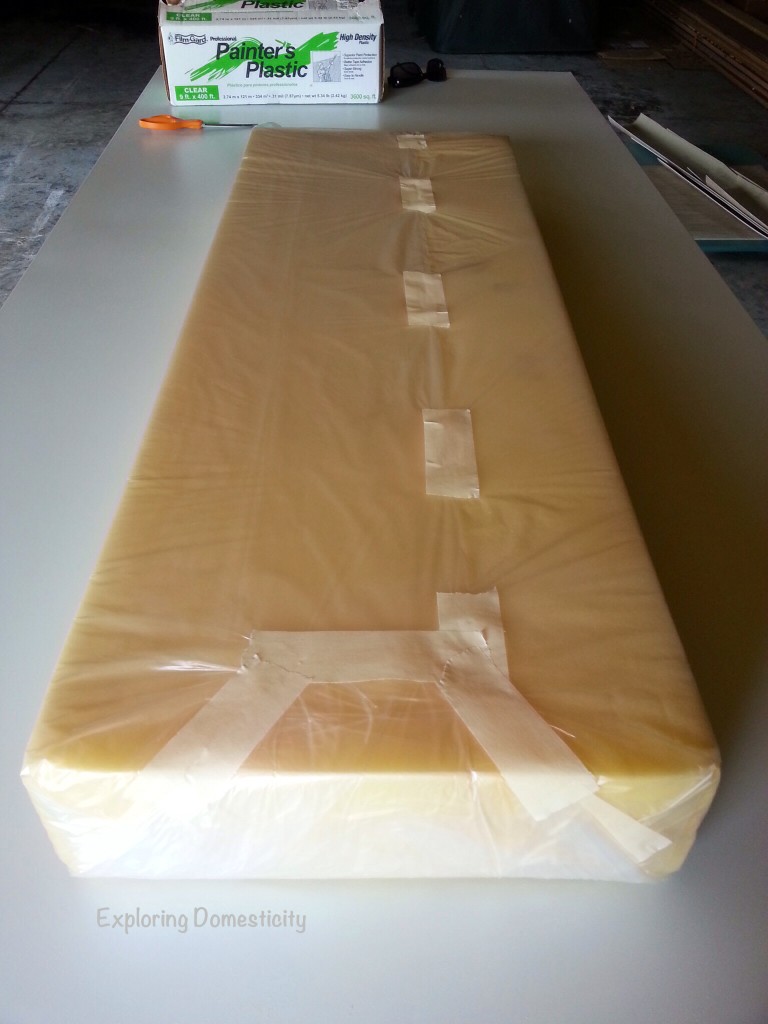
As I mentioned before, our camper had a smell… We worked to get the smell out and covered the cushions in painters plastic to protect them further.
Also Read: Pop Up Camper – Getting the Smell Out
We didn’t have a hard and fast rule for measuring the fabric. The width of the cushions was almost perfect for the width of the fabric, so we just folded it around the cushion and eyeballed a good amount for overlap to make the pocket that the cushion fits into.
So, how do you do it…
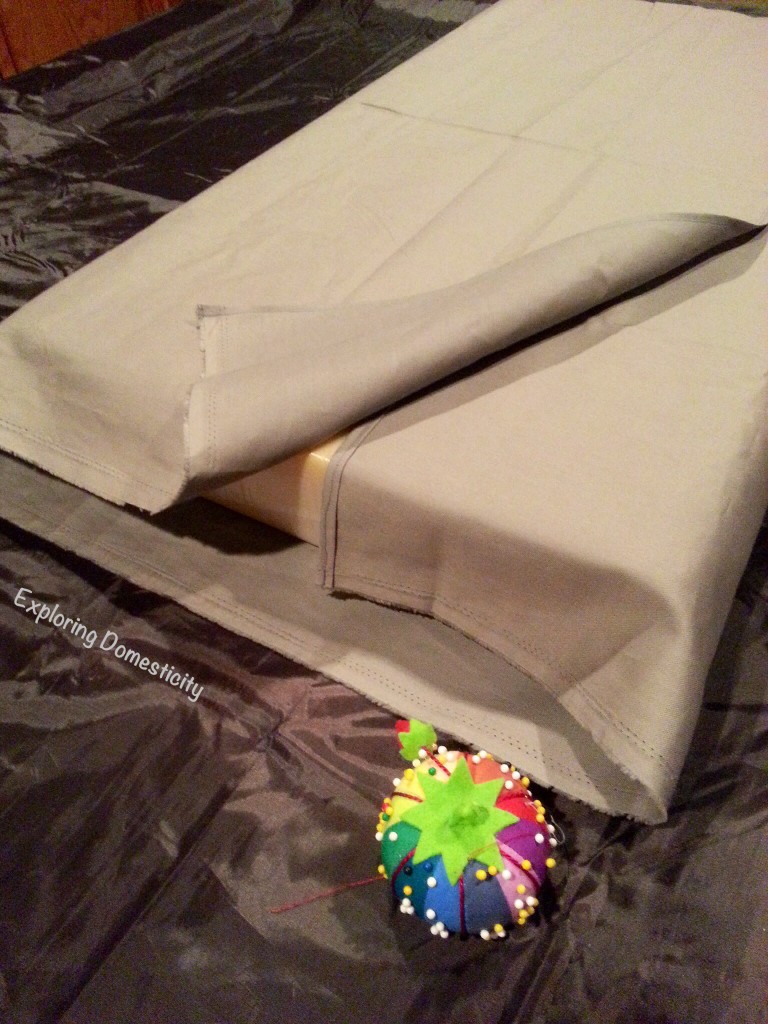
Start with your fabric under the cushion. Fold the first end of the fabric up and over about 1/3 of the cushion. Then, fold the other end of the fabric up and over, stopping just shy of the top of the cushion. This overlap will give you your pocket but also keep the foam hidden.
Important: Watch your hems and make sure the shorter fold is on the inside because you want it to end up on the outside once it’s all said and done.
After a quick hem at either end, pin the flap in place and sew down one side. Then, fit the foam inside and measure for the hem down the other side.
Pop Up Camper Remodel: New Cushions Corners
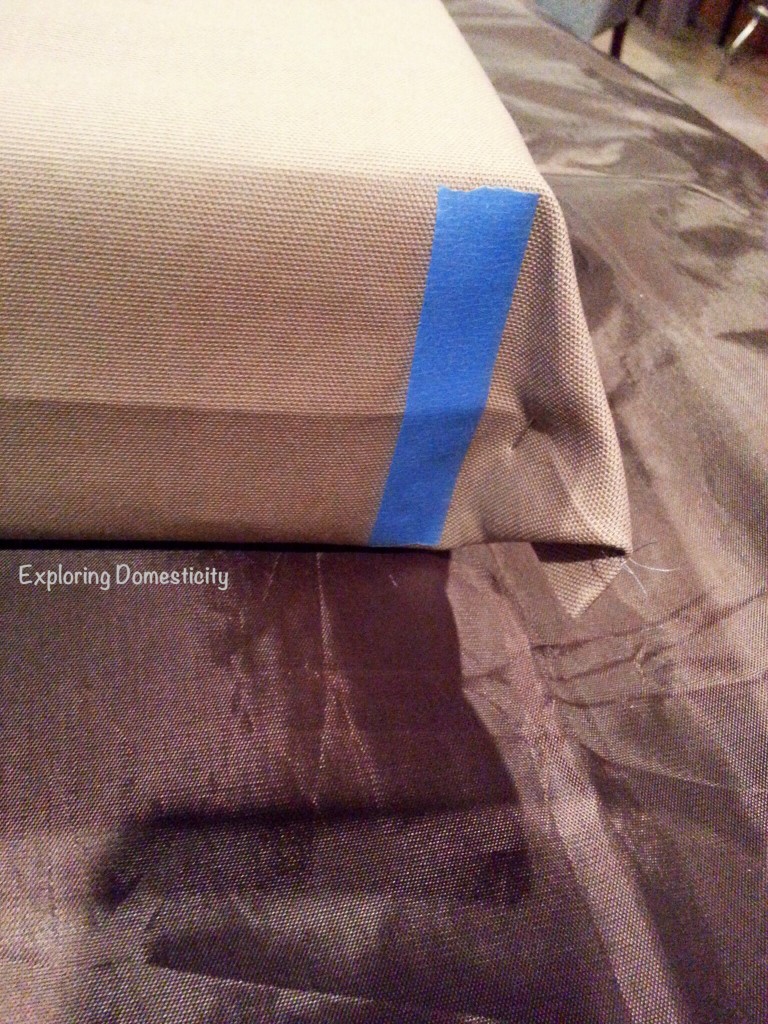
The corners are my favorite part! I didn’t know exactly how they would work out, but I was so sure that once we sewed down the sides, we could just sew across the corner and cut the excess.
With the cushion fitted into the cover (and the cover inside out), the corners naturally stick out and I used tape to mark where to sew. We double checked that it would be even by measuring each side of the seam and sewing across at the point that was the thickness of the cushion.
It worked beautifully!
Pop Up Camper Remodel: New Cushions Secured
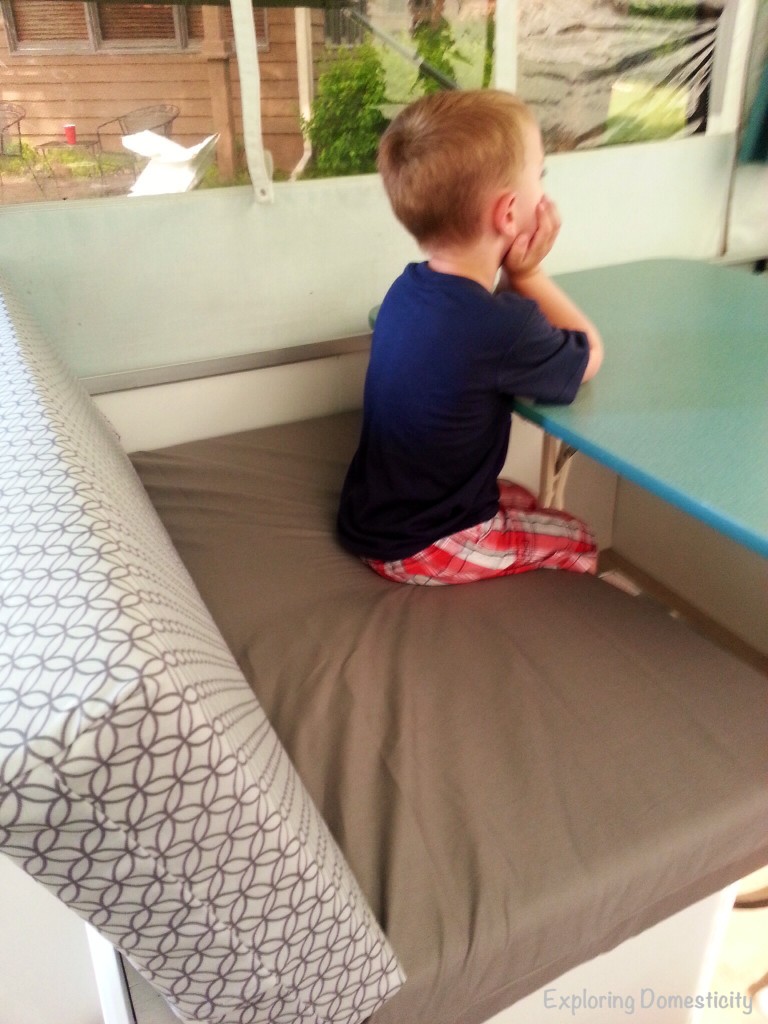
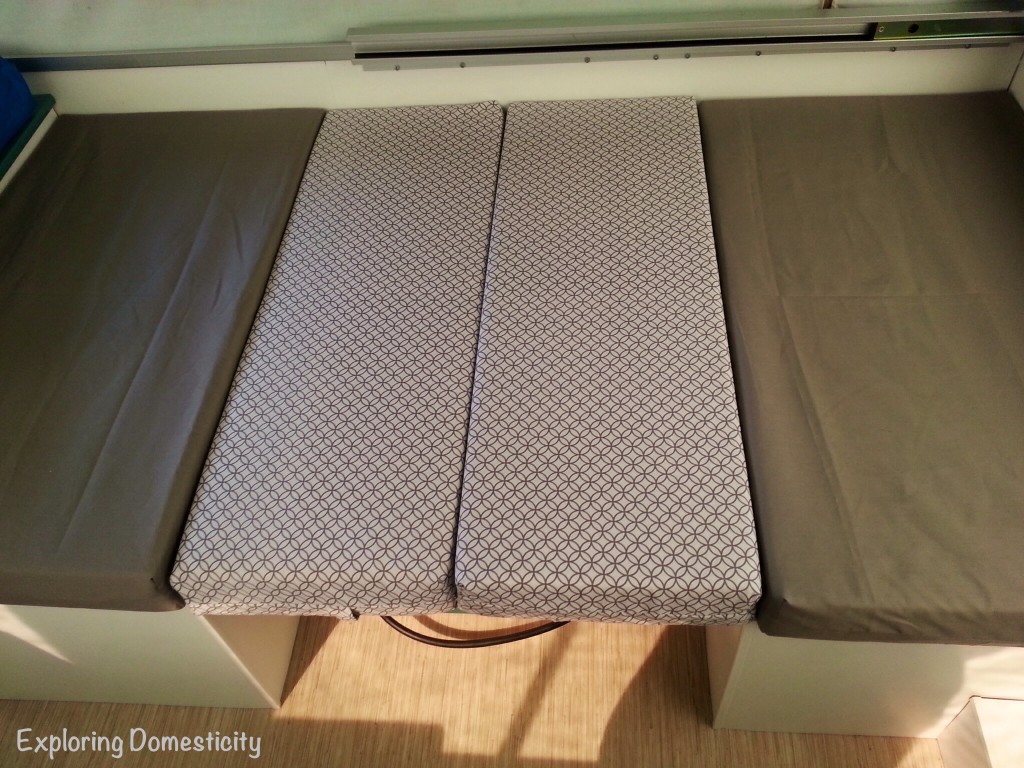
We toyed with the idea of adding buttons to the back cushions, and maybe someday we will, but for the sake of time, we ended up stapling at the fold because the back had a wooden insert and it kept it together nicely and can be easily removed.
With the bottom cushions, I may just use safety pins temporarily, but you could definitely add Velcro for a more finished look.
Update: it’s three years later and we still haven’t pinned, buttoned, or velcro’d our lower cushions. The fabric is not as tight as the upper cushions but we have had no problems.
Also read: Camper Must Haves – Investments that will pay off big time!
We just finished these recently and just in time for our first trip last weekend, so I was just happy to have them done!
I love them!
So cute! I wish I had a picture of the before because the old covers were 90’s splashes of paint pattern and so dirty you didn’t even know the colors.
Also read: Pop Up Camper Replacement Parts
I love this pattern and can’t wait to use the leftover for a valance and curtain tie-backs. That’s definitely next on the list!
Have you seen our other camper posts?
- Pop Up Camper Remodel: An introduction to my new baby!
- Pop Up Camper Remodel: Getting the Smell Out
- Pop up Camper Remodel: Painting and Flooring
- Pop up Camper Remodel: Painting and Flooring
- Pop Up Camper Remodel: New Cushions
- Pop Up Camper Remodel: Progress to date and a new season!
- Pop Up Camper Replacement Parts
- Fun Pop Up Camper Products
- Camper Spare Tire Covers
- Camper Must Haves – Investments that will pay off big time!
- Pop Up Camper Must Haves – our favorites for our pop up camper
- Pop Up Camper Sleeping and sleeping two kids in one bunk
- 1999 Viking Pop Up Camper Before and After!
Do you camp? I’m into all things camping and campers, so I want to hear about it!
Pin it for later!




Thanks so much for the no zip cushion covers info.
I have new foam I need to cover for a mini trailer I built and don’t want to spend hundreds of $ to have covers made.
Absolutely, Jim! I hear ya – I didn’t want to spend a ton or trust my limited skills with a zipper. These worked out so perfectly, I was thrilled!
I hope your camper is going well – I love seeing other remodels/builds and can’t wait to do another!
I used your tutorial and it was so easy to follow and my cushions look great! Thanks
Amy! That is the best news! I’m so happy it worked for you.
I want to see pictures – do you have any posted on Instagram or Facebook? Send me a link if you do!
Hi…Am I missing something? I don’t see a tutorial link. Any help please!
Thank you
Hi Sharon. This post is a loose tutorial. The exact measurements will differ based on your seat size, but the basics are here. If I get time, I can try to add a numbered list to this post to make it more clear. Please ask if you run into any specific questions!
ok
I love the cushions! I also love your turquoise table in the last picture. May I ask what you used to paint it? Thank you!
Thank you Lori!
The counter tops are actually original to the camper. They looked really dated with the old finishes. We didn’t really know how to go about painting them, so we thought we’d just embrace it and see how it turned out. The white paint and fabric made it look great.
When we were thinking bout painting them I pinned a lot of posts that recommended Rustoleum products like this kit, this paint, or even these cans of spray paint.
All the colors I could find were pretty neutral, but I think you could paint almost any color and find a good sealer.
Let me know what you decide to go with and share how it goes!
Did this fix the smell? Ours has an odd smell also.
It did. Did you see the post on getting the smell out? We aired out our cushions and used an awesome odor remover powder, washed any curtains or covers we kept, and painted the wood. Basically, the more you clean and air out the camper, the better it will get. I tried to focus on any fabrics that cold hold odor and even some of the wood. (the underside of our dining room table and inside the dinette benches held the smell a bit too.
Random question but do you leave the painters plastic on the foam, when you covered it?
That’s not random at all! At the time that we did this, our kiddos were very young, so we thought we’d leave the plastic on a season as a cleanliness measure. We actually left it on right up until we sold it last year! It didn’t bother us, but it did make noise with the plastic. 😀 It’s a personal preference thing I suppose!
I failed miserably. I tried to do it but the back is loose and the corners are kinda cockeyed. I think I need more pictures of the way you did the sides. I couldn’t get my side hems right. I’ve tried it like on 5 of my cushions and they aren’t great. It’s better than stapling them though.
Hi Jenny! I’m so sorry it isn’t working out for you! We recovered these cushions so many years ago and we no longer have the camper now. I’ve been wanting to sew some new outdoor cushions just so I could update these dark photos! We just measured the cushion across the length and added enough to go down half the sides and to allow for seams. Then, we sewed them up on each side like an envelope. When inserting the cushion, you have to wiggle it a little to get the seam right down the side. I hope that helps at all! I’m going to seriously think about recovering our patio cushions and I’ll make sure to let you know if I get clearer photos and directions!
I’m curious how it was putting these covers on the bottom cushions that have wood attached as they have no give. Is it hard to get them on?
Hi Sharon! Thanks for your question! For our cushions, the foam and wooden piece were separate. So, we were able to just slip the wooden piece inside the pocket before folding the flap over and securing.
I am not sure how I will go about making the covers, but your link to the cushions was amazing! I know it sounds stupid, but I have looked on Amazon but I guess I wasn’t doing the correct search because not matter what I tried, it was going to cost me close to 100 per cushion for 4 cushions. You link brought that cost down to less then $200 so I am good to go. Will let you know who the cover go.
Thanks!!
I am so glad to hear that Dee-Ann! It’s crazy what they will charge for the foam cushions! I’m sure your covers will turn out great. I’m going to be recovering another bench cushion and working to get better photos this time around. (These were from so many years ago and quickly taken while sewing in the basement :D) Thank you so much for your comment and would love to see your camper sometime!