
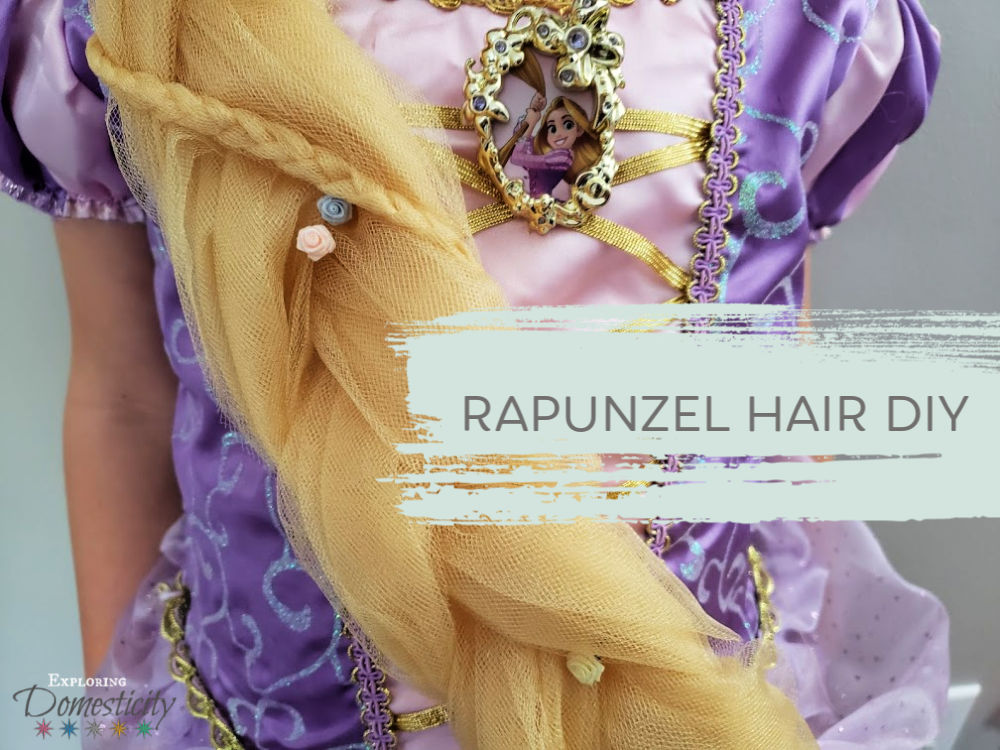
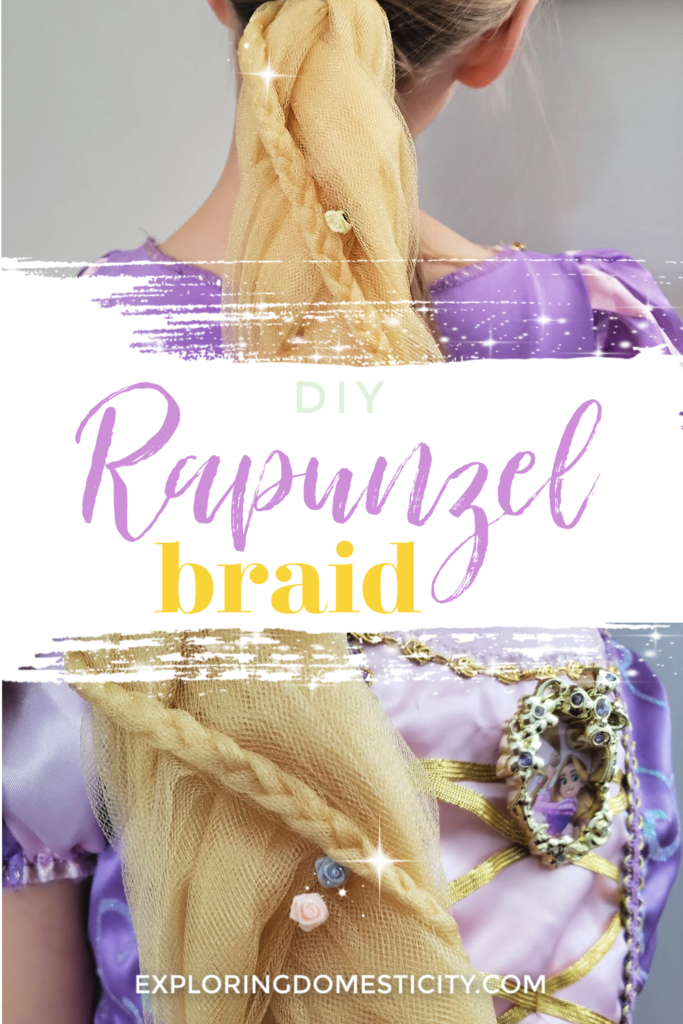
This Rapunzel Hair DIY is better than the rest because it is fuller, lightweight for little heads, and so easy to make! Best of all, the whole thing is under $3!
Have you looked around for hair or braid options for your little Rapunzel. Wigs are itchy and can be expensive or cheap and ugly. Many braid options out there are thin and not as full as Rapunzel hair should be. And yarn, will always look like yarn.
This Rapunzel hair DIY takes care of all those problems! It is full and thick without being heavy. It is super inexpensive and easy to make. Best of all, it looks perfect!
This is a sponsored post in partnership with UrbanFarmhouseTampa. We also participate in affiliate programs, including the Amazon Services LLC Associates Program, an affiliate advertising program designed to provide a means for us to earn fees by linking to Amazon.com and affiliated sites. If you don’t have Prime, you can try it 30 days for free here!
Who doesn’t love Halloween and dressing up? I always loved Halloween as a child and I love to make it special for my own kiddos. We like to decorate the house and plan activities through the month of October.
We also love to dress up. However, I’m not one of those moms to spend a lot of money on costumes! We have done homemade versions, hand-me-downs, and end of the season clearance finds. Each year, we find some way to make those costumes extra special, though.
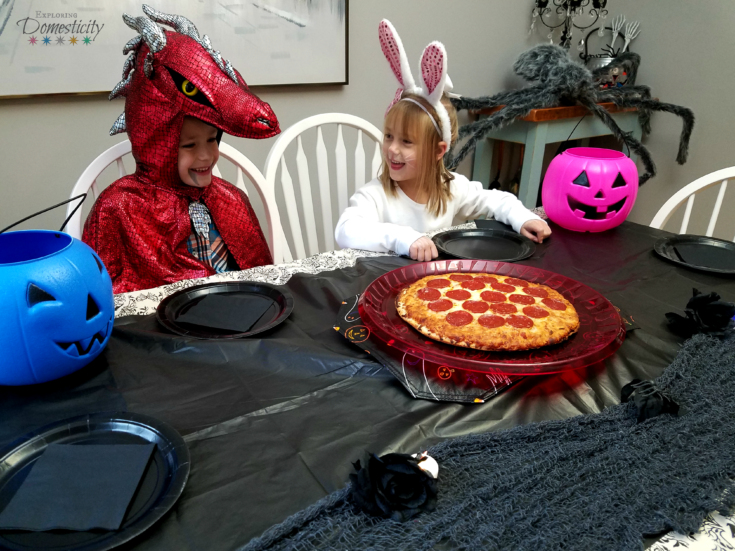
This year, my daughter is dressing up as Rapunzel. This costumes is an end-of-the-season Target clearance find (along with her brother’s Spider Man).
The dress is very pretty and she has worn it already to Disney on Ice. In fact, she has worn it all over the house many times because this little lady loves to dress up all the time!
Also Read: Disney on Ice: 100 years of magic
Rapunzel Hair
Even though we have had the dress for a year, I haven’t figured out that Rapunzel braid until recently. I looked high and low for Rapunzel hair options.
Wigs are itchy and unless you shell out a good bit of cash they often look cheap and crazy. Plus, you never know how long kids can handle having them on their head.
I like the idea of a braid that is attached with a headband or clip. Looking through all the options, I found most of them to be a very thin braid. Rapunzel is known for her thick and amazing braid! Some of the yarn options got the thickness, but it still always looks like yarn.
So… After a lot of brainstorming, I knew what I wanted to do!
Also read: DIY Cinderella and other character pumpkin buckets

The perfect material for a Rapunzel Hair DIY
For your kiddo to be comfortable, the Halloween costume has to be easy to wear. It can’t itch, pull, or feel uncomfortable. Everything also needs to be easy to put on or take off with minimal adjustment during the Halloween activities.
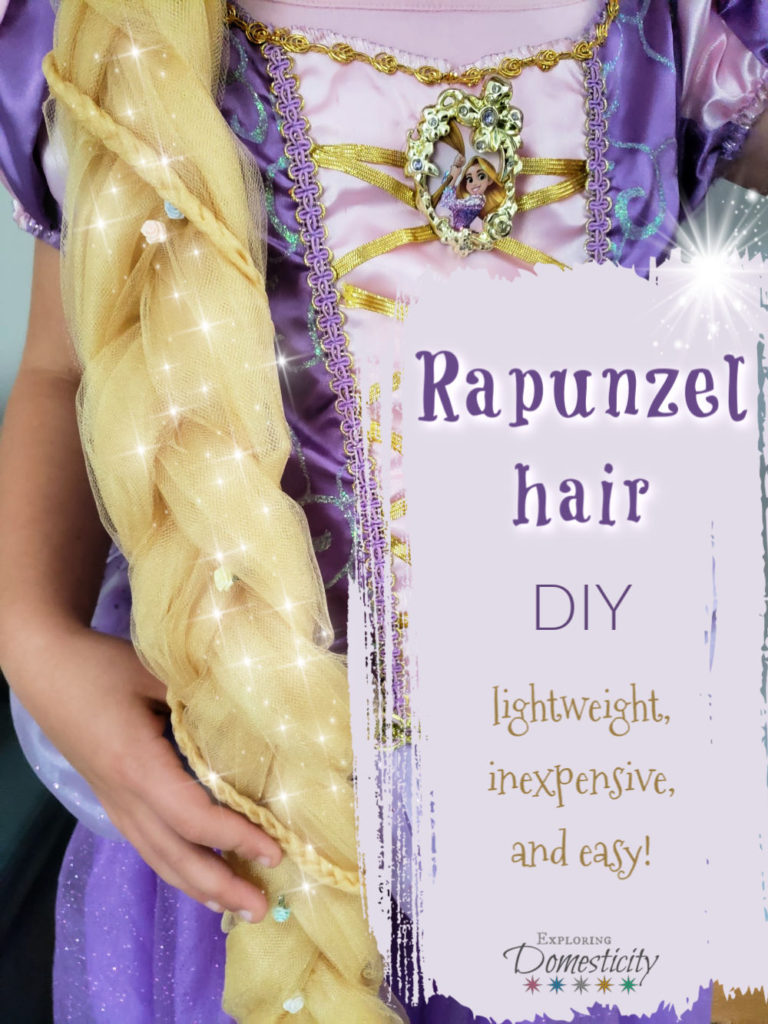
This is why tulle is so perfect for your Rapunzel Hair DIY! It is very lightweight, it has really great volume, and it’s so inexpensive!
My daughter is turning 7 this month and is about 4ft tall. Three yards of tulle makes a full-length braid for her. I didn’t know that when I bought the 3 yards, but it works perfectly!
Also read: Spooky Halloween Scene Flashlight Craft
Hobby Lobby
At Hobby Lobby, you can get tulle for about $1.20-$1.60 a yard. I think our golden tulle may have been $1.60 a yard because the silver sparkly one near it was marked that. However, the gold tulle didn’t have a tag and she gave us the price of the regular colors of tulle which is about $1.20 per yard. Also, with 30% off fabrics, it came out even lower. If you do your shopping at Hobby Lobby and the tulle isn’t on sale, look up the Hobby Lobby 40% off coupon because they always have one.
You can get tulle at any craft or fabric store and I’ll bet it will be around the same price. It’s so inexpensive to make your own Rapunzel hair, it’s crazy!
You can buy rolls of 6in. wide tulle on Amazon and you’ll have plenty for this Rapunzel hair DIY. You can also order a bolt of 40 yards for a pretty good price if you want to decorate or craft with the excess later! Sometimes I figure it’s worth it to have it shipped to my door!
In addition to the tulle, you can pick up some blonde hair ties and flowers if you don’t have any at home. We have those things already, so I didn’t spend more than the $2.70 for the 3 yards of tulle. If you need to buy hair ties… hair binders? ponies? hair ties? This was a big debate back when we made our bunny ear hair ties! …it looks best to get one close to the color of the braid. You may also decide you’d like to use a clip, which will also work.
Also Read: Bunny Ear hair ties
Rapunzel Hair DIY Process
You won’t believe how quick this Rapunzel hair comes together! Tulle can be a bit of a pain to work with because of how easy it wants to stick to itself, but keeping it in line is literally the hardest part of this whole process.
Cutting the tulle
First, try to fold your tulle as neatly as possible and keep folding until you have a smaller rectangle that you can cut into three pieces for the braid. The tulle will likely be folded in half the long way and doubled up while on the bolt. Then, when you buy it in the store they will likely fold in half the long way and fold it up from there.
The important piece is that you have your tulle folded in half the long way so you can place the hair tie in the center of the long piece of tulle and bunch it together to use as one strand of the braid. Make sense?
So, for my tulle… It was doubled on the fabric bolt already and I left it that way. Then, I folded that whole piece in half from the center and could see how long my three braid pieces would be. To make cutting easier, I kept rolling those pieces up, so I only had to make three short cuts and then unroll them. So, it looks just like it does when you buy it on the bolt and makes it easier to cut.
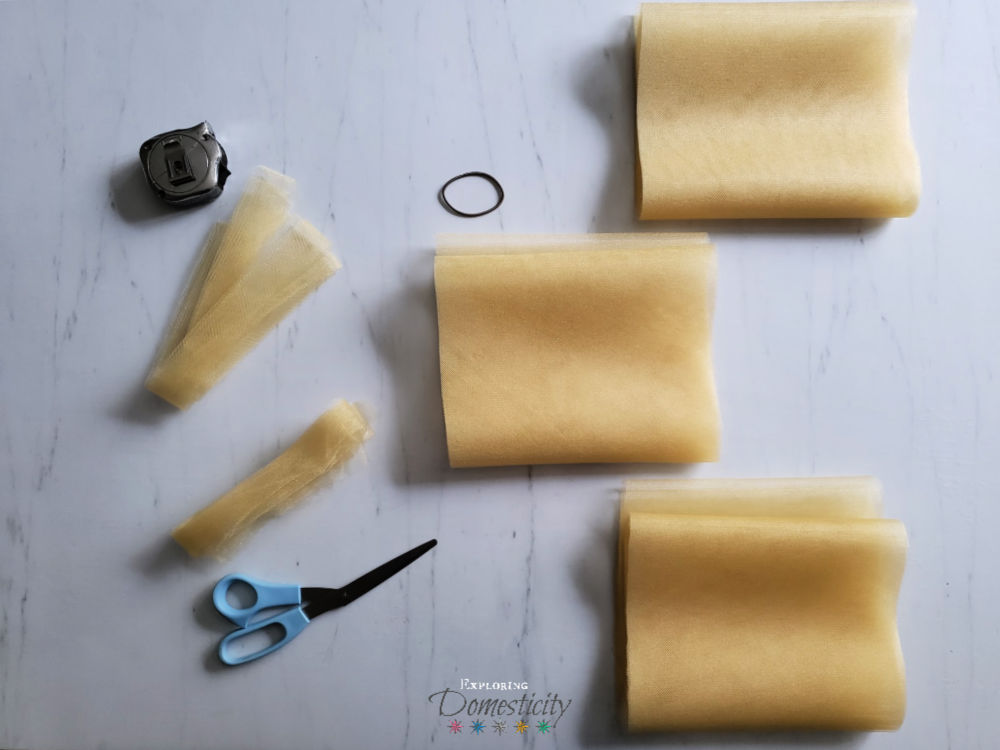
One more thing, my fabric measured to 29 inches after I had rolled it up. Like I said, it likes to stick together, so the edges were as close as I could get them. If you cut about an inch of the edges you can clean it up and use the extra for the little braid that wraps around.
Also read: Easy Witch Broom Class Gifts
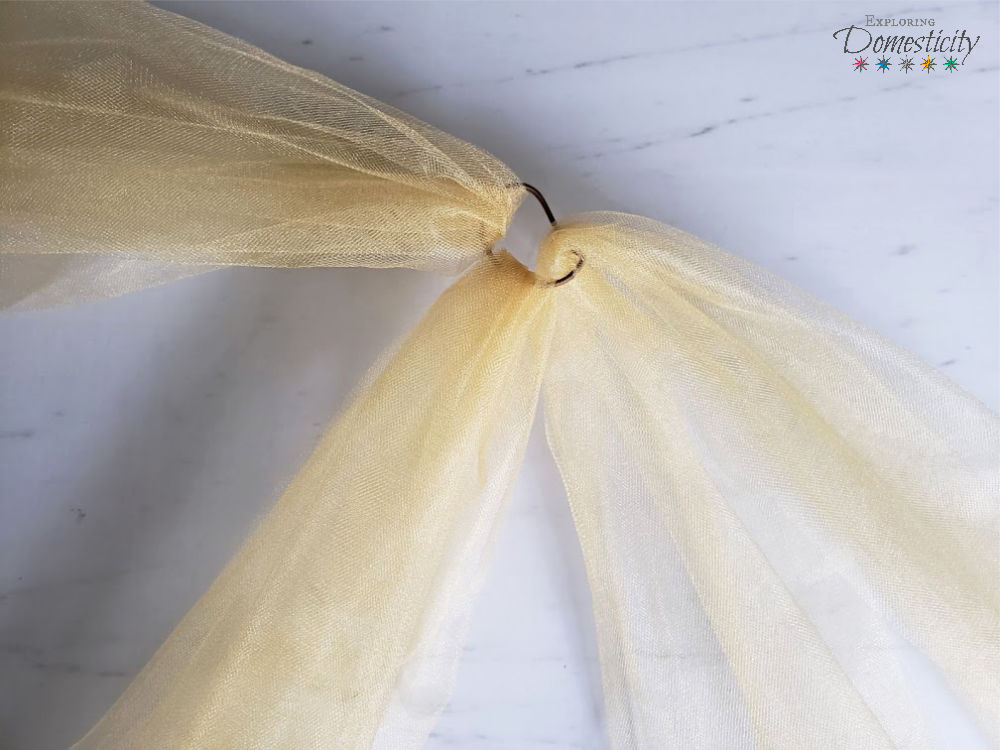
Rapunzel hair braiding
Once you have your three large pieces of tulle cut, feed them through the hair tie so that they are each folded in half over it with equal length on each side. Then gather each piece together and braid them all loosely so the braid keeps it’s fullness.
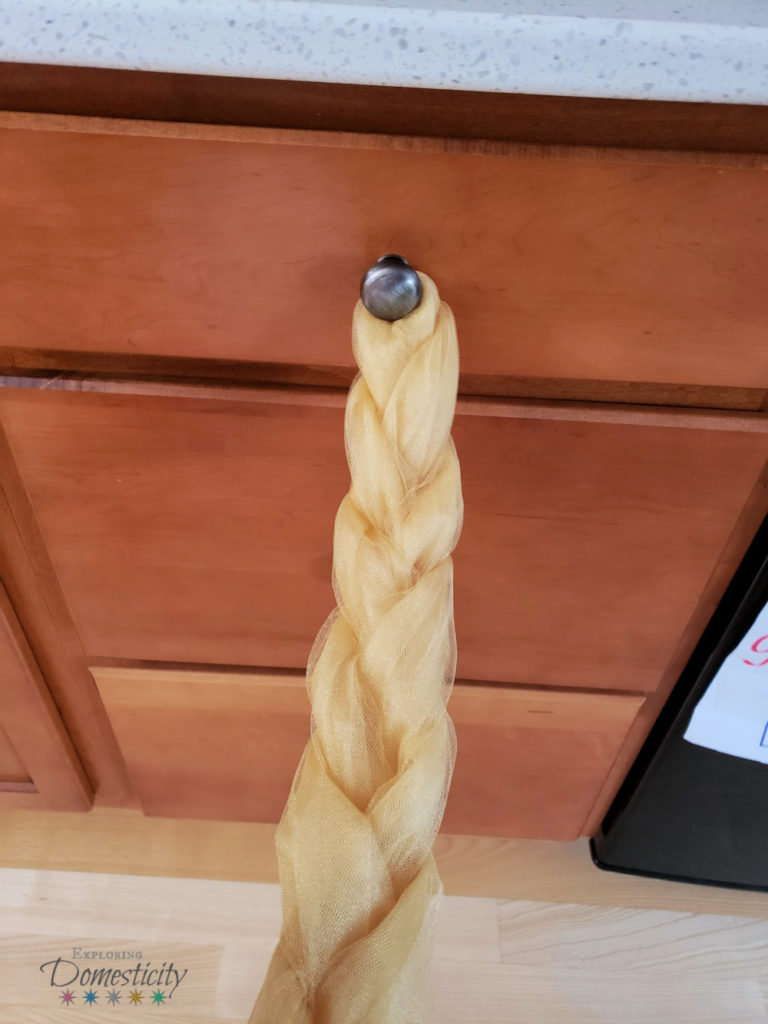
For easier braiding, hook your hair tie to a cabinet knob or safety pin or tape it to something. I like using a cabinet knob because I can stand while braiding.
Once your braid is complete, tie it off with another hair tie or a regular rubber band.
If the extra smaller pieces you trimmed off the end look good, attach those to the hair band and braid them together the same way.
I had some that ended up smaller and some that were thicker, so I divided the pieces up as equal as possible to make three strands. That tighter, smaller braid takes much more time than the larger braid, but I love the look of it wrapped around the larger one.
Circle the smaller braid down the length of the larger braid and secure it into the rubber band at the end.
Also Read: Spoonful of Sugar Cookies
Accessorize your Rapunzel hair
When you see Rapunzel braids on dolls or in the movie, the flowers are what make it seem really magical. We had little craft rosebuds that we easily added to the braid. You can also find smaller fake flowers on Amazon or at a craft store. If they have the small floral wire attached you can weave them in or you can glue them in place.
Our Rapunzel Precious Moments doll from one of our trips to Walt Disney World has sparkly ribbon woven in, which is another pretty touch you can add.

Also Read: Disney character countdown chain for your Disney vacation
Attaching your Rapunzel hair
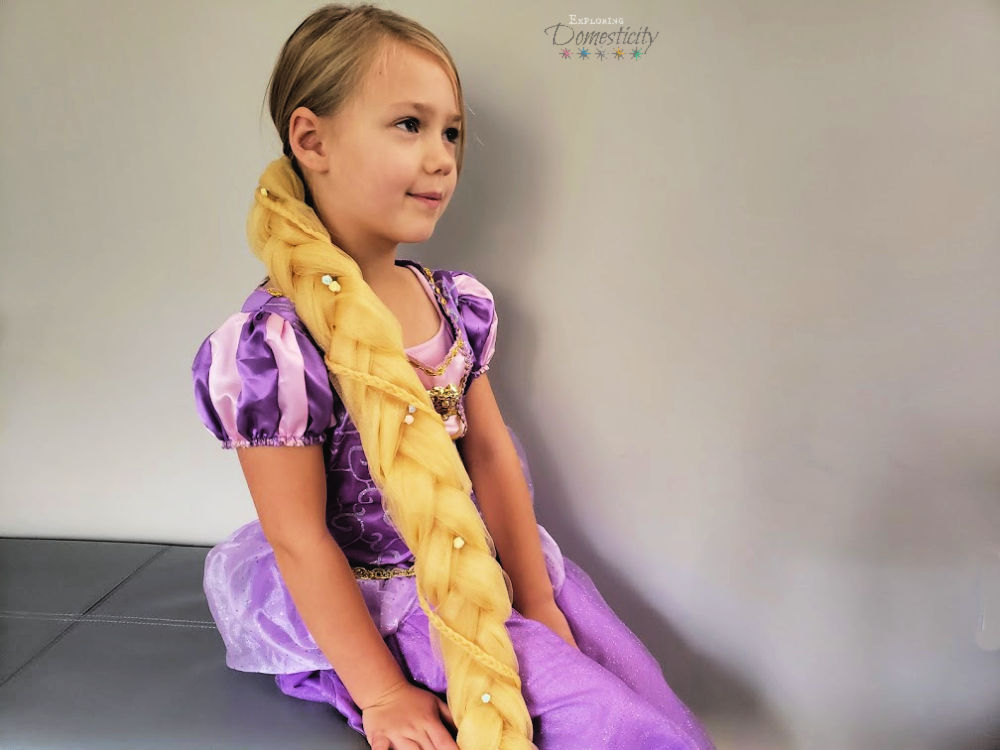
With the hair tie, you just attach this braid like a normal ponytail. It does feel a little backwards because you want the braid to be on top of the ponytail. To make it easier, flip the braid up and over your Rapunzel’s head with the side you want shown facing them. Then, secure your ponytail underneath and flip the braid back over.
I kind of love this look on my daughter’s darker blonde hair because it reminds us of Rapunzel’s short, dark lock underneath from when a piece was cut. Our Precious Moments doll also has that detail, which I’m obsessed with!
To keep it more secure, you can create a tight ponytail before attaching the braid. This way, it is less likely to slip out if it gets tugged. You can also add the braid to a clip if that works better for you.

Also Read: Trick-or-Treating Must Haves and tips for safety and fun
Trick-or-Treating
We have already done some trick-or-treating with our DIY Rapunzel hair. I noticed a few things.
Using three yards of fabric, this braid nearly touches the ground on our 4ft daughter. So, if your child is shorter, definitely use less fabric. I think the braid looks best in a ponytail at the nape of the neck, but you can also tie it a little higher to shorten the braid a bit.
Even though it wasn’t dragging on the ground and the braid is pretty light, I noticed my daughter kept holding it. I don’t know if she was worried about the wet ground, just likes keeping track of it, or if she was nervous it would fall out. It made me think it could also be a good idea to find a way to tack it up on the dress or put a little finger loop through it to attach to their hand. I don’t know how it would work, but it could be cute!
Do you have a Rapunzel this Halloween or just a kiddo who loves to dress up as Disney princesses as much as mine?
Rapunzel Hair DIY

This Rapunzel Hair DIY is better than the rest because it is fuller, lightweight for little heads, and so easy to make! Best of all, the whole thing is under $3!
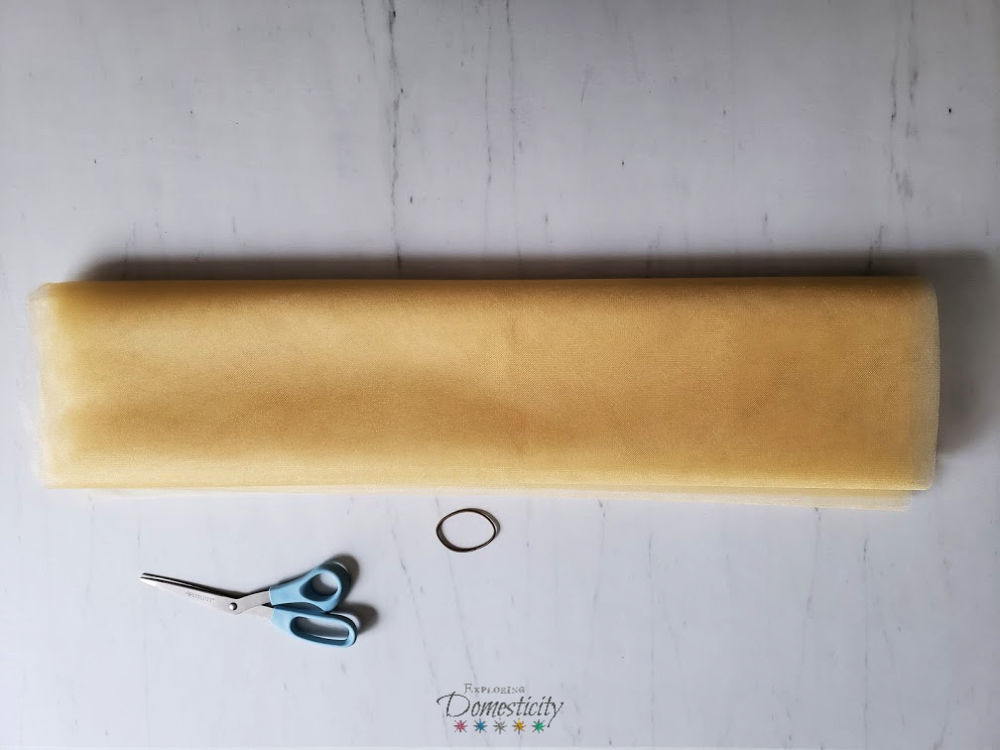
Materials
- 3 yards of gold tulle for a 4ft child
- Gold hair tie
- Rubber band
- Fake flowers
Tools
- Scissors
Instructions
- Leaving the material doubled lengthwise as it came of the bolt, double again in half so you have a 1.5 yard piece.
- Fold again that same direction so you have a small rectangular piece
- Cut 1" off each end and set aside
- Cut three equal pieces (9" wide if your bolt was 29" to start like mine)
- Unfold each piece so that it is only folded in half once (1.5 yards long)
- Place each strand through the hair tie, resting on that fold at the halfway point and gather the two ends together for one strand.
- Loosely braid the three pieces together and attach with a rubber band.
- Gather your 1" pieces and group them in 3 strands.
- Fold over the hair tie at the midpoint as you did with the previous strands.
- Braid together and then circle around the larger braid. Secure with the rubber band at the end of the braid.
- Place fake flowers through the length of the braid to accessorize.
DIY Rapunzel hair supplies
Check out some of our other Halloween posts!
Halloween Posts
Some of the best Halloween posts from Exploring Domesticity
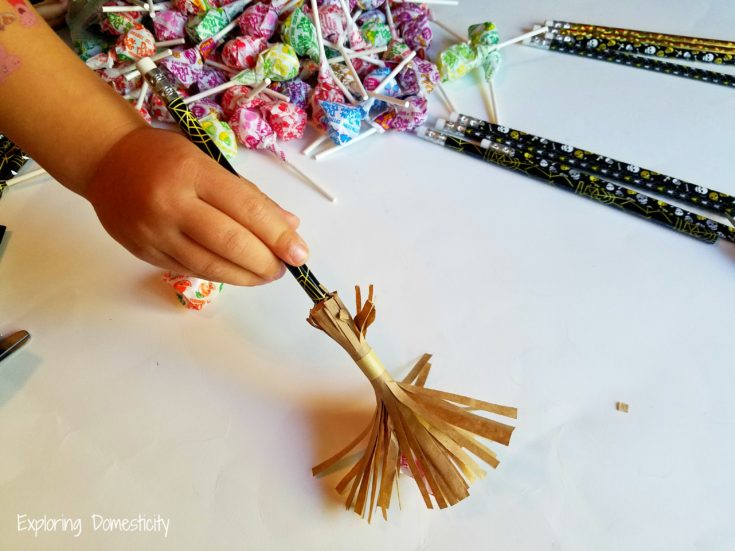
Witch Broom Halloween Class Treats
Our most popular class gifts and Halloween craft! Witch brooms are so cute and easy to make. They are a perfect non-candy treat or you can add a little candy surprise.
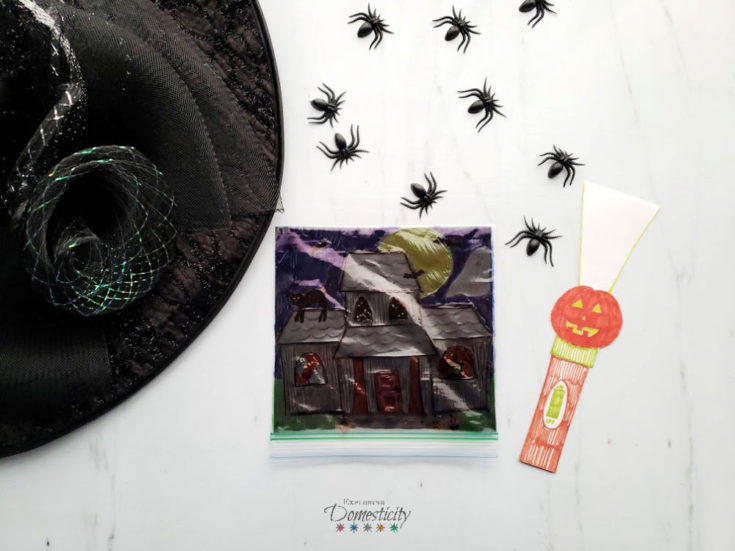
Halloween Scene Flashlight Craft
Create a Halloween scene and watch it come to life through the bright flashlight beam! This spooky Halloween Scene Flashlight Craft is easy and fun for all!
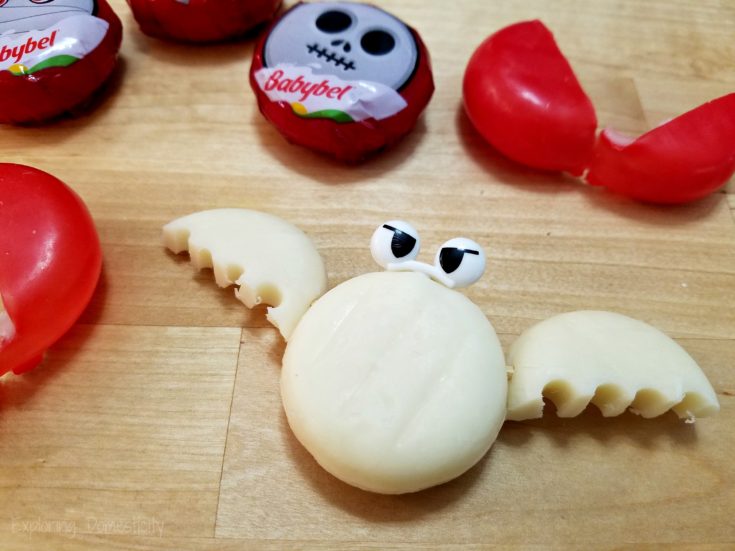
Easy Halloween Snack: Cheese Bats with Mini Babybel®
Super easy snack with Babybel cheese. Make these adorable cheese bats in no time!
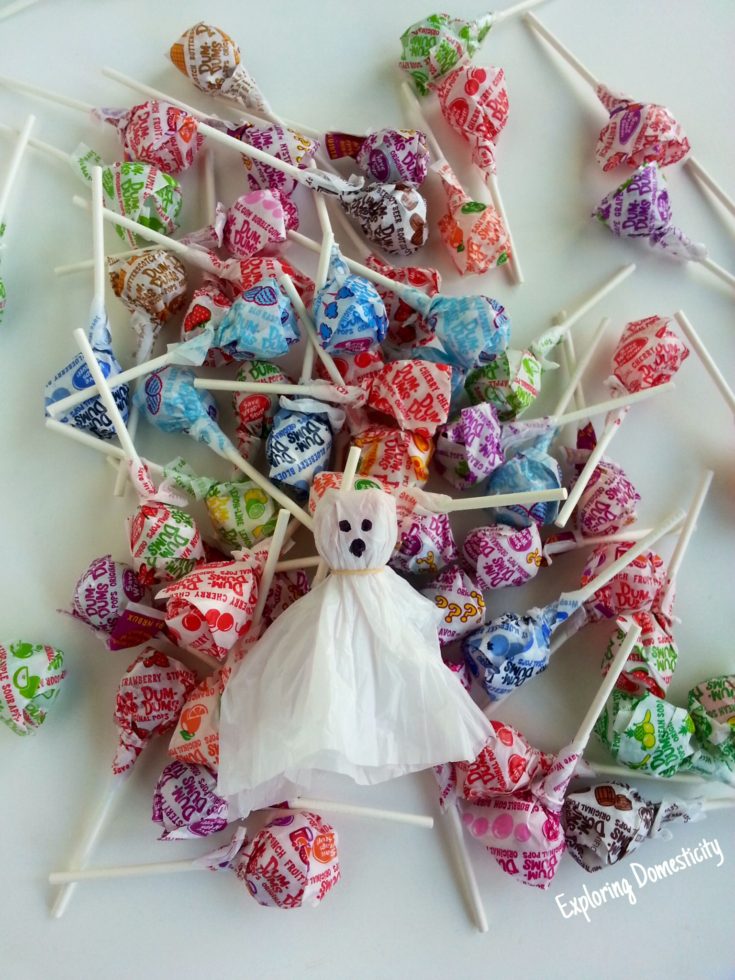
Ghost Pops: cute Halloween craft with plastic grocery bags
Very easy and always a favorite! These ghost pops use recycled material for a very cheap and easy Halloween treat!

DIY Personalized Halloween Pumpkin Bucket
Customize those plastic pumpkin buckets to go along with your child's costume. We easily made Cinderella's carriage and a Teenage Mutant Ninja Turtle.
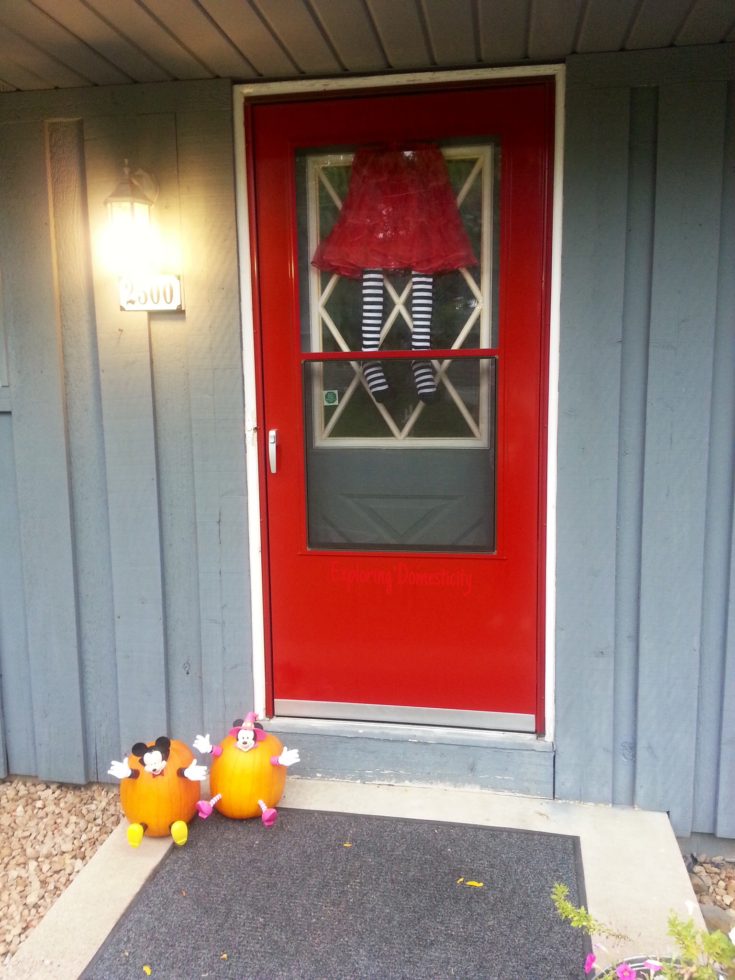
Witch in My Window: quick and easy Halloween decoration
A creepy window decoration you can create with very little money!
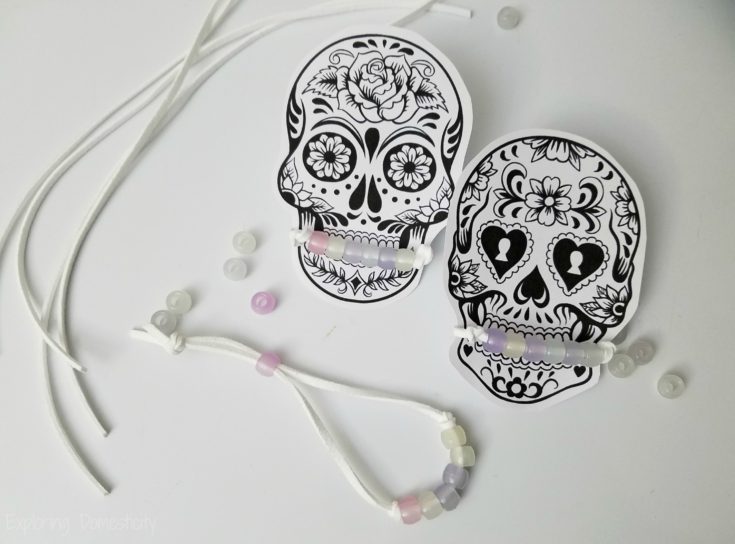
Disney Pixar Coco Inspired Sugar Skull Halloween Class Treats
These color-changing beads are so fun for kids! They glow-in-the-dark and change from white to colored in the sun!


Pin It!


Great blog and thank you!
Thank you so much!